


4
5
Safety Precautions
If you
fi
nd any
abnormality,
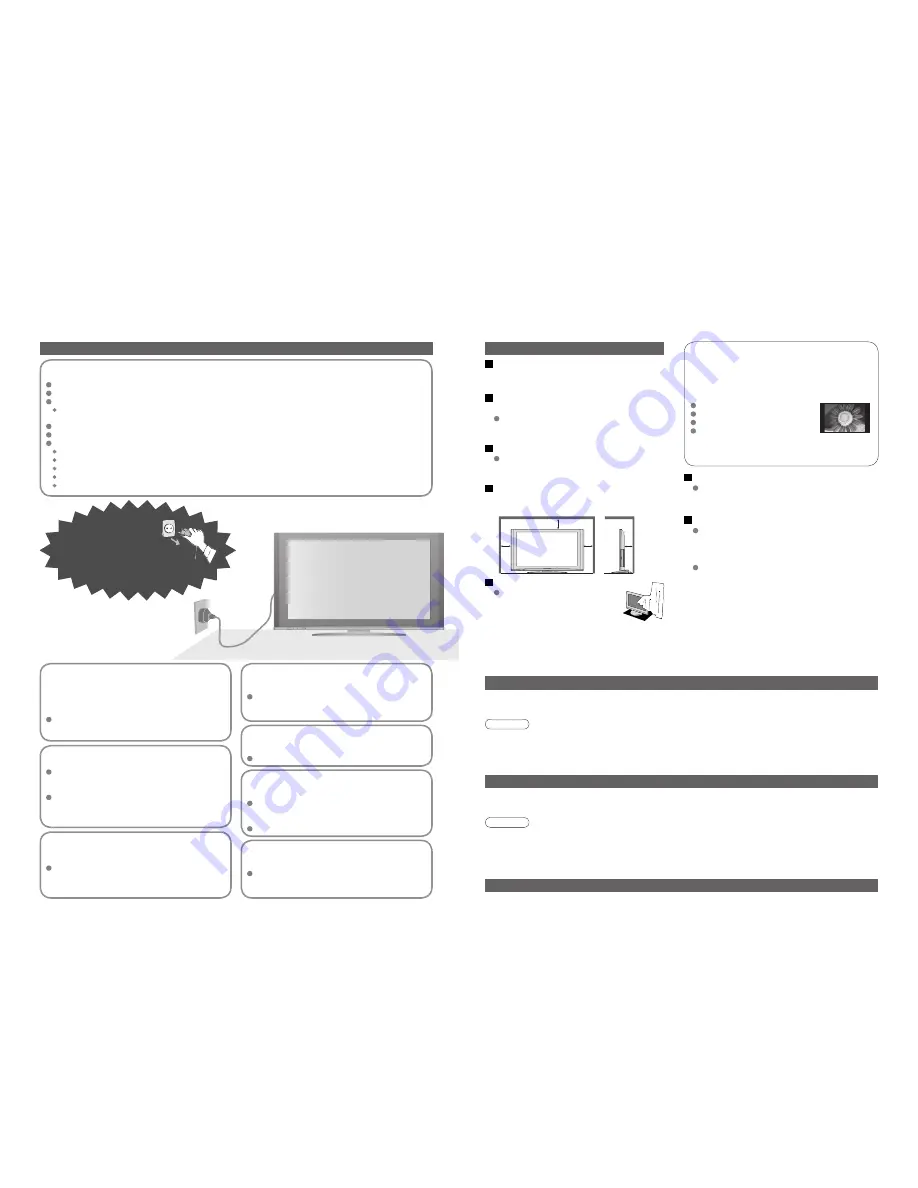
remove the mains plug
immediately!
Do not remove covers
NEVER modify the TV yourself
(High-voltage components may cause serious
electrical shock.)
Have the TV checked, adjusted, or repaired at your
local Panasonic dealer.
Keep liquids away from the TV
To prevent damage which may result in
fi
re or
shock hazard, do not expose this appliance to
dripping or splashing.
Do not place containers with water (
fl
ower vase,
cups, cosmetics, etc.) above the TV. (including on
shelves above, etc.)
AC 220-240 V
50 / 60 Hz
Do not place foreign objects
inside the TV
Do not let metal or
fl
ammable objects drop into the
TV through the air vents (
fi
re or electrical shock
may result).
(Cleaning an energized TV may cause electrical shock.)
When cleaning the TV, remove the
mains plug
Warning
Caution
Do not expose to direct sunlight
and other sources of heat
Avoid exposing the TV to direct sunlight and other
sources of heat. To prevent
fi
re never place any
type of candle or naked
fl
ame on top or near the TV.
Blocked ventilation by curtains, etc.
may cause overheating,
fi
re
or electrical shock.
Do not block the rear air vents
Notes
Maintenance
Display panel
Cabinet
Mains plug
Regular care: Gently wipe the surface clean of dirt by using a soft cloth.
Major contamination: Wipe the surface clean using a soft cloth dampened with clean water or diluted neutral
detergent by 100 times of water. Then, using a soft dry cloth, evenly wipe the surface clean until it is dry.
Regular care: Wipe the surface clean using a soft dry cloth.
Major contamination: Dampen a soft cloth with clean water or water containing a small amount of neutral detergent.
Then, wring the cloth and wipe the surface clean with it. Finally, wipe the surface clean with a dry cloth.
Wipe the mains plug with a dry cloth at regular intervals. (Moisture and dust may lead to
fi
re or electrical shock.)
First, remove the mains plug from the socket outlet.
Caution
When TV will not be used for a long
time, remove the mains plug
This TV will still consume some power even in
the Off mode, as long as the mains plug is still
connected to a live socket outlet.
•
The surface of the display panel has been specially treated and may be easily damaged.
Do not tap or scratch the surface with your
fi
ngernail or other hard object.
•
Use care not to subject the surface to bug repellent, solvent, thinner, or other volatile substances
(this may degrade surface quality).
Caution
Transporting the TV with its display panel facing
upright or downward may cause damage to the
internal circuitry.
Transport only in upright position
•
Use care not to subject the TV's surfaces to detergent.
(A liquid inside the TV could lead to product failure.)
•
Use care not to subject surfaces to bug repellent, solvent, thinner, or other volatile substances
(this may deteriorate the surface by peeling the paint).
•
Do not allow the cabinet to make contact with a rubber or PVC substance for a long time.
Do not allow children to
handle SD card
As with a small object, SD card can be swallowed
by young children. Please remove SD card
immediately after use.
Do not place the TV on sloped
or unstable surfaces
The TV may fall off or tip over.
Use only the dedicated stands
/ mounting equipment
Using an unauthorized stand or other
fi
xtures may
make the TV shaky, risking injury. Be sure to ask
your local Panasonic dealer to perform setup.
Use optional stands / mounts (p. 6).
Handling the mains plug and lead
Insert the mains plug fully into the socket outlet. (If the mains plug is loose, it could generate heat and cause
fi
re.)
Ensure that the mains plug is easily accessible.
Ensure the grounding pin on the mains plug is securely connected to prevent electrical shock.
An apparatus with CLASS I construction shall be connected to a mains socket outlet with a protective
earthing connection.
Do not touch the mains plug with a wet hand. (This may cause electrical shock.)
Do not use any mains lead other than that provided with this TV. (This may cause
fi
re or electrical shock.)
Do not damage the mains lead. (A damaged lead may cause
fi
re or electrical shock.)
Do not move the TV with the lead plugged in the socket outlet.
Do not place a heavy object on the lead or place the lead near a high-temperature object.
Do not twist the lead, bend it excessively, or stretch it.
Do not pull on the lead. Hold onto the mains plug body when disconnecting lead.
Do not use a damaged mains plug or socket outlet.
Electronic equipment
In particular, do not place video equipment near the
TV (electromagnetic interference may distort images
/ sound).
Equipment with an infrared sensor
This TV also emits infrared rays (this may affect
operation of other equipment).
Keep the TV away from these equipment
If no signal is received and no operation is
performed in Analogue TV mode for 30 minutes, the
TV will automatically go to standby mode.
Auto power standby function
Do not display a still picture for a long time
This causes the image to remain on the plasma
screen (“image retention”).
This is not considered a malfunction and is not
covered by the warranty.
To prevent image retention, contrast is lowered
automatically after a few minutes if no signals are
sent or no operations are performed. (p. 45)
Typical still images
Channel number and other logos
Image displayed in 4:3 mode
Video game
Computer image
Allow suf
fi
cient space around the
TV for radiated heat
10
10
10
7
(cm)
Minimum distance


