


English
14
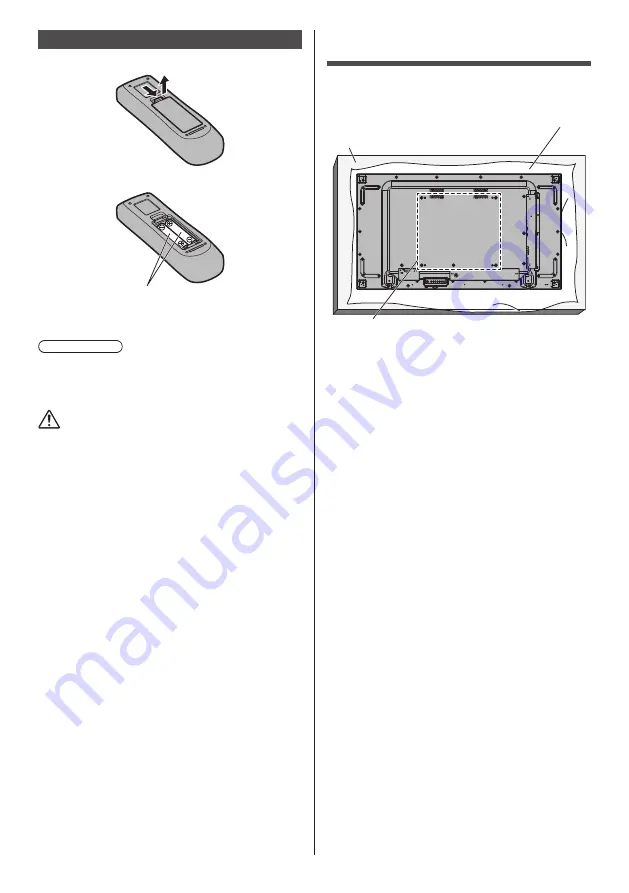
Remote Control Batteries
1. Pull and hold the hook, then open the battery cover.
2. Insert batteries - note correct polarity (+ and -).
AAA/R03/UM4 type
3. Replace the cover.
Helpful Hint
●
For frequent remote control users, replace old
batteries with Alkaline batteries for longer life.
Precaution on battery use
Incorrect installation can cause battery leakage
and corrosion that will damage the remote control
transmitter.
Disposal of batteries should be in an environment-
friendly manner.
Observe the following precaution:
1. Batteries shall always be replaced as a pair. Always
use new batteries when replacing the old set.
2. Do not combine a used battery with a new one.
3. Do not mix battery types (example: “Zinc Carbon” with
“Alkaline”).
4. Do not attempt to charge, short-circuit, disassemble,
heat or burn used batteries.
5. Battery replacement is necessary when remote
control acts sporadically or stops operating the
Display set.
6. Do not burn or breakup batteries.
7. Batteries must not be exposed to excessive heat such
as sunshine, fire or the like.
VESA Mounting
To mount this Display using a VESA mounting bracket
(commercially available):
Protective Sheet
Table
VESA Grid
1. Lay a protective sheet on a flat table beneath the
screen surface so as not to scratch the screen face.
2. Ensure you have all accessories for mounting this
Display.
3. Follow the instructions that came with the mounting
kit. Failing to follow the correct mounting procedures
could result in damage to the equipment, or injury to
the user or install personnel. The product warranty
does not cover the damage caused by improper
installation even during the warranty period.


