background image

English

16

  O

 T

 
 o


 T

 E


 E


 1


 2


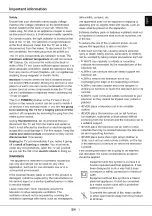
  Tick the TV signal mode to tune, and then select 
[Start Auto Tuning]

  :  tune (search for the available channels)
  :  skip tuning

 3

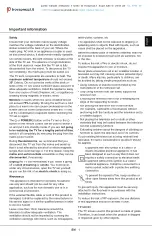
  Select the type of [Home Screen]

 The demonstration to explain how to use [my Home 
Screen] is displayed. Confirm the demonstration by 
following the on-screen instructions, and then select the 
desired [Home Screen].

 Example: [Home Screen Selection]


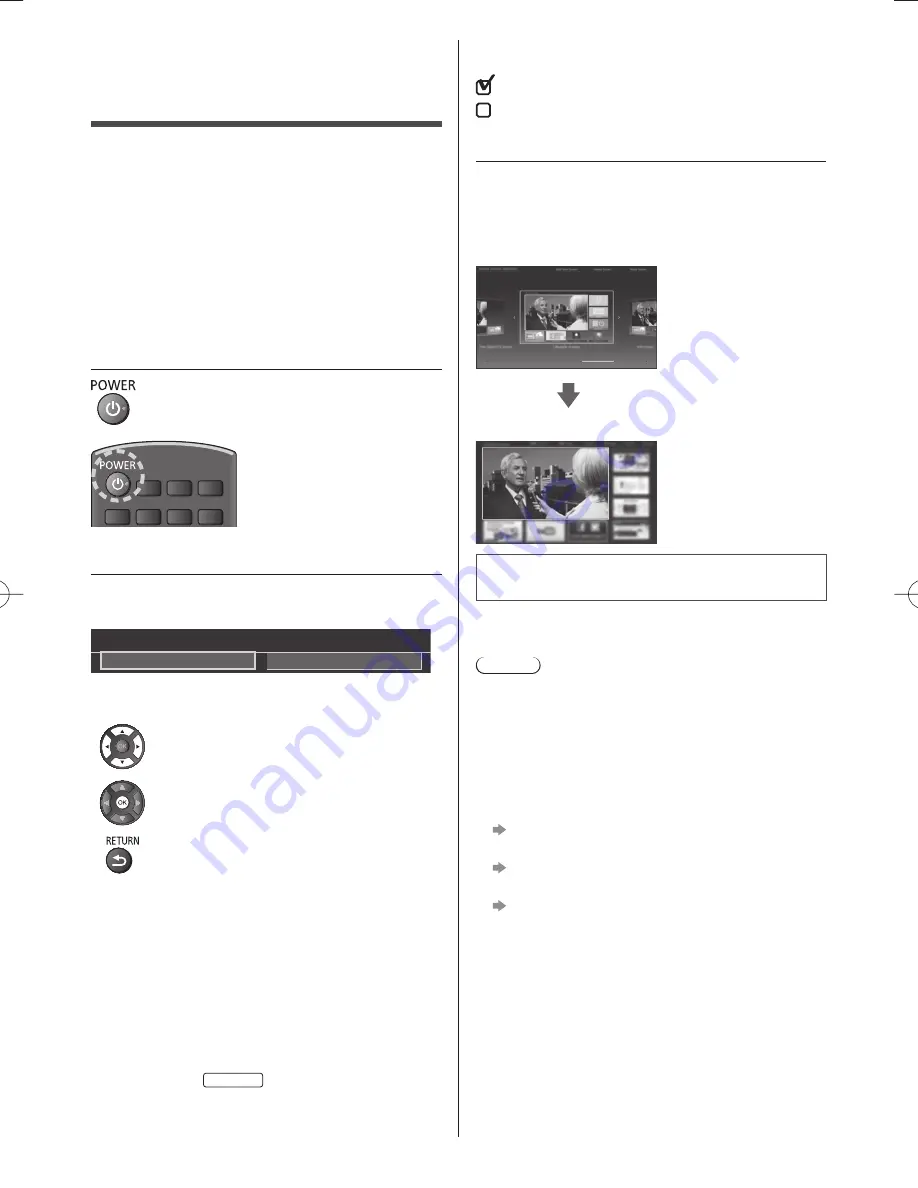
 Example: [TV Home Screen]


 Auto Tuning is now complete and 
your TV is ready for viewing.

 If tuning has failed, check the connection of the network, 
RF cable, and then follow the on-screen instructions.

 Note


 The TV will automatically go into Standby mode 
when no operation is performed for 4 hours if [Auto 
Standby] in the Timer Menu is set to [On].


 The TV will automatically go into Standby mode when 
no signal is received and no operation is performed 
for 10 minutes if [No signal Power off] in the Timer 
Menu is set to [On].


 To retune all channels 


[Auto Tuning] in [Tuning Menu] (Setup Menu)


 To add the available TV signal mode later 


[Add TV Signal] in [Tuning Menu] (Setup Menu)


 To initialise all settings 


[Shipping Condition] in [System Menu] (Setup 
Menu)

  First time Auto 
Tuning

 Automatically sets up the TV and searches for available 
TV channels when the TV is turned on for the first time.


 These steps are not necessary if the setup has been 
completed by your local dealer.


 Please complete connections (p. 10 - 12) and 
settings (if necessary) of the connected equipment 
before starting Auto Tuning. For details of settings 
for the connected equipment, read the manual of the 
equipment.

 1

  Plug the TV into mains socket and 

turn power on


 Takes a few seconds to be displayed.


 2

  Select the following items

 Set up each item by following the on-screen instructions.

 Example:


 Please select your viewing environment.

 Home

 Shop


 How to use remote control


 Move the cursor


 Access the item / store the setting


 Return to the previous item (if available)


 Select [Home]

 Select [Home] viewing environment to use in your home 
environment.


 [Shop] is for shop display.


 To change viewing environment later on, you will 
need to initialise all settings by accessing Shipping 
Condition.

  Set up the network connection
 Select your area 

Australia

Содержание TH-55AS670A

Страница 1: ...tive purposes only For more detailed instructions refer to eHELP Built in Operating Instructions How to use eHELP p 18 M0314 1044 English Operating Instructions LED TV AS670 series AS700 series AS740 series English TQB4GC1133 1 Model No Australia New Zealand TH 55AS670A TH 55AS670Z TH 42AS700A TH 42AS700Z TH 50AS700A TH 50AS700Z TH 55AS700A TH 55AS700Z TH 60AS700A TH 60AS700Z TH 55AS740A TH 60AS74...

Страница 2: ...ntioned Illustrations shown may be different between models and countries Contents Be Sure to Read Important Notice 3 Safety Precautions 4 Quick Start Guide Accessories 7 Connections 10 Identifying Controls 13 First time Auto Tuning 16 Using your VIERA Operations 17 How to Use eHELP 18 Viewing 3D images 18 Others FAQs 19 Maintenance 19 Specifications 20 ...

Страница 3: ... does not grant you that permission and explicitly disclaims any right ability or intention to obtain such permission on your behalf It is your responsibility to ensure that your use of this or any other device complies with applicable copyright legislation in your country Please refer to that legislation for more information on the relevant laws and regulations involved or contact the owner of th...

Страница 4: ...rning This product contains possibly dangerous parts such as plastic bags that can be breathed in or swallowed by young children accidentally Keep these parts out of reach of young children Safety Precautions To help avoid risk of electrical shock fire damage or injury please follow the warnings and cautions below Mains plug and lead Warning If you detect anything unusual immediately remove the ma...

Страница 5: ... the TV is not in use for a prolonged period of time Do not allow children to handle any small objects such as SD Card and R03 batteries The small object could be swallowed by young children Remove SD Card immediately after use and store out of reach of young children Pedestal Warning Do not disassemble or modify the pedestal Caution Do not use any pedestal other than the one provided with this TV...

Страница 6: ...ht of the actual image That makes the distance shorter than the recommended values above Battery for the Remote Control Touch Pad Controller Caution Incorrect installation may cause battery leakage corrosion and explosion Replace only with the same or equivalent type Do not mix old and new batteries Do not mix different battery types such as alkaline and manganese batteries Do not use rechargeable...

Страница 7: ... them away unintentionally For the information of optional accessories refer to eHELP Support Optional accessories Assembling Removing the pedestal AS670 series AS700 series Assembly screw 4 M5 15 Assembly screw 4 M4 12 Bracket 2 Base 42 inch model 50 inch model Accessories Remote Control p 13 N2QAYB000933 Touch Pad Controller p 14 N2QBYA000004 AS670 series Pedestal p 7 AS700 series Pedestal p 7 4...

Страница 8: ...ture as shown to prevent the TV from falling over This information is designed to reduce the risk of injuries caused by the TV falling over However no measure can guarantee protection in all cases E Band F Screw G Wood screw G F E Optional position for installation 55 inch model 60 inch model A C D 1 2 ...

Страница 9: ...English 9 2 3 B AS740 series Assembly screw 4 M5 10 Assembly screw 4 M4 12 Bracket 2 Base Assembling the pedestal A C D 1 ...

Страница 10: ...nected Terminals 5 4 7 8 6 1 2 3 2 3 AS670 series AS700 series AS740 series 1 SD Card slot 2 USB 1 2 port 3 HDMI3 4 AV COMPONENT VIDEO p 12 Preventing the TV from falling over It is recommended to secure the pedestal to a furniture as shown to prevent the TV from falling over This information is designed to reduce the risk of injuries caused by the TV falling over However no measure can guarantee ...

Страница 11: ...ins plug firmly into place When disconnecting the mains lead be absolutely sure to disconnect the mains plug at the socket outlet first Aerial TV RF cable Aerial For Digital TV Analogue TV Keep RF aerial cable away from the mains lead to avoid and minimise mains interference pickup Do not place the RF cable under the TV An aerial correct cable 75 Ω coaxial and correct terminating plug are required...

Страница 12: ...tc Communication Camera Use USB 1 for connecting the Communication Camera For more information refer to eHELP Support Optional accessories Communication Camera USB HDD for recording Use USB 2 for connecting the USB HDD For more information refer to eHELP Recording VIERA Link Use HDMI1 3 for VIERA Link connection For more information refer to eHELP Functions VIERA Link HDAVI Control Wireless connec...

Страница 13: ...ect Changes aspect ratio 15 Subtitle Audio Description Displays Audio Description Subtitle Menu 16 Exit Returns to Home Screen 17 HOME Displays Home Screen 18 TV Guide Australia Freeview Guide New Zealand 19 Cursor buttons Makes selections and adjustments 20 Return Returns to the previous menu page 21 Channel Up Down 22 Sound Mute On Off 23 Last view Switches to previously viewed channel or input ...

Страница 14: ...ll open Hook Note the correct polarity or Close Touch Pad Controller Touch Pad Controller is designed for the convenient operations especially on Home Screen or internet contents You can operate the TV intuitively with this controller Touch Pad Controller can be used by registering to this TV with Bluetooth wireless technology The registration starts automatically when you press any buttons except...

Страница 15: ... Slide open Note the correct polarity or Close Note It is recommended to hold Touch Pad Controller with your hand when using The battery power will be used whenever you use Touch Pad Controller including the touch of the touch pad even if not operating the TV It may decrease the battery life Some operations differ depending on the application Indicator Control panel When pressing 1 2 3 buttons the...

Страница 16: ...nal mode later Add TV Signal in Tuning Menu Setup Menu To initialise all settings Shipping Condition in System Menu Setup Menu First time Auto Tuning Automatically sets up the TV and searches for available TV channels when the TV is turned on for the first time These steps are not necessary if the setup has been completed by your local dealer Please complete connections p 10 12 and settings if nec...

Страница 17: ... Operations Turn power on TV or Remote Control Mains power On Off switch should be on p 15 The last viewed Home Screen is displayed Example TV Home Screen Example Selected content screen To return to Home Screen at any time You can set up or make Home Screen to display desired information to access specific features easily to select the default Home Screen etc For details follow the on screen inst...

Страница 18: ... 2D images converted to 3D Press the 3D button and set to 2D 3D mode in 3D Mode Selection 1 Put the 3D Eyewear on 2 View the 3D images Safety precautions will be displayed when you first watch the 3D image Select Yes or No to continue to view 3D images Note Do not exert pressure on or scratch the lens of the 3D Eyewear 3D content will not be correctly visible if the 3D Eyewear is worn upside down ...

Страница 19: ...t FAQs The TV does not switch on Check the mains lead is plugged into the TV and the socket outlet The TV goes into Standby mode Auto power standby function is activated The remote control does not work or is intermittent Are the batteries installed correctly p 14 Has the TV been switched on The batteries may be running low Replace them with new ones Point the remote control directly at the TV s r...

Страница 20: ...l AC 220 240 V 50 60 Hz 0 71 A Specifications TV Model No AS670 series 55 inch model TH 55AS670A TH 55AS670Z AS700 series 42 inch model TH 42AS700A TH 42AS700Z 50 inch model TH 50AS700A TH 50AS700Z 55 inch model TH 55AS700A TH 55AS700Z 60 inch model TH 60AS700A TH 60AS700Z AS740 series 55 inch model TH 55AS740A 60 inch model TH 60AS740A Dimensions W H D AS670 series 55 inch model 1 244 mm 767 mm 2...

Страница 21: ...om some PAL Video recorders VCR M NTSC Playback from M NTSC Video recorders VCR NTSC Playback from NTSC Video recorders VCR Aerial input Standard Belling Lee connector VHF UHF Operating conditions Temperature 0 C 35 C Humidity 20 80 RH non condensing Normal Home mode AS670 series 55 inch model 71 W AS700 series 42 inch model 54 W 50 inch model 64 W 55 inch model 71 W 60 inch model 98 W AS740 serie...

Страница 22: ...less LAN Standard compliance and Frequency range 1 IEEE802 11a n 5 15 GHz 5 35 GHz 5 47 GHz 5 85 GHz IEEE802 11b g n 2 400 GHz 2 4835 GHz Security WPA2 PSK TKIP AES WPA PSK TKIP AES WEP 64 bit 128 bit Bluetooth wireless technology 2 Standard Compliance Bluetooth 3 0 Frequency Range 2 402 GHz 2 480 GHz 1 The frequency and channel differ depending on the country 2 Not all the Bluetooth compatible de...

Страница 23: ... for the name address of the nearest Authorised Service Centre Send or take the product to a Panasonic Authorised Service Centre together with your proof of purchase receipt as a proof of purchase date Please note that freight and insurance to and or from your nearest Authorised Service Centre must be arranged by you Note that home or pick up delivery service is available for the following product...

Страница 24: ...c net Panasonic Corporation 2014 English Printed in Malaysia Information on Disposal in other Countries outside the European Union This symbol is only valid in the European Union If you wish to discard this product please contact your local authorities or dealer and ask for the correct method of disposal New Zealand WARRANTY New Zealand only Distributed in New Zealand by Panasonic New Zealand Limi...

Отзывы: