English
64
(Macintosh)
Disable proxy server settings
1 From the [Safari] menu, click [Preferences].
General screen is displayed.
2 From the [Advanced] tab, click the [Change
Settings…] button next to [Proxies].
Click [Proxies] and set up a proxy server.
3 Deselect the [Web Proxy] and [Automatic Proxy
Configuration] boxes.
4 Click [Apply Now].
Enable JavaScript
1 Display [Security] of Safari.
2 Select [Enable JavaScript] under [Web content].
Access from Web Browser
Access to the TOP screen of the Web browser control
using a Web browser.
1
Start your Web browser.
2
Enter the IP address set with the
[LAN setup] of the unit.
(see page 48)
3
Enter the user name and password
when the Authentication screen is
displayed.
4
Click [OK].
After logged in, the TOP screen of the Web Browser
Control is displayed.
Note
●
The password used here is the same password
used for command control and the PJLink security
authentication.
●
Default user name and password are as follows:
User name: user1 (user rights), admin1 (administrator
rights)
Password: panasonic
Change password first.
●
The password can be changed on the Password
Setup screen after logging in (see page 65). Log in
with administer privileges to change this.
●
When using “Crestron Connected™” (see page 68),
log in with the administrator rights.
●
Under no circumstances, Panasonic Corporation or
its associated companies will ask customers their
password directly.
Even if you are asked directly, please do not reveal
your password.
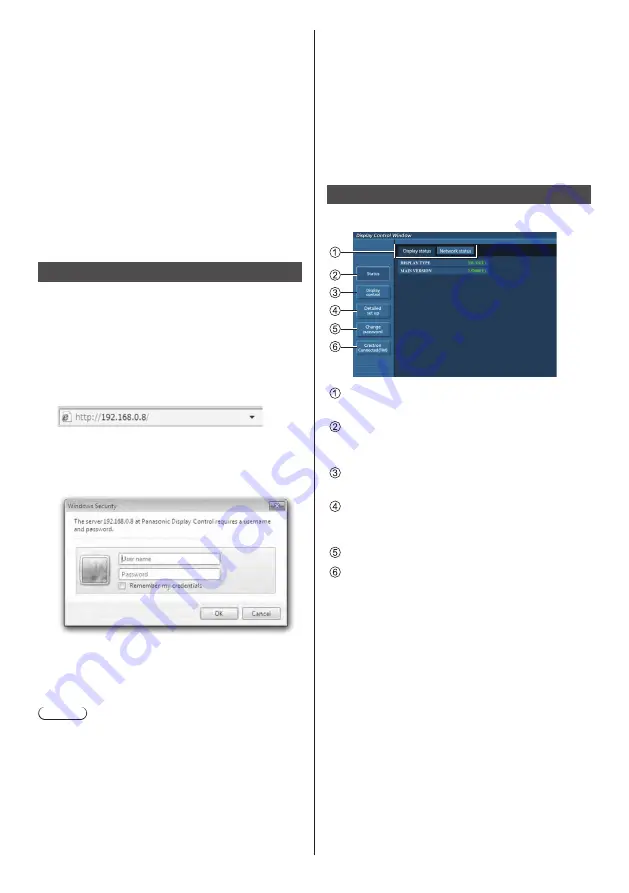
Operating with Web Browser
■
Description of each section
Page tab
Click these to switch pages.
[Status]
Click this item, and the status of the Display is
displayed.
[Display control]
Click this item to display the Display control page.
[Detailed set up]
Click this item to display the advanced settings
page.
[Change password]
Crestron Connected™
Click this item to display the Crestron Connected™
operation page.


