- 8 -
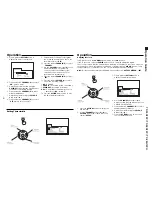
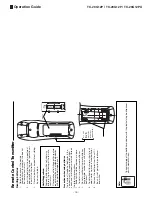
Operation
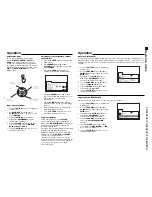
Channel color system
1. Press the
ACTION
button to display the
main menu.
2. Use the
CHANNEL
buttons (
$
or
4
) or
VOLUME
buttons (
“
or
”
) to select the
SET UP
menu.
3. Press again the
ACTION
button to
display the
ADJUSTMENT
menu, as
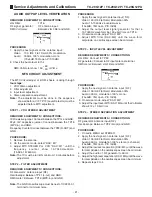
shown in the illustration below.
Adjusting color for each channel
1. Press the
ACTION
button to display the
main menu.
2. Use the
CHANNEL
buttons (
$
or
4
) or
VOLUME
buttons (
“
or
”
) to select the
SET UP
menu.
3. Press again the
ACTION
button to
display the
ADJUSTMENT
menu, as
shown in the illustration below.
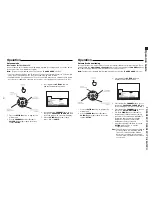
Color system and color saturation adjustment for each channel
This TV set is compatible with three broadcast standards. That means this TV set can be
used where either the PAL-M, PAL-N, or NTSC transmission standard is used. The
AUTO
capability allows the set to recognize automatically the broadcast standard being used.
Besides this, color levels can be adjusted independently for each channel. Therefore, it is
possible to equalize eventual color differences among channels.
4. Press the
CHANNEL
button (
$
) to select
the option “
PRESS CH
$
FOR OTHER
OPTIONS
”, and a second page for
adjustments will display.
5. Press the
CHANNEL
button (
$
) to select
the
CHANNEL
function. If the set is in
video mode, skip instructions 5 and 6.
6. Using the
VOLUME
buttons (
“
or
”
) or
the numerical keypad, select the
channel to be adjusted.
7. Press the
CHANNEL
(
$
) button to select
the function
COLOR SYSTEM
.
8. Use the
VOLUME
buttons to select either
PAL-M
,
PAL-N
,
NTSC
, or
AUTO
.
9. Press the
ACTION
button twice to exit
the adjustment menu.
4. Press the
CHANNEL
button (
$
) to select
the option “
PRESS CH
$
FOR OTHER
OPTIONS
”, and a second page for
adjustments will display.
5. Press the
CHANNEL
button (
$
) to select
the
CHANNEL
function. If the set is in
video mode, skip instructions 5 and 6.
6. Using the
VOLUME
buttons (
“
or
”
) or
the numerical keypad, select the
channel to be adjusted.
7. Press the
CHANNEL
(
$
) button to select
the function
CHANNEL COLOR
ADJUSTMENT
.
8. Use the
VOLUME
buttons to select
between (“
I—
” minimum), (“
-I-
” normal),
or (“
—I
” maximum).
9. Press the
ACTION
button twice to exit
the adjustment menu.
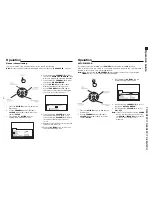
Operation
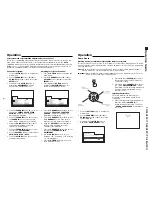
1. Press the
ACTION
button to display the
main menu.
2. Use the
CHANNEL
buttons (
$
or
4
) or
VOLUME
buttons (
“
or
”
) to select the
symbol “
LOCK
”.
3. Press again the
ACTION
button to
display the
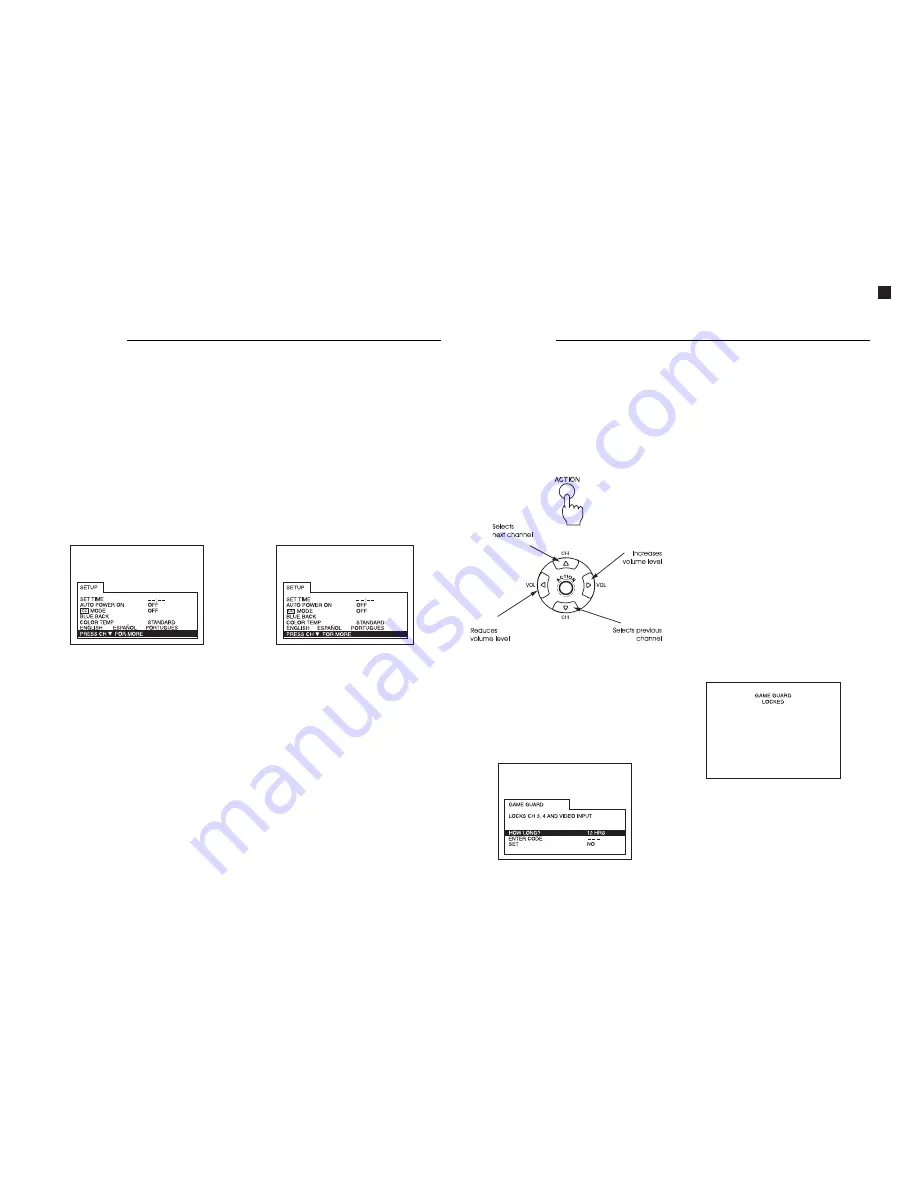
GAME GUARD
menu.
Game Guard
Blocking Games (accessible only through the remote control unit)
This function blocks the use of the TV set for games or other video input. Channels 3 and 4,
together with the video input terminals, can be disabled for 12, 24 or 48 hours, depending
on your preference.
Obs.:
Make sure this function is fully understood before using it. Find a password that is
easy to memorize, or write the password down somewhere.
Important:
Once activated, the blocking remains active even after turning off the TV set
and disconnecting it from the power line.
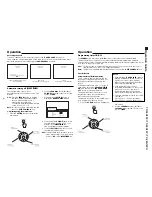
4. Press the button
VOLUME
(
”
) to select
the time period desired (12, 24, 48) for
channel blocking.
5. Press the button
CHANNEL
(
$
) to select
the option “
ENTER PASSWORD
”. When
prompted, enter a three-digit password
using the numerical keypad on the
remote control.
Important Observation:
Try to find a password that is easy to
memorize, or write the password down
somewhere.
6. After entering the three-digit password,
press the button
VOLUME
(
”
) to
activate channel blocking. The words
“
GAME GUARD LOCKED
” will display on
the screen.
TC-20G12P / TC-29G12P / TC-29G12PU
Operation Guide
Содержание TC-29G12P
Страница 27: ...27 TC 20G12P TC 29G12P TC 29G12PU Main Board Schematic Diagram TC 20G12P TC 29G12P TC 29G12PU...
Страница 31: ...31 TC 20G12P TC 29G12P TC 29G12PU A C Board Components side Top view...
Страница 32: ...32 TC 20G12P TC 29G12P TC 29G12PU A C Board Foil side Bottom view...
Страница 33: ...33 TC 29G12P TC 29G12PU Cabinet Parts Location...
Страница 41: ......
Страница 42: ...Panasonic do Brasil Ltda CS GROUP TECHNICAL SUPPORT...


