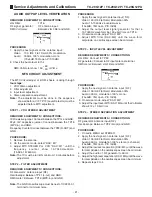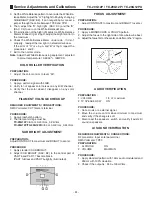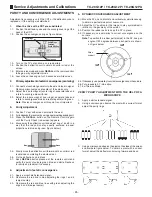
- 10 -
Operation
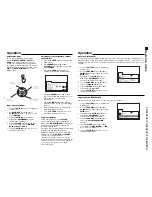
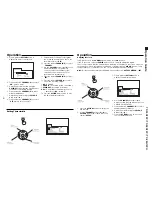
3. Press again the
ACTION
button to
display the timer control menu.
Setting Characteristic
4. Press the button
CHANNEL
(
$
) to select
“
ON
” (turn on time).
5. Adjust the activation time using the
VOLUME
buttons (
“
or
”
). Pay attention
to the AM or PM period desired.
6. Press the button
CHANNEL
(
$
) to select
minutes adjustment.
7. Adjust the minutes using the
VOLUME
buttons (
“
or
”
).
8. Press the button
CHANNEL
(
$
) to select
“
OFF
”(time to turn off the set).
9. Repeat steps 5 through 7 to program
the hour and minutes when the TV set
should turn itself off (
OFF
).
10. Press the button
CHANNEL
(
$
) to select
“
CHANNEL
”.
11. Use the
VOLUME
buttons (
“
or
”
) or the
numerical keypad on the remote
control to select the number of the
channel to tune in when the TV set
turns itself on automatically.
12. Press the button
CHANNEL
(
$
) to select
“
SET
”.
13. Press the button
VOLUME
(
”
) to select
one of the following options:
•
NO
- Disabled
•
ONE DAY
- Activated for the current day
•
EVERY DAY
- Activated for all days
Obs.:
To deactivate the automatic on/off
timer, select “
NO
” in step 13.
14. Press the
ACTION
button twice to exit
the timer adjustment menu.
Operation
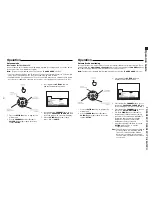
Adjusting the clock
To adjust the clock the
POWER
button must be in the
ON
position.
If the TV set is turn off by the
POWER
button, the clock must be adjusted again.
The clock, provided that the time has been adjusted, will display on the screen when the
set is turned on, when the channel is changed, or by pressing the “
RECALL
” button. To use
the automatic on/of timer function, the clock must be adjusted beforehand.
Note:
This function is automatically disabled when the function “
AUTO POWER ON
” is
SET
.
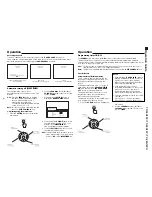
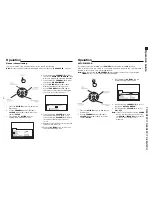
1. Press the
ACTION
button to display the
main menu.
2. Use the
CHANNEL
buttons (
$
or
4
) or
VOLUME
buttons (
“
or
”
) to select the
symbol “
SET-UP
”.
3. Press again the
ACTION
button to
display the adjustment menu.
4. Use the
VOLUME
buttons (
“
or
”
) to
adjust the time, paying attention to the
AM and PM indications.
5. Press the button
CHANNEL
(
$
) to select
the adjustment of minutes.
6. Adjust the minutes using the
VOLUME
buttons (
“
or
”
).
7. Press the
ACTION
button twice to exit
the configuration menu.
TC-20G12P / TC-29G12P / TC-29G12PU
Operation Guide
Содержание TC-29G12P
Страница 27: ...27 TC 20G12P TC 29G12P TC 29G12PU Main Board Schematic Diagram TC 20G12P TC 29G12P TC 29G12PU...
Страница 31: ...31 TC 20G12P TC 29G12P TC 29G12PU A C Board Components side Top view...
Страница 32: ...32 TC 20G12P TC 29G12P TC 29G12PU A C Board Foil side Bottom view...
Страница 33: ...33 TC 29G12P TC 29G12PU Cabinet Parts Location...
Страница 41: ......
Страница 42: ...Panasonic do Brasil Ltda CS GROUP TECHNICAL SUPPORT...


