22
Ch
an
gi
ng
th
e pl
a
y
er
s
e
ttin
g
s
RQ
TX00
98
ENGL
ISH
Changing the player settings
∫
“
VIDEO
”
menu
∫
“
AUDIO
”
menu
§
4
Refer to “Frame still and field still” (
➜
37, Glossary).
§
5
When audio is output from HDMI AV OUT terminal, and the connected equipment does not support the item selected, the actual output will depend
on the performance of this connected equipment.
QUICK SETUP enables successive settings of the items in the shaded area.
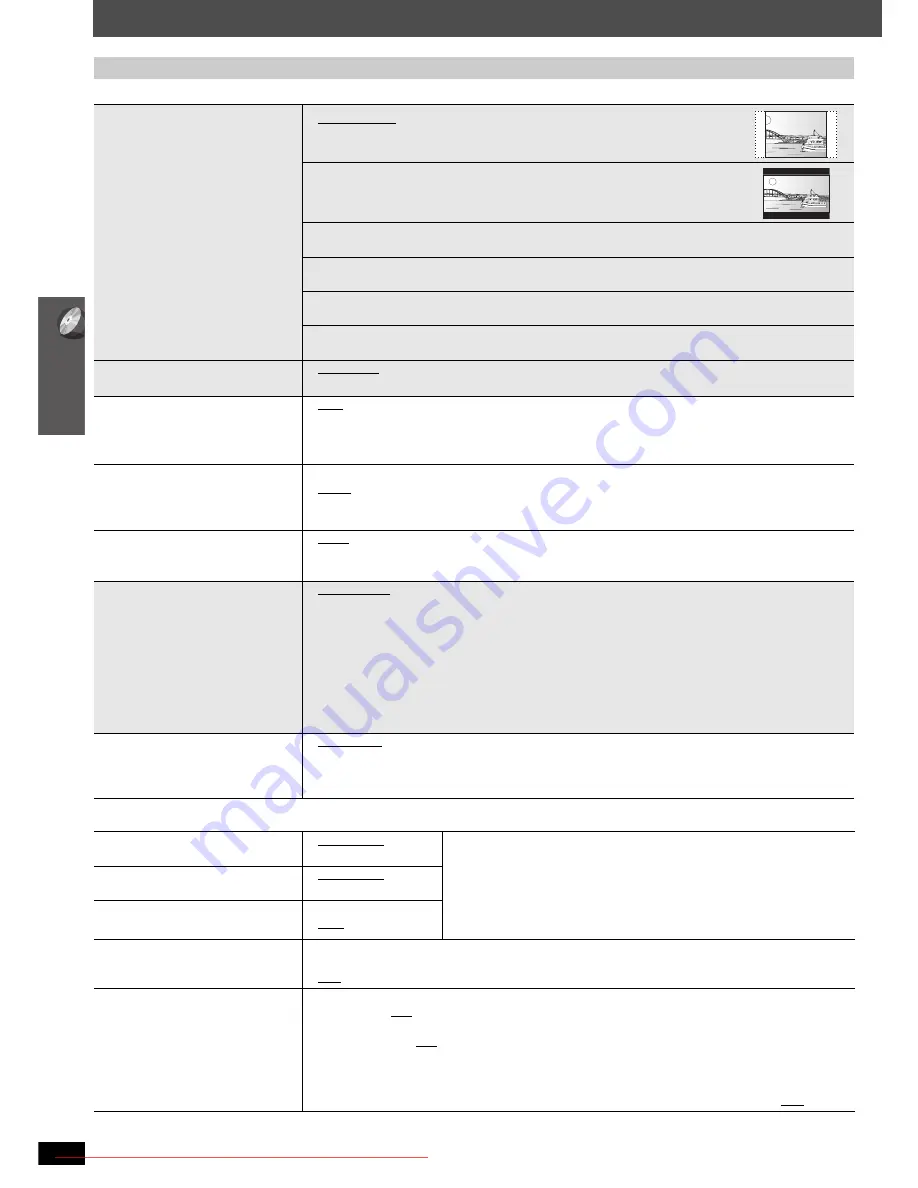
TV ASPECT
Choose the setting to suit your TV and
preference.
≥
4:3PAN&SCAN: Regular aspect TV (4:3)
The sides of the widescreen picture are cut off so it fills the screen (unless
prohibited by the disc).
≥
4:3LETTERBOX: Regular aspect TV (4:3)
Widescreen picture is shown in the letterbox style.
≥
4:3ZOOM: Regular aspect TV (4:3)
The picture zooms in and out.
≥
16:9NORMAL: Widescreen TV (16:9)
Laterally stretches image.
≥
16:9SHRINK: Widescreen TV (16:9)
Images appear at the center of the screen.
≥
16:9ZOOM: Widescreen TV (16:9)
Expands to 4:3 aspect ratio.
TV TYPE
Select to suit the type of TV.
≥
STANDARD
≥
CRT
≥
LCD
≥
PROJECTION
≥
PLASMA
TIME DELAY
When connected with a Plasma
display, adjust if you notice the audio is
out of sync with the video.
≥
0 ms
≥
20 ms
≥
40 ms
≥
60 ms
≥
80 ms
≥
100 ms
When using VIERA Link “HDAVI Control” with “HDAVI Control 3” compatible TV (
➜
26), select “0 ms”.
Audio and video will automatically be set in sync. (This works only when “DVD/CD” or “USB” is selected as
the source.)
NTSC DISC OUT
Choose PAL 60 or NTSC output when
playing NTSC discs (
➜
32, Video
systems).
≥
NTSC: When connected to an NTSC TV.
≥
PAL60: When connected to a PAL TV.
STILL MODE
Specify the type of picture shown
when paused.
≥
AUTO
≥
FIELD
§
4
: The picture is not blurred, but picture quality is lower.
≥
FRAME
§
4
: Overall quality is high, but the picture may appear blurred.
VIDEO OUT – SCART
Choose the video signal format to be
output from the SCART (AV) terminal.
≥
VIDEO/YPbPr
≥
S-VIDEO/YPbPr
≥
RGB 1/NO OUTPUT: (Only when connected to a RGB compatible TV)
If you always would like to view the picture from the unit in RGB signal, select this mode. The TV screen
will automatically switch to display the picture from the unit when the unit is turned on.
≥
RGB 2/NO OUTPUT: (Only when connected to a RGB compatible TV)
When in TV tuner mode, if the selector is set to “DVD/CD”, the TV screen will automatically switch to display the
picture from the unit only during disc playback (
[DVD-V]
[DVD-VR]
[VCD]
) or when viewing on-screen menu of
DVD/CD.
The TV picture will be displayed when the selector is set to “AV”. With other selectors, the picture from this
unit will be displayed.
VIDEO OUT (I/P)
Select “PROGRESSIVE” only if
connecting to a progressive output
compatible TV.
≥
INTERLACE
≥
PROGRESSIVE: A message screen will appear. Follow the on-screen instructions.
DOLBY DIGITAL
§
5
≥
BITSTREAM
≥
PCM
Select to suit the type of equipment you connected to the HDMI AV OUT
terminal.
Select “BITSTREAM” when the equipment can decode the bitstream (digital
form of 5.1 channel data). Otherwise, select “PCM”.
(If the bitstream is output to the equipment without a decoder, high levels of
noise can be output and may damage your speakers and hearing.)
DTS
§
5
≥
BITSTREAM
≥
PCM
MPEG
§
5
≥
BITSTREAM
≥
PCM
DYNAMIC RANGE
≥
ON: Adjusts for clarity even when the volume is low. Convenient for late night viewing. (Only works with
Dolby Digital)
≥
OFF
SPEAKER SETTINGS
Make settings for your speakers.
≥
SETTINGS:
≥
C DELAY: 0ms, 1ms, 2ms, 3ms, 4ms, 5ms
Select the delay time for your center speaker (
➜
24, Selecting the delay time of the speakers).
≥
SL/SR DELAY: 0ms, 5ms, 10ms, 15ms
Select the delay time for your surround speakers (
➜
24, Selecting the delay time of the speakers).
≥
TEST TONE: SETTING
Use the test tone for speaker level adjustments (
➜
29, Adjusting the speaker level).
≥
CENTER, SURROUND RIGHT, SURROUND LEFT:
`
6 dB to
i
6 dB (Factory preset: 0 dB)
22
SC-PT560_860E-RQTX0098-R_eng.book Page 22 Tuesday, December 4, 2007 9:02 AM
Downloaded From TheatreSystem-Manual.com Manuals


