


ENGLISH - 35
Basic operations by using the remote control
Using the automatic setup function
Input search, Auto PC adjustment (during signal input from a computer) and Auto Keystone correction works at the same time.
The Auto PC adjustment function can be used to automatically adjust the resolution, clock phase, and image position when
analog RGB signals consisting of bitmap images such as computer signals are being input. Supplying images with bright white
borders at the edges and high-contrast black and white characters is recommended when the Auto PC adjustment function is
working. Avoid supplying images that include halftones or gradation, such as photographs and computer graphics.
button
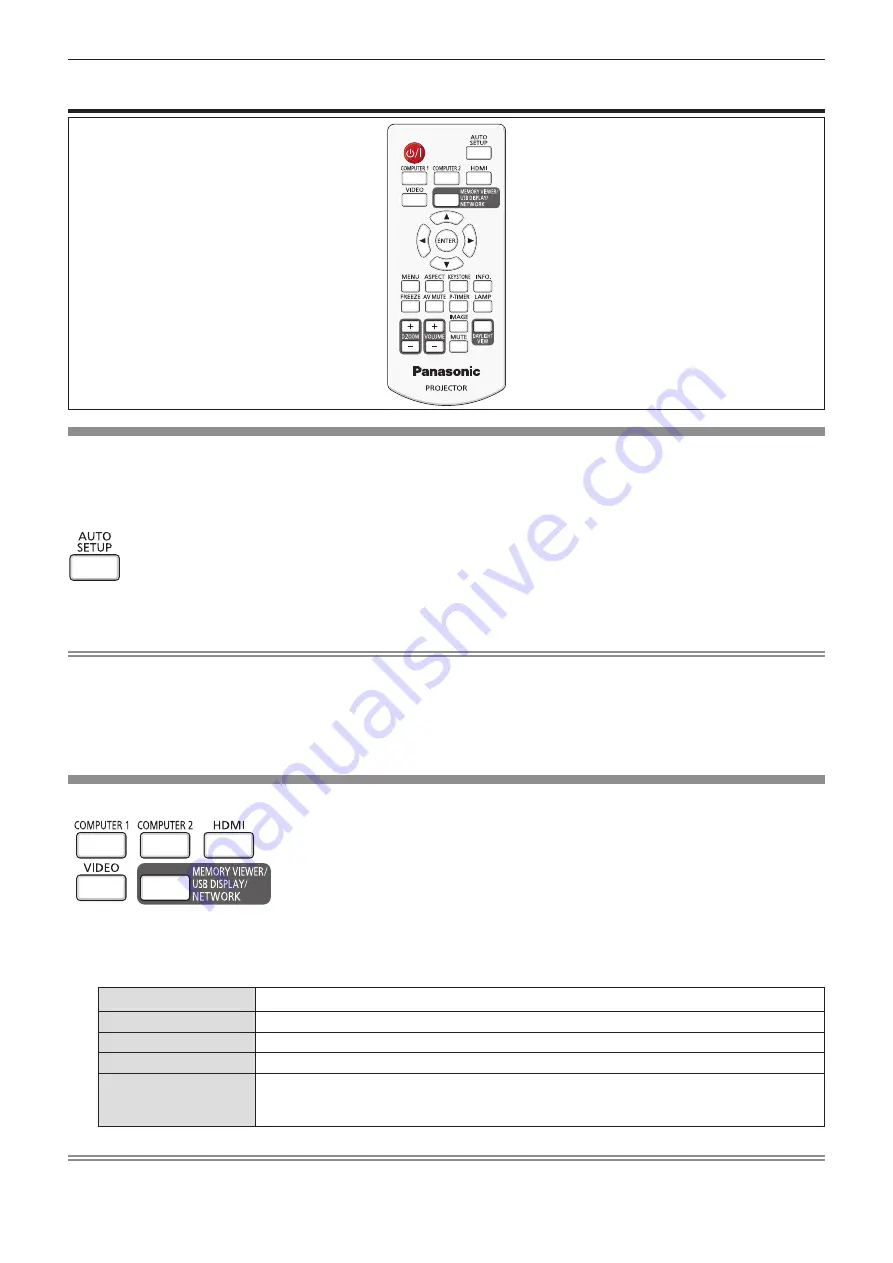
1) Press the <AUTO SETUP> button on the remote control.
Note
f
For more details, refer to the [Expand] menu → [Auto setup] (
x
page 56).
f
Automatic adjustment may not work depending on the model of the computer and the input signal.
f
Images may be disrupted for a few seconds during automatic adjustment, but it is not a malfunction.
f
If you press any button on the remote control during the automatic adjustment, the automatic adjustment will be canceled.
f
If the automatic setup function is used while moving images are being input, the adjustment may not be performed properly
even for an RGB signal that can use automatic setup.
Switching the input signal
You can switch the input signals to project.
buttons
1) Press the <COMPUTER 1>, <COMPUTER 2>, <HDMI>, <VIDEO> or <MEMORY VIEWER/USB DISPLAY/
NETWORK> button on the remote control.
f
Press the <INPUT/ENTER> button on the control panel to display the input guide, press
as
to select the input source
and then press the <ENTER> button.
<COMPUTER 1>
Press this button to switch to Computer 1/Component input.
<COMPUTER 2>
Switch to Computer 2 input.
<HDMI >
Switch to HDMI input.
<VIDEO>
Press this button to switch to Video/S-video input.
<MEMORY VIEWER/
USB DISPLAY/
NETWORK>
Press this button to switch to Memory Viewer/USB Display/Network input.
Note
f
For more details about Memory Viewer function, refer to "Memory Viewer function" (
x
page 72).
f
For more details about USB display function, refer to "USB Display function" (
x
page 74).
Chapter 3 - Basic Operations - Basic operations by using the remote control
Содержание PT-TW350D
Страница 30: ...30 ENGLISH Chapter 3 Basic Operations This chapter describes basic operations to start with ...
Страница 71: ...ENGLISH 71 Chapter 5 Operation of Function This chapter describes the operation methods of some functions ...
Страница 96: ...96 ENGLISH Chapter 7 Appendix This chapter describes specifications and after sales service for the projector ...


