Before Use
21
ª
Adjusting Brightness and Color Level
When [LCD/EVF SET] on the [LCD/EVF]
Sub-Menu is set to [YES], the following items are
displayed.
LCD Brightness [LCD BRIGHTNESS]
Adjusts the brightness of the image on the LCD
screen.
LCD Color Level [LCD COLOR LEVEL]
Adjusts the color saturation of the image on the
LCD screen.
Brightness of the Viewfinder
[EVF BRIGHTNESS]
Adjusts the brightness of the image in the
Viewfinder.
To Adjust
Press the [
;
/
∫
] Button and select the item to be
adjusted, and then press the [
6
/
5
] Button to
raise or lower the number of vertical bars in the
Bar Indication.
≥
More vertical bars indicates stronger brightness
or color saturation.
To Increase the Brightness of the Entire LCD
Monitor
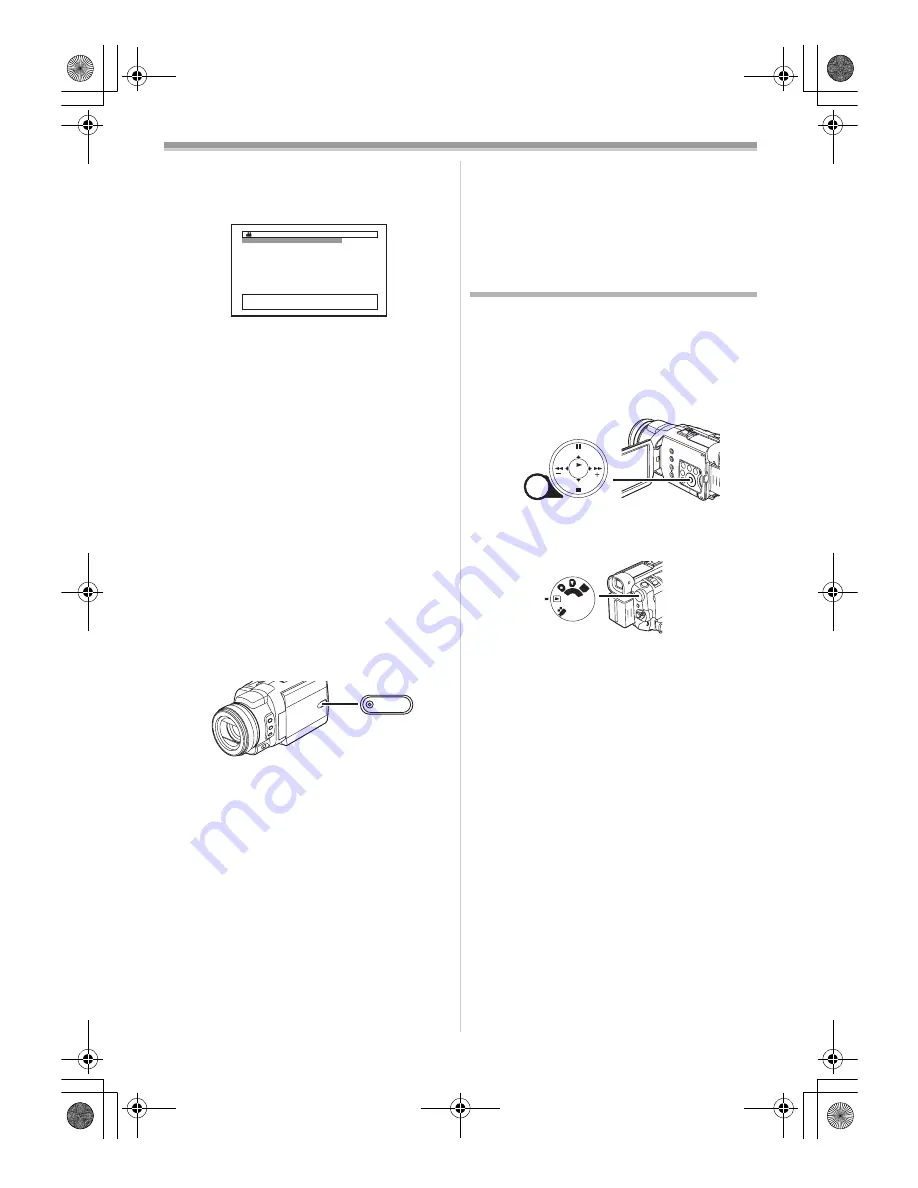
Press the [POWER LCD]
(30)
Button.
When you press the [POWER LCD] Button, the
LCD monitor becomes about twice as bright as
usual.
≥
The POWER LCD Lamp
(30)
lights up.
≥
When turning the power on while using AC
Adaptor, [POWER LCD] function is
automatically effective.
≥
When you rotate the LCD Monitor 180
o
and then
close it, it resumes normal brightness.
To Resume Normal Brightness
Press the [POWER LCD] Button again.
To Change the Picture Quality of the LCD
Monitor
Set the [LCD AI] on the [LCD/EVF] Sub-Menu to
[ON] or [OFF].
[ON]: The screen image becomes clear and
vivid. (The effect varies according to the
recording scene.)
1
LCD BRIGHTNESS
[-]||||----[+]
LCD COLOR LEVEL
[-]||||----[+]
EVF BRIGHTNESS
[-]||||----[+]
;
/
∫
:SELECT
&
/
%
:SETUP
!
/MENU:EXIT
LCD/EVF SETUP
POWER
LCD
(30)
≥
When Power LCD Lamp lights up, [LCD AI] is
automatically set to [ON]. You cannot change
this setting.
≥
These adjustments do not affect the recorded
images.
≥
For other notes concerning this item, see
-85-
.
Using the Menu Screen
To facilitate the selection of a desired function or
setup, this Camcorder displays various function
setups on Menus.
≥
When operating the menu with the Viewfinder,
set [LCD/EVF] >> [EVF ON/AUTO] >> [ON] or
rotate the LCD monitor by 180
o
.
1
Press the [MENU] Button
(16)
.
≥
The Menu corresponding to the Mode
selected by using the Mode Dial
(44)
is
displayed.
2
Press the [
;
/
∫
] Button to select a desired
Sub-Menu.
≥
Press the [
;
/
∫
] Button to display the
highlighted item.
3
Press the [
5
] Button to display the
selected Sub-Menu.
4
Press the [
;
/
∫
] Button to select the item.
5
Press the [
5
] Button to display the
selected item.
6
Press the [
;
/
∫
] Button to select the desired
mode and press [ENTER] Button to
determine the setting.
≥
While a Menu is displayed, you cannot record or
play back. Menus can be displayed during
playback but not during recording. The above
operations can be done using the [MENU]
Button, [
π
,
∑
,
∏
,
∫
] Buttons and [ENTER]
Button on the Remote Controller. (
-14-
)
To Return to the Previous Screen
Press the [
6
] Button.
To Exit the Menu Screen
Press the [MENU] Button again.
MENU
STILL
FADE
ENTER
(16)
PC
SD
(44)
PV-GS400Eng.book 21 ページ 2004年6月4日 金曜日 午後3時17分


