


18
Mode switching
Basic
Selecting the [REC] mode, and record still picture
or motion picture
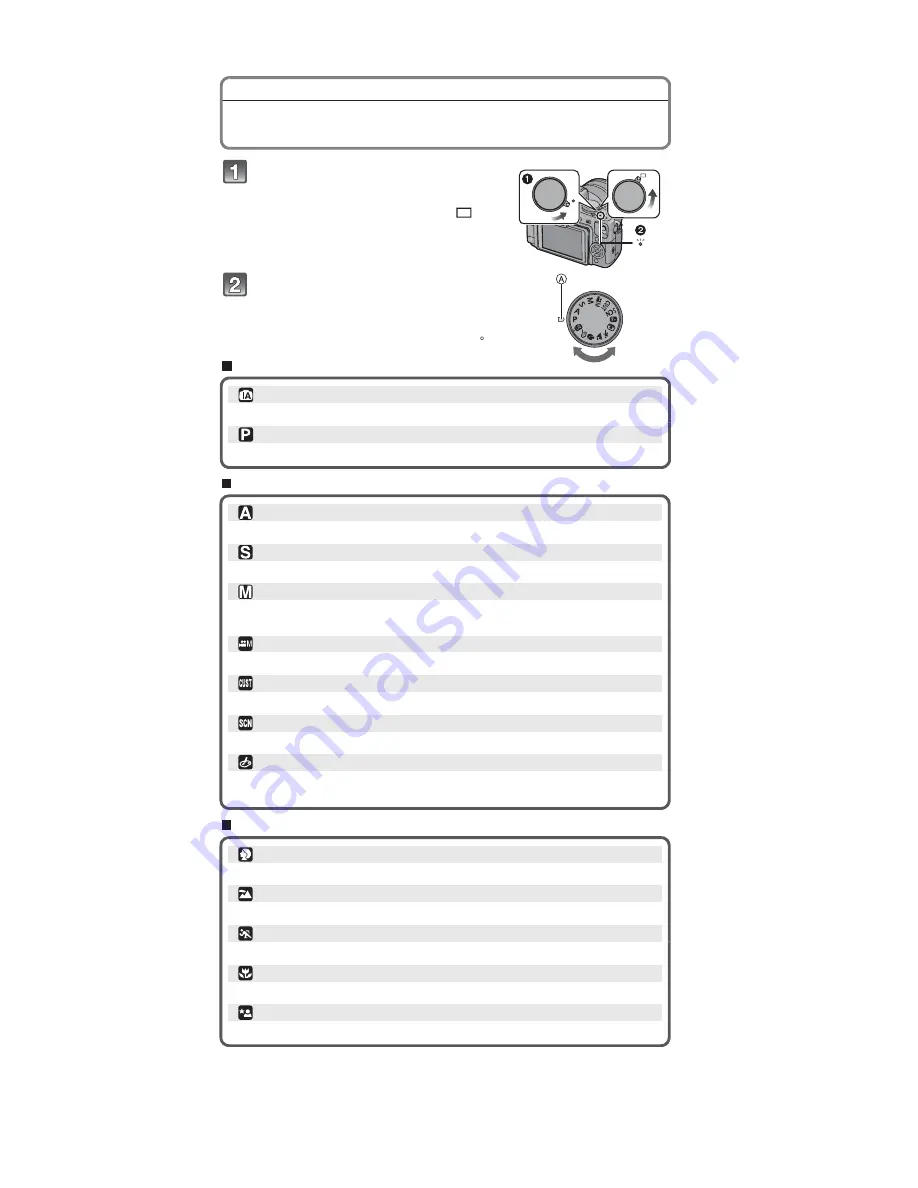
Turn the camera on.
s
The status indicator
lights when you turn this unit
on
.
s
Make sure the drive mode lever is set to [
].
Switching the mode by rotating the mode
dial.
Align a desired mode with part
.
s
Rotate the mode dial slowly and surely to adjust
to each mode. (
The mode dial rotates 360
Q
)
Basic
Intelligent Auto Mode
The subjects are recorded using settings automatically selected by the camera.
Program AE Mode
The subjects are recorded using your own settings.
ON
OFF
Advanced
Advanced Scene Mode
Aperture-priority AE Mode
The shutter speed is automatically determined by the aperture value you set.
Shutter-priority AE Mode
The aperture value is automatically determined by the shutter speed you set.
Manual Exposure Mode
The exposure is adjusted by the aperture value and the shutter speed which are
manually adjusted.
Creative Motion Picture Mode
Record motion picture with manual settings.
Custom Mode
Use this mode to take pictures with previously registered settings.
Scene Mode
This allows you to take pictures that match the scene being recorded.
My Color Mode
Easily check the color of light, brightness, and vividness of color when the picture is
taken.
Portrait mode
Use this mode to take pictures of people.
Scenery mode
Use this mode to take pictures of scenery.
Sports mode
Use this mode to take pictures of sporting events, etc.
Close-up mode
Use this mode to take pictures of a close-by subject.
Night portrait mode
Use this mode to take pictures of night scenes and people against night time scenery.
Содержание Lumix DMC-GH1KPP
Страница 15: ...15 4 Specifications...
Страница 34: ...34 7 Troubleshooting Guide...
Страница 35: ...35...
Страница 36: ...36...
Страница 37: ...37...
Страница 41: ...41 9 Disassembly and Assembly Instructions 9 1 Disassembly Flow Chart 9 2 PCB Location...
Страница 43: ...43 9 3 1 Removal of the Rear Case Unit Fig D1 Fig D2...
Страница 44: ...44 9 3 2 Removal of the Top Case Unit Fig D3 9 3 3 Removal of the LVF Unit Fig D4...
Страница 46: ...46 Fig D8 9 3 7 Removal of the Battery Case Unit Fig D9 9 3 8 Removal of the Speaker and DC Cover Fig D10...
Страница 47: ...47 Fig D11 9 3 9 Removal of the Flash P C B Fig D12 Fig D13 9 3 10 Removal of the Flash Sub P C B Unit Fig D14...
Страница 48: ...48 Fig D15 9 3 11 Removal of the AF Assist P C B EXT MIC P C B and Remote P C B Fig D16...
Страница 49: ...49 Fig D17 9 3 12 Removal of the Optical Sensor Unit Fig D18 9 3 13 Removal of the LCD Unit Fig D19...
Страница 50: ...50 Fig D20 9 3 14 Removal of the LCD TFT Unit Fig D21...
Страница 51: ...51 9 3 15 Removal of the Mic P C B and Mic Unit Fig D22 Fig D23...
Страница 54: ...54...
Страница 56: ...56 There are no LCD LVF adjustment model...


