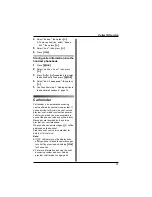
Answering System Features
39
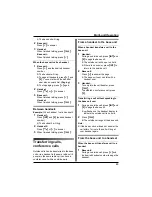
L
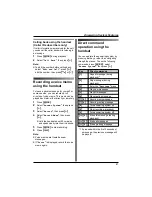
Speak clearly about 20 cm away from
the microphone.
2
Press
{
5
}
to stop recording.
L
The greeting message is played back.
Note:
L
If
“
E
”
is displayed, record the greeting
message again.
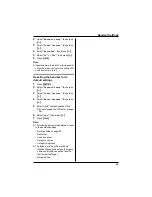
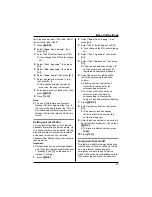
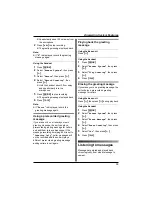
Using the handset
1
Press
{j
/OK
}
.
2
Select
“
Answer System
”
, then press
{>}
.
3
Select
“
Record
”
, then press
{>}
.
4
Select
“
Record Greeting
”
, then
press
{>}
.
L
Hold the handset about 20 cm away
and speak clearly into the
microphone.
5
Press
{j
/OK
}
to stop recording.
L
The greeting message is played back.
6
Press
{ih}
.
Note:
L
If
“
Error
”
is displayed, record the
greeting message again.
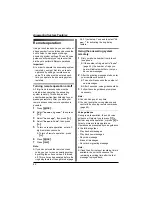
Using a prerecorded greeting
message
If you erase or do not record your own
greeting message, the unit can play a
prerecorded greeting message for callers
and ask them to leave messages. If the
message recording time (page 44) is set to
“
Greeting Only
”
, caller messages will
not be recorded and the unit will play a
different prerecorded greeting message
asking callers to call again.
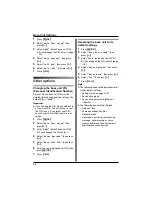
Playing back the greeting
message
Using the base unit
Press
{
d
}
.
Using the handset
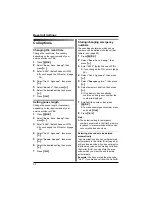
1
Press
{j
/OK
}
.
2
Select
“
Answer System
”
, then press
{>}
.
3
Select
“
Play Greeting
”
, then press
{>}
.
4
Press
{ih}
.
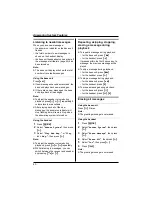
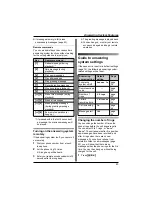
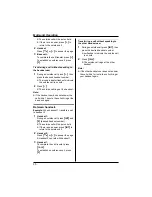
Erasing the greeting message
If you erase your own greeting message, the
unit will play a prerecorded greeting
message for callers.
Using the base unit
Press
{
d
}
, then press
{
4
}
during playback.
Using the handset
1
Press
{j
/OK
}
.
2
Select
“
Answer System
”
, then press
{>}
.
3
Select
“
Erase Message
”
, then press
{>}
.
4
Select
“
Erase Greeting
”
, then press
{>}
.
5
Select
“
Yes
”
, then press
{>}
.
6
Press
{ih}
.
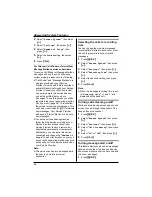
Listening to messages
Messages are stored and played back
chronologically, from oldest message to
newest.

