55
Teleph
one Syst
em
Settings Menu Chart
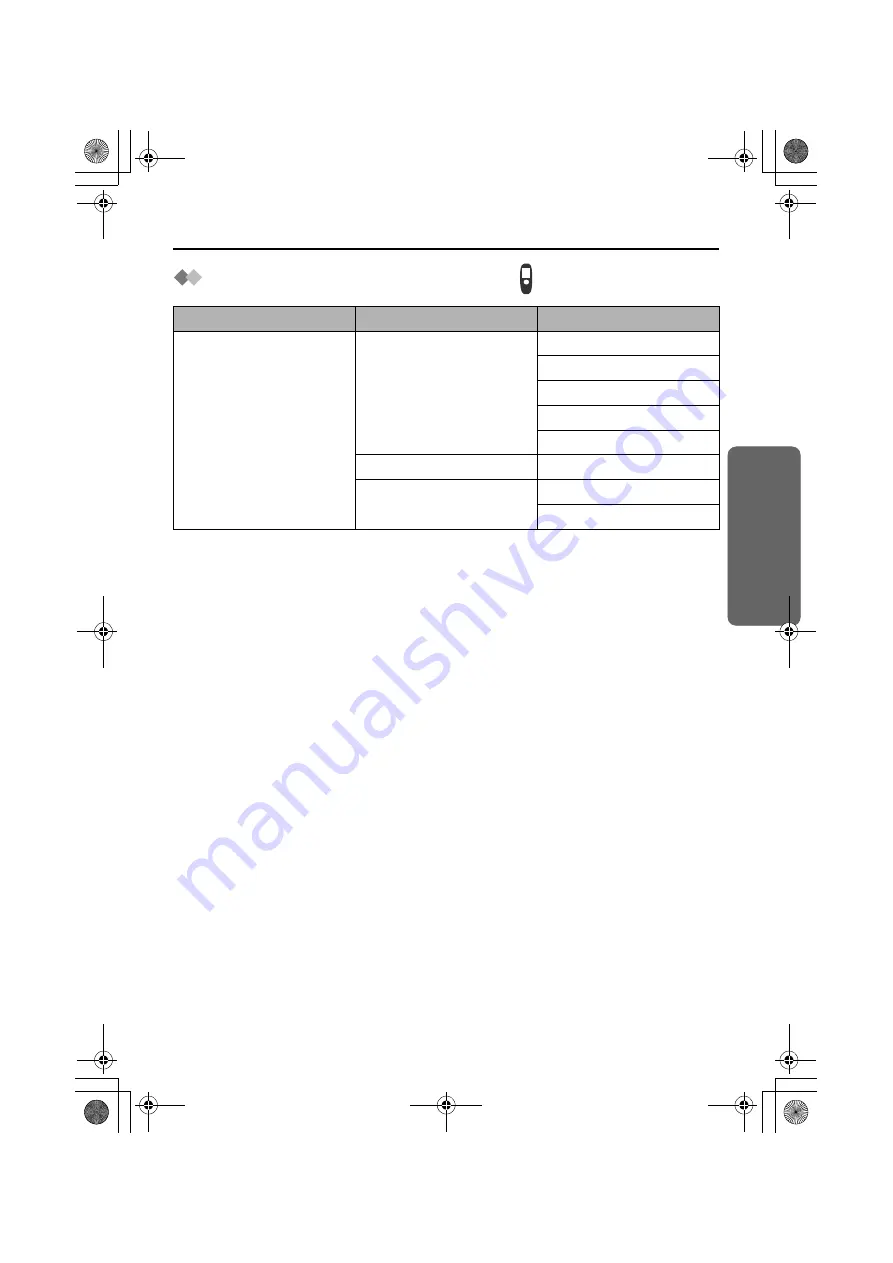
Base Unit Settings Menu Chart
1st Menu
2nd Menu
3rd Menu
Setting Base
Call Option
Recall
Pause Time
Emergency Call
Set ARS
Call Restricted
Cancel Handset
Other Option
Change Base PIN
Reset Base
540AL.book 55 ページ 2003年9月16日 火曜日 午前9時15分


