- 149 -
∫
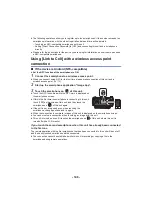
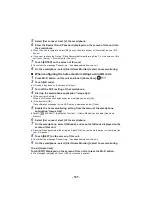
If the device is Android (non-NFC-compatible) or iOS
1
Connect the smartphone to a wireless access point.
2
Press Wi-Fi button on this unit and touch [Link to Cell].
≥
It will go into connection standby for remote operation.
3
Start up the smartphone application “Image App”.
≥
When the connection is complete, images of this unit is displayed on the smartphone screen.
To exit [Link to Cell]:
Touch [EXIT] or press Wi-Fi button.
≥
The
message is displayed.
Touch [YES] to close the indication.
≥
After turning off this unit with the LCD monitor, you can also turn on this unit and start the NFC
communication by touching the smartphone on
of this unit. (If you have turned off this unit
with the power button, this unit will not turn on by touching the smartphone on
of this unit)
≥
The following operations allow you to register up to ten smartphones. If the number exceeds ten,
smartphone information with the oldest registration date and time will be deleted.
j
Touching an NFC-compatible smartphone on this unit.
j
Setting [Direct Connection Password] to [OFF] and connecting this unit and a smartphone
directly.
≥
Please refer the instructions for the device you are using for information on how to set up and use
a NFC-compatible smartphone.
About [Link to Cell]
Smartphone screen shots are example displayed in Motion Picture Recording Mode and Playback
Mode.
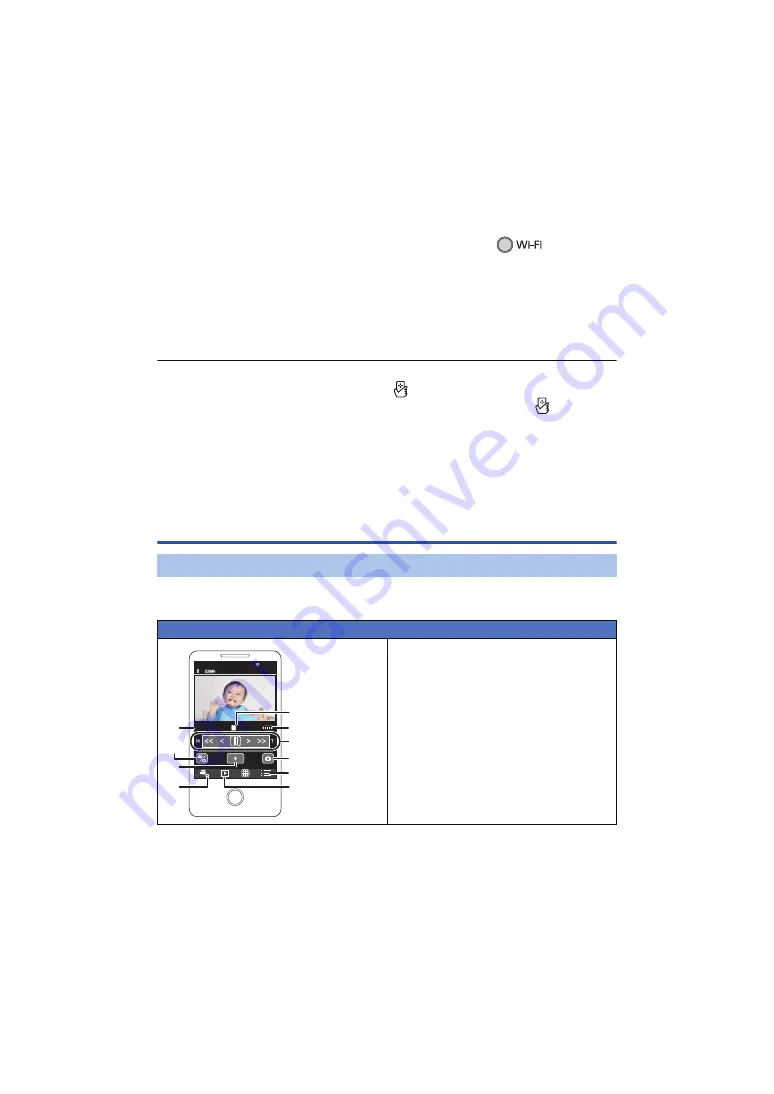
Screen display during remote operations
Recording screen
1
Recording media/remaining recordable
time
2
Remaining battery power of this unit
3
Zoom
4
Photoshot button
5
Menu display
6
Playback mode button
7
Recording mode button
8
Recording start/stop button
9
Motion Picture Recording Mode/Still
Picture Recording Mode toggle button
:
Name of the connected device
XXXXXXXXX
XXXXXXXXX
R 1h 20min

