


z
Move the cursor to "BLACK BAL" and press the [SEL]
button.
→
The "BLACK BAL" screen appears.
x
Put the lens cap on the camera lens.
c
Move the cursor to "R-PED" and adjust "R-PED" with
use of the [
e
] or [
f
] button while viewing a vector
scope or a waveform monitor. Adjustment shall be
performed so that the carrier is minimized.
v
Move the cursor to "B-PED" and adjust "B-PED" with
use of the [
e
] or [
f
] button while viewing a vector
scope or a waveform monitor. Adjustment shall be
performed so that the carrier is minimized.
11. Synchronization setting [SYNC]
The synchronization state is displayed. The horizontal
phase in the external synchronization mode can also be
adjusted.
The internal synchronization is indicated as "INT", and the
external synchronization is indicated as "EXT".
Adjustment of the horizontal phase in the
external synchronization mode
z
Set the synchronizing signal input/output selection
switch on the rear face of the CCU to "IN".
x
Connect the video synchronizing signal to the syn-
chronizing signal output/input connector.
c
Perform the settings of the function setup switches 1,
2 and 3 in accordance with the video format used by
the device to be synchronized. (
☞
page 10)
24
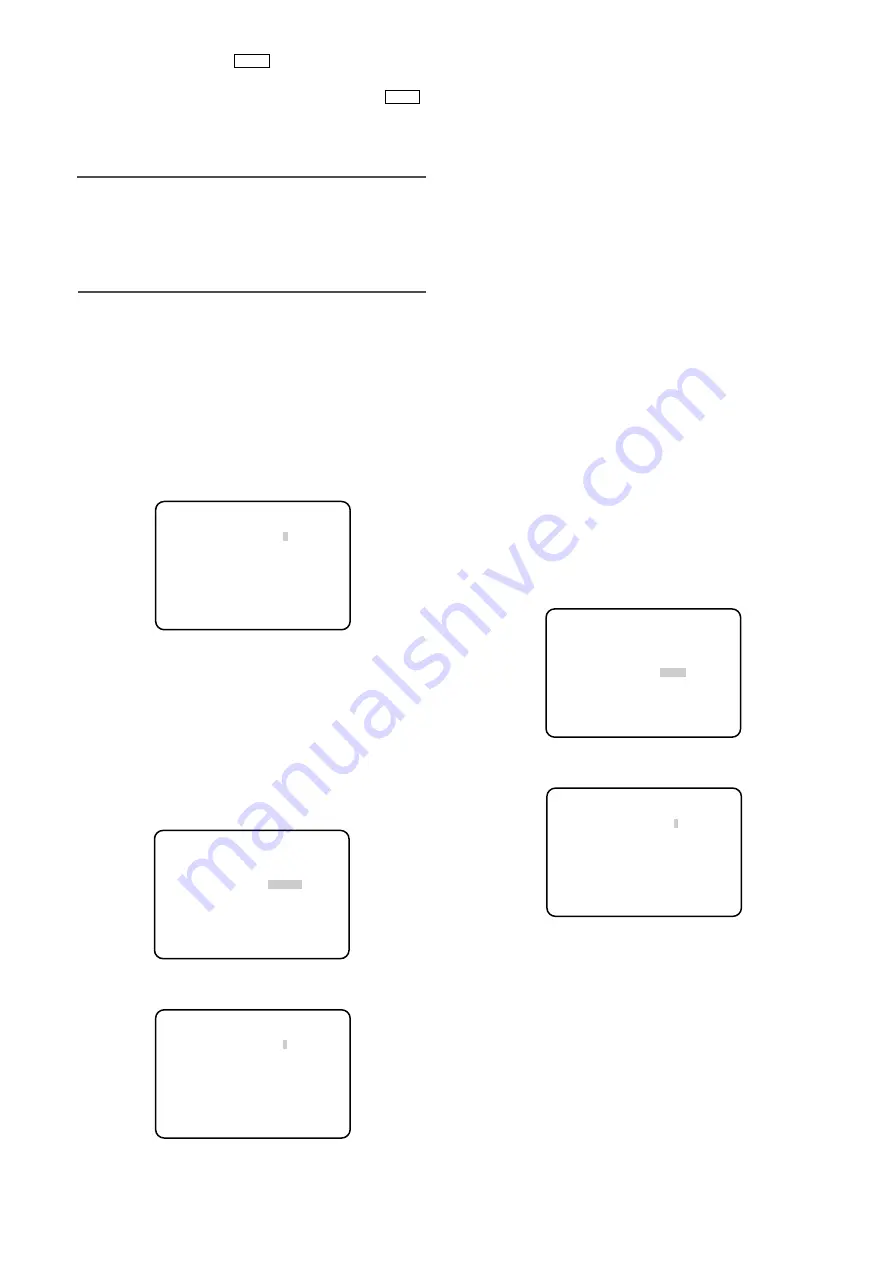
** SET UP ** P2
SCENE FILE *FILE1
WHITE BAL AWC
BLACK BAL *MANU
SYNC *EXT
END
Top screen of SETUP menu
** SYNC **
H PHASE ....
|
.... 0
– +
RET END
"SYNC" screen
x
Hold down the [BAR
] button on the front face
of the CCU for 2 seconds or more.
→
AWC starts, and the indicator of the [BAR
]
button blinks. The adjustment is completed when
the destination and "AWC OK" appear and the
indicator goes off.
Note:
• The destination to save "AWC" can be specified for
each scene file. (
☞
page 23)
• If "AWC NG" appears and the indicator stays on or if
the indicator lights when a scene file is changed,
retry the steps 1 and 2.
When "MANU" is selected, follow the steps below to
adjust the white balance.
z
Select "MANU", and then press the [SEL] button.
→
The "WHITE BAL" screen appears.
x
Move the cursor to "R-GAIN" or "B-GAIN"and adjust
the white balance with use of the [
e
] or [
f
] button.
10. Black balance setting [BLACK
BAL]
The black balance adjustment is generally unnecessary,
but the adjustment is available also by hand.
AWC
AWC
** WHITE BAL **
R-GAIN ....
|
....128
–
+
B-GAIN ....
|
....128
–
+
RET END
"WHITE BAL" screen
** SET UP ** P2
SCENE FILE *FILE1
WHITE BAL AWC
BLACK BAL *MANU
SYNC INT
END
Top screen of SETUP menu
** BLACK BAL **
R-PED ....
|
....128
– +
B-PED ....
|
....128
– +
RET END
"BLACK BAL" screen


