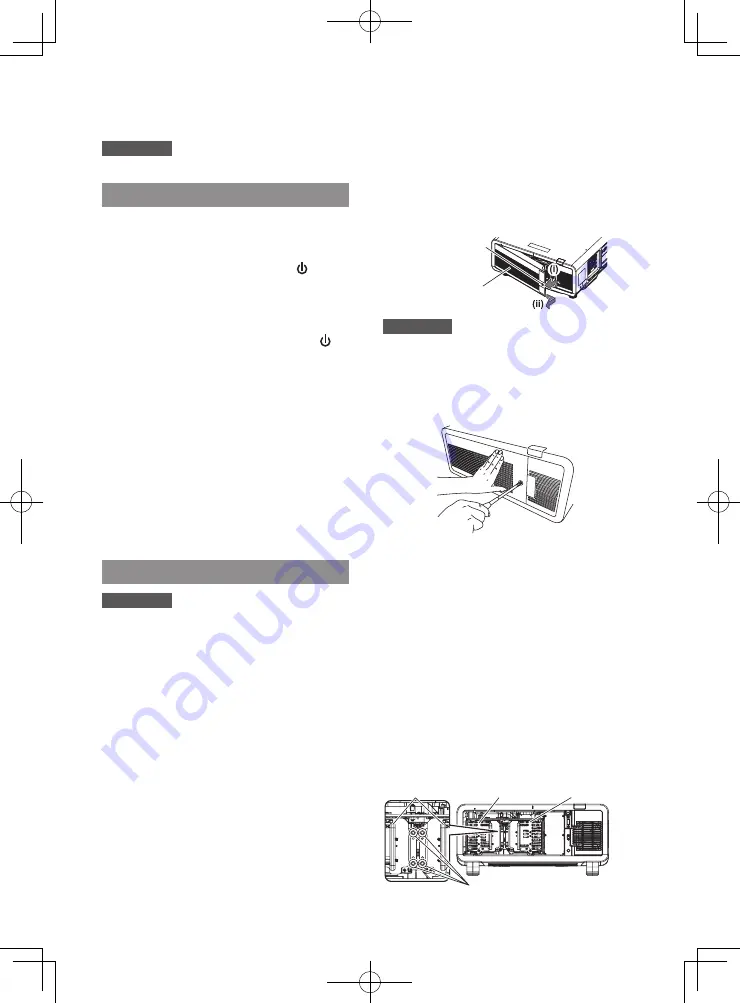
2-ENGLISH
Read this first!
Before replacing the unit
z
Make sure to turn off the power before replacing the
unit.
z
When switching off the projector, make sure
to follow the procedures in “Switching off the
projector” (
page 3).
■
Checking the lamp unit to be
replaced
Check the status of the lamp
indicators <LAMP1>/<LAMP2>/<LAMP
3>/<LAMP4>.
z
The lamp unit corresponding to the lamp indicator
that is lit in red is required to be replaced.
WARNING:
■
Before replacing the lamp unit, be sure to turn the power off and to
disconnect the power plug from the wall outlet.
z
Electric shocks or explosions can result if this is not done.
■
Do not disassemble the lamp unit.
z
If the lamp breaks, it could cause injury.
■
Do not remove unspecified screws during the lamp unit replacement.
z
Doing so can cause electric shocks, burns, or injury.
■
Do not touch the fan with your fingers or any other parts of your body
when replacing the lamp unit.
z
Doing so can cause injury.
■
When replacing the lamp unit, turn the power off and allow the lamp to
cool for at least one hour before handling it.
z
Failure to observe this will cause burns.
■
Be careful to hold the lamp unit cover and to loosen the lamp unit cover fixing
screws with the projector installed upward in the vertical direction since the
lamp unit cover may open and the lamp case may drop off on its weight.
z
This can cause severe injury or accidents.
■
When you loosen or fix the lamp case fixing screws with the projector
installed upward in the vertical direction, make sure to hold the lamp
case handle since the lamp case may drop off on its weight.
z
This can cause severe injury or accidents.
NOTICE
For USA only
Hg-LAMP CONTAINS MERCURY, Manage in Accord with Disposal Laws.
See: www.lamprecycle.org or 1-888-411-1996
■
Notes on the replacement of the
lamp unit
z
A Phillips screwdriver is necessary when
replacing the lamp unit.
z
Since the luminous lamp is made of glass, it may
burst if dropped or hit with a hard object. Please
handle with care.
z
Do not disassemble or modify the lamp unit.
z
When replacing the lamp unit, be sure to hold it
by the handle because its surface is pointed and
its shape is protruded.
z
The lamp may be burst. Replace the lamp
unit carefully so that the broken pieces of the
lamp glass will not scatter. When the projector
is mounted on the ceiling, do not make the
replacement directly under the lamp unit or put
your face near it.
Always follow these precautions
ENGLISH-3
z
The lamp contains mercury. When disposing of
used lamp units, contact your local authorities or
dealer for correct methods of disposal.
Attention
z
Use only specified lamp units.
Switching off the projector
When the projector is operating, perform the
following steps to turn off the projector, and wait until
the lamp unit cools off then make the replacement.
1) Press the power standby < >
button.
2) Press
◀▶
to select [OK], and
press the <ENTER> button.
(Or press the power standby < >
button again)
z
Projection of the image will stop, and the
power indicator <ON (G)/STANDBY (R)> on
the projector lights in orange.
(The fan keeps running.)
3) Wait until the power indicator <ON
(G)/STANDBY (R)> of the projector
lights in red (and the fan stops) for
approximately 170 seconds.
4) Press the <OFF> side of the <MAIN
POWER> switch to turn off the
power.
Replacing the lamp unit
Attention
z
When the projector is mounted on the ceiling, do
not make the replacement while your face is near
the lamp unit.
z
Do not remove or loosen the screws other than
specified ones when replacing the lamp.
1) Set the <MAIN POWER> switch to
<OFF> and disconnect the power
plug from the power outlet.
z
Wait at least one hour and and check if the
lamp unit has cooled down.
2) Remove the lamp unit cover.
(i)
Use a Phillips screwdriver to loosen the
lamp unit cover fixing screw (one screw)
counterclockwise until it turns freely, and
then open the lamp unit cover slowly in
the direction of the arrow described in the
following figure.
•
Opening the lamp unit cover quickly may
result in damage to the cover.
• If you loosen the lamp unit cover fixing
screw with the projector installed upward
in the vertical direction, the lamp unit
cover may open on its weight and drop
off the lamp unit.
(ii)
Hold the lamp unit cover securely and slide
it in the direction of the arrow, and then pull
it out backward to remove.
/DPSXQLWFRYHU
/DPSXQLWFRYHU
IL[LQJVFUHZ
Attention
z
Be careful to hold the lamp unit cover and to
loosen the lamp unit cover fixing screws with the
projector installed upward in the vertical direction
since the lamp unit cover may open and the lamp
case may drop off on its weight.
– This can cause severe injury or accidents.
3) Pull out the lamp case.
z
Use a Phillips screwdriver to turn the lamp
case fixing screws of the lamp unit to be
replaced (two screws each) counterclockwise
until they turn freely, and then hold the lamp
case handles to be replaced and pull out
backward.
z
Do not remove the black screws other than
the lamp case fixing screws.
z
When you loosen the lamp case fixing screws
with the projector installed upward in the vertical
direction, the lamp case may drop off on its
weight. Be sure to hold the lamp case handle
when you loosen the lamp case fixing screws.
z
When removing the lamp case, make sure that
the projector is stable and remove it in a safe
place where the lamp case is dropped off.
Lamp case R
Lamp case L
Lamp case fixing screws
Lamp case handles


