29
RQT9056
Notes
If the desired audio is not recorded, select the kind of audio for
“Select Audio Channel For DV Input” in the Setup menu (
62).
[RAM]
Programs are recorded as a single item; breaks in the
images create chapters.
Compatibility with
v
ideo camcorders from other manufacturers is
not guaranteed.
It is not possible to operate the unit from the connected DV
e
q
uipment.
The DV e
q
uipment name may not be shown correctly.
Date and time information is not recorded, e
v
en if displayed on the
camcorder.
The DV IN terminal is not meant to be connected to a computer.
This unit uses a 4-pin “DV IN” connector;
Your DV camcorder may use a 4-pin or 6-pin external connector.
Please consult your DV camcorder’s manufacturer to confi rm
correct external connection.
You cannot record discs and play discs simultaneously.
If
v
ideo is copied from another piece of e
q
uipment to this unit,
then the
v
ideo
q
uality will be degraded.
Connect the cable while the power to both the unit and
the external de
v
ice is off.
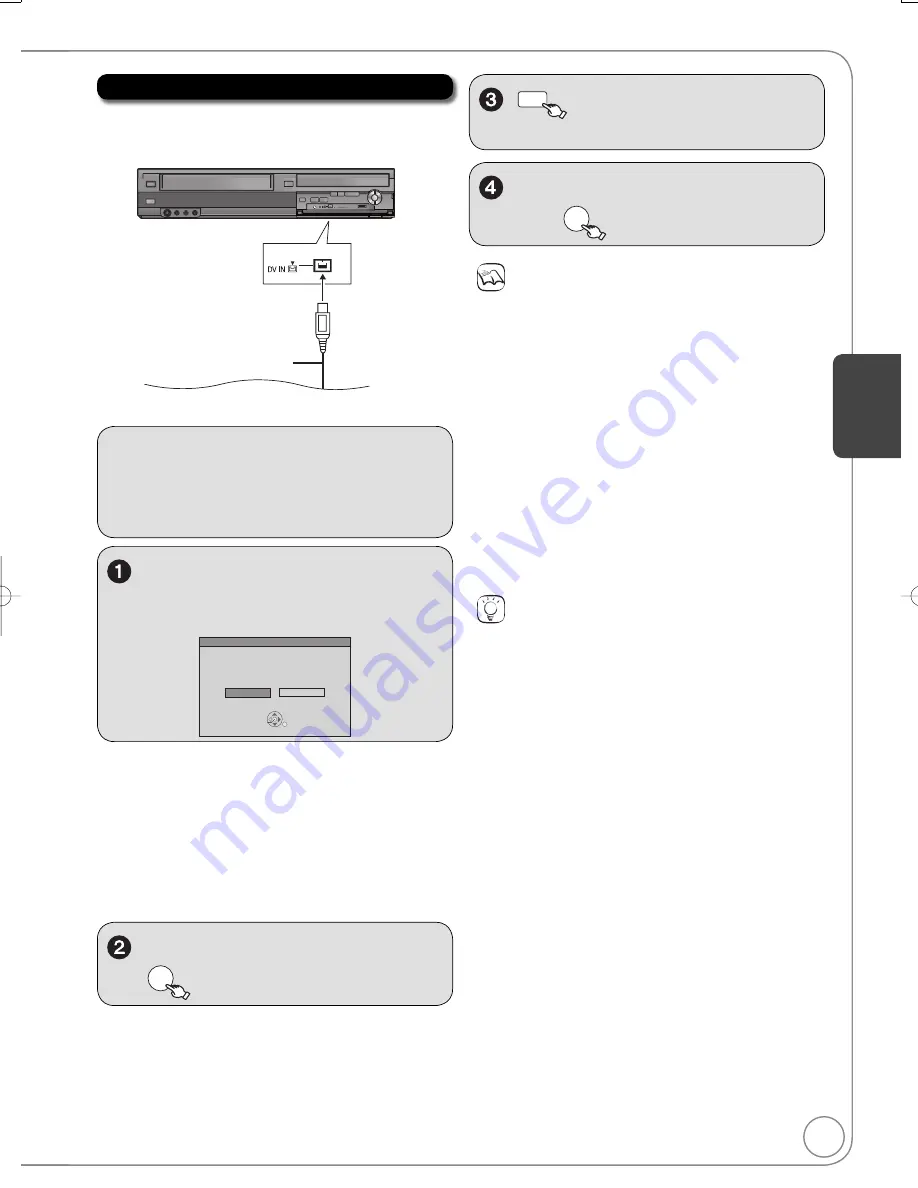
Front of the unit
4-pin DV Cable
[RAM]
[-R]
[-R]DL]
[-RW‹V›]
[+R]
[+R]DL]
[+RW]
Turn ON the DV e
q
uipment and
pause play where you want to
begin recording.
DV connection detected.
Cancel
Record to DVD
OK
DV camcorder connection
Start recording?
to select “Rec.”,
then
OK
Recording from a DV Camcorder
Tips
When recording fi nishes
The confi rmation screen appears.
Press [OK] to fi nish DV camcorder recording.
To stop recording
Press [
STOP].
The confi rmation screen appears. Press [OK].
If the DV camcorder recording function does not work properly,
check the connections and DV e
q
uipment settings, and turn the
unit off and back on. If that does not work, follow the instructions
for “Recording from a VCR, etc.” (
28).
Preparation:
Turn on the unit.
Insert a disc with enough remaining blank space.
[RAM]
If the disc is protected, release protection
(
52).
When “DV camcorder connection” screen does not
appear
After performing step 1 (
abo
v
e).
1. Press [DRIVE SELECT] to select the DVD dri
v
e.
–External DV cannot be recorded to VHS.
2.
W
ith the unit stopped
Press [FUNCTIONS].
3. Press [
,
] to select “Other Functions” then press [OK].
4. Press [
,
] to select “DV Camcorder Rec.” then press [OK].
You can proceed to step 4 (
right).
to select “Record to DVD” then
OK
REC MODE
to select the recording
mode for the disc (
24).
Ad
v
anced Features
DMR-EZ48VP.indb 29
DMR-EZ48VP.indb 29
2007/12/13 20:42:59
2007/12/13 20:42:59


