Chapter 7
70 Service Provider Features
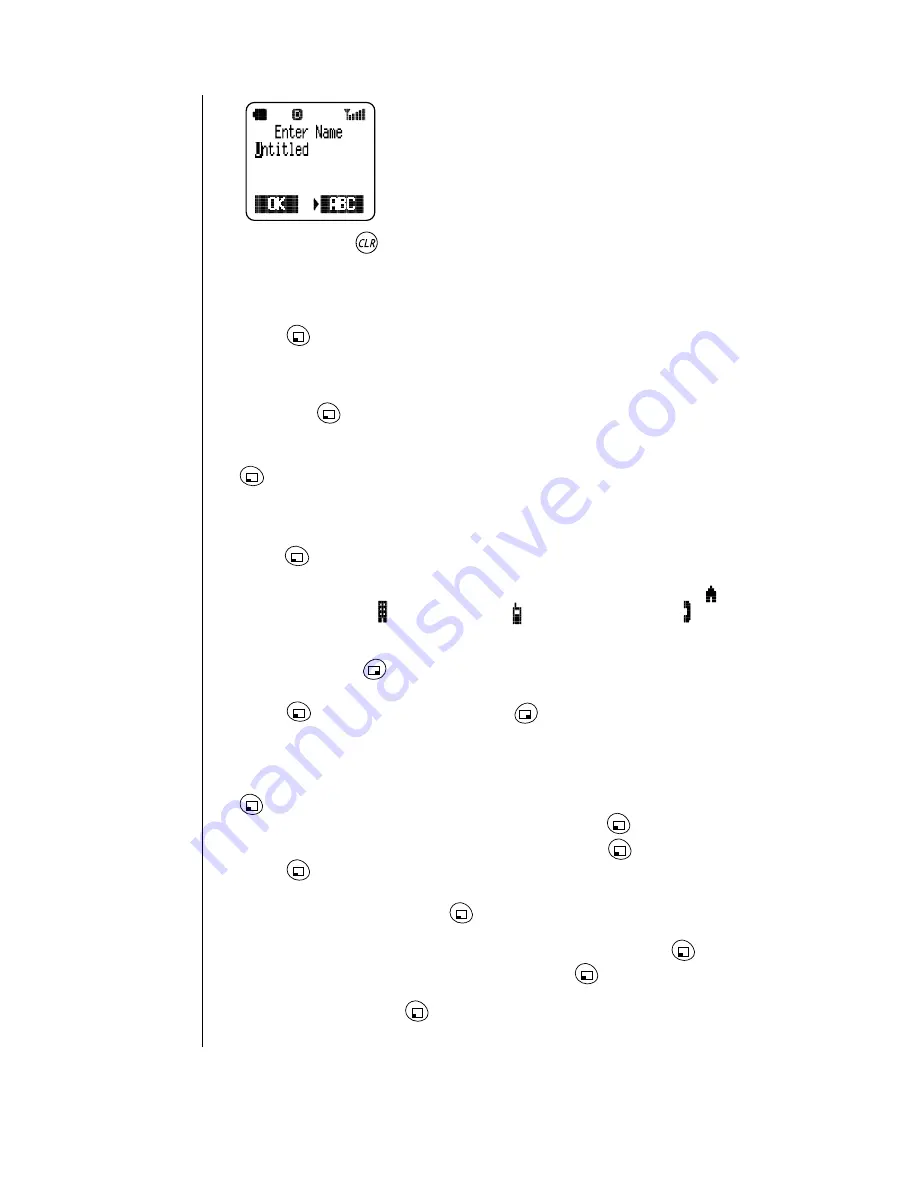
• The display prompts for a name for your group list.
3
Press and hold
to delete Untitled and then enter a name for your
group list.
•
Enter a name (up to 16 characters) that will remind you who is in the list.
For example, Book Club, Project Team, and so on. (See Chapter 4, “Text
Entry Operations” for information on entering text on your display.)
4
Press
(OK).
•
The display shows the name you entered for the Group List, and
prompts for names of people to include.
5
You can add names in any order. Scroll to 1st:, 2nd:, 3rd:, 4th:, or 5th:
and press
(SELECT).
•
The names in your Phonebook are displayed.
6
Scroll to the name you want to add to the group list and press
(SELECT).
•
All phone numbers for that person (and an e-mail address, if present)
are displayed.
7
Scroll to the phone number or e-mail address you want to use and
press
(SELECT).
•
The person’s name is added to the group list. An icon next to the name
indicates which phone number (or e-mail address) will be used:
(home number),
(work number),
(cell phone number),
(other
number), or
@ (
e-mail address).
8
When you have entered all the names (up to five) to be included in this
group list, press
(FINISH).
•
The display asks if you want to save the entry.
9
Press
(YES) to save the entry or
(NO) to cancel it.
Viewing Your Group Lists
You can view your group lists, edit them, and delete them.
1
From the Text Message menu, scroll to Group Lists and press
(OK).
2
On the Group List menu, scroll to View and press
(OK).
3
Scroll to the group list you want to view and press
(VIEW).
4
Press
(OPTION).
5
From the View Options menu, do one of the following:
-
To edit a group list, press
(OK) and follow the instructions from
step
4
in “Editing a Group List”.
-
To delete an entire group list, scroll to Delete and press
(OK).
When asked to confirm the deletion, press
(YES).
-
To send a message to the people in the selected group list, scroll to
Send To and press
(OK). Follow the instructions in “Composing
a Text Message” on page 64.
Содержание Allure EB-TX310
Страница 2: ......
Страница 3: ......
Страница 42: ...Chapter 4 30 Text Entry Operations ...
Страница 50: ...Chapter 5 38 Phonebook Features ...
Страница 101: ......


