38
<Note>
z
When “VIDEO” is selected for the menu option REC SIGNAL,
non-standard signals output from the GENLOCK IN connector,
may degrade video quality.
z
When “PROG.” is specified for the menu option V.RES (25P),
segmented-frame video is recorded, allowing you to perform
completely progressive editing. However, adding vertical
details (V.DTL) can makes the video appear unnatural. For
these reasons, it is recommended that V.DTL be set to 0.
z
In progressive mode, 50 percent shutter is forcibly added to
produce more film-like motion video. To cancel this shutter, go
to the <OPTION> screen from the OPTION menu and set the
option P HALF SHUT to “OFF”.
4-3-2 Selecting the Recording System
The recording format is selected through the option menu REC
MODE.
The aspect ratio is selected through the menu option ASPECT.
These options are found in the <SYSYTEM MODE> screen,
which is accessible from the SYSTEM SETTING page.
Details of the option REC MODE
50M:
Video is recorded in the DVCPRO50 format (50
Mbps).
25M:
Video is recorded in the DVCPRO format (25 Mbps).
DV:
Video is recorded in the DV format.
Details of the option ASPECT
16:9:
Video is recorded with an aspect ratio of 16:9.
4:3:
Video is recorded with an aspect ratio of 4:3.
4-4
Selecting Audio Input Signals
and Adjusting Recording Levels
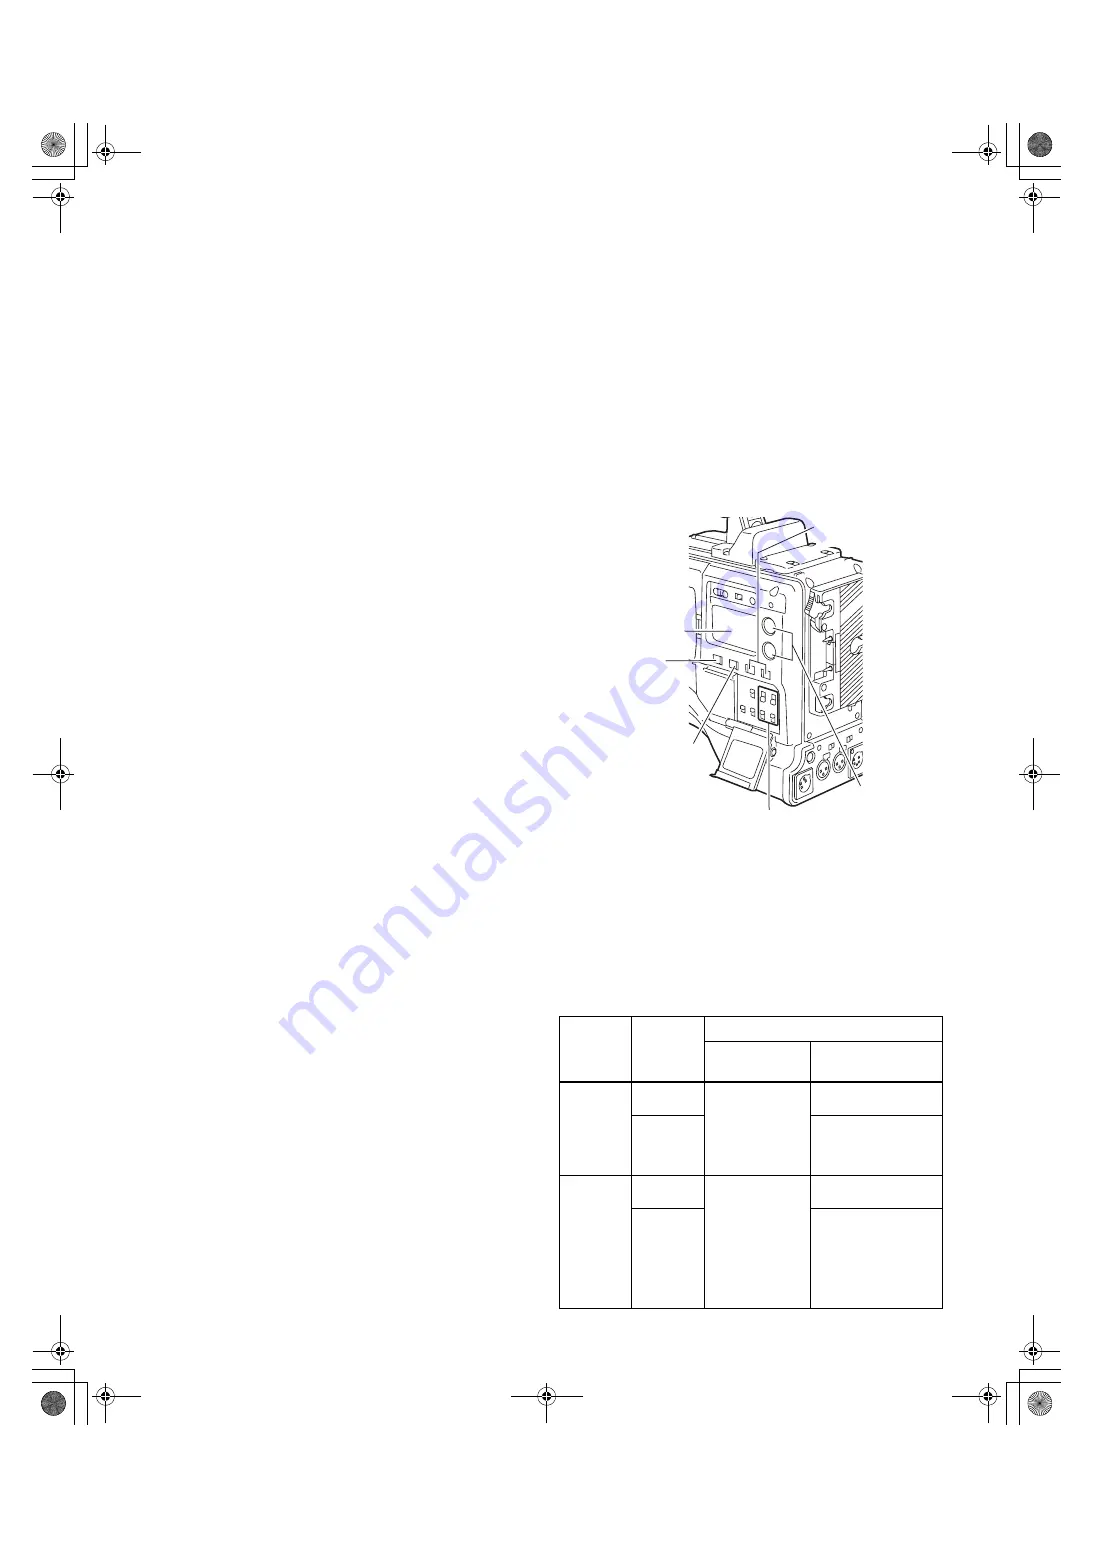
In any format (DVCPRO50, DVCPRO or DV), the AJ-SPX900E
supports independent four-channel audio recording.
When the AUDIO SELECT CH1/CH2 switch is positioned at
[AUTO], the recording levels for Audio Channels 1 and 2 are
automatically adjusted. To manually adjust the recording levels,
position the switch at [MAN]. Note that the recording levels for
Audio Channels 3 and 4 are selected through a menu option.
4-4-1 Selecting Audio Input Signals
The input signals to be recorded on Audio Channels 1, 2, 3, and
4 are selected with the AUDIO IN switch. For more information,
see [2-2 Audio (input) Function Section].
Your AJ-SPX900E is factory-set to perform no recording on
Audio Channels 3 and 4 in the DVCPRO and DV formats. To
enable four-channel recording, the menu option 25M REC CH
SEL must be set to “4CH”.
The following table shows audio signals recorded on Audio
Channels 3 and 4 that depend on the settings for menu options
REC CH3/4 and 25M REC CH SEL.
These options are found in the MIC/AUDIO1 screen, which is
accessible from the MAIN OPERATION page:
REC CH3/4
options
25M REC
CH SEL
options
Recording on CH3/4
DVCPRO50
format
DVCPRO or
DV format
SW
2CH
Audio signals
selected with the
AUDIO IN CH3/
CH4 switch are
recorded.
No recording is
performed.
4CH
Audio signals selected
with the AUDIO IN
CH3/CH4 switch are
recorded.
CH1/2
2CH
Signals for Audio
Channel 3 are also
recorded on Audio
Channel 1, and
signals for Audio
Channel 4 are also
recorded on Audio
Channel 2.
No recording is
performed.
4CH
Signals for Audio
Channel 3 are also
recorded on Audio
Channel 1, and signals
for Audio Channel 4 are
also recorded on Audio
Channel 2.
AUDIO LEVEL
CH1/CH2 controls
AUDIO SELECT
CH1/CH2 switch
MONITOR CH1/3
/ ST / CH2/4
selector switch
MONITOR SELECT
CH1/2 / CH3/4
selector switch
Display window
AUDIO IN CH1/CH2/
CH3/CH4 buttons
#,52:''PINKUJDQQMࡍࠫ㧞㧜㧜㧡ᐕ㧟㧞ᣣޓ᳓ᦐᣣޓඦᓟ㧡ᤨ㧞㧜ಽ


