Chapter 5 Shooting
—
Special recording function
- 128 -
Special recording function
Special recording such as pre-recording or relay recording is possible by setting the menu.
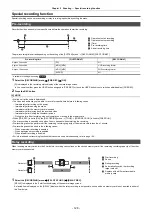
Pre-recording
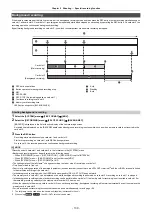
Records the video and audio from specific time before the operation to start the recording.
The pre-recording time varies depending on the setting of the [SYSTEM] menu
→
[FILE FORMAT]/[REC FORMAT].
* Available for setting when using
.
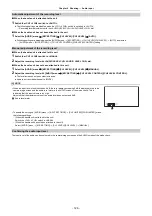
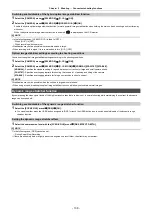
1
Select the [RECORDING] menu
→
[PRE REC]
→
[ON].
[P] is displayed in the recording status display of the camera image screen.
≥
You can also either press the USER button assigned to [PRE REC] or touch the USER button icon to switch enable/disable of [PRE REC].
2
Press the REC button.
@
NOTE
0
Aim the unit at the subject beforehand.
0
The video and audio may not be able to record for specific time before in following cases.
j
Immediately after turning on the power
j
Immediately after opening the menu
j
Immediately after the memory card is inserted
j
Immediately after playing back the recorded video
j
Immediately after closing the thumbnail screen
j
During the time from recording stop until completion of writing to the memory card
0
When [PRE REC] is set to [ON], the [RECORDING] menu
→
[TC/UB]
→
[FREE/REC RUN] is fixed to [FREE RUN].
0
The pre-recording is canceled once when 3 hours has past without starting the recording.
0
Pre-recording cannot be performed if the remaining recording capacity of the memory card is less than 1 minute.
0
Pre-recording cannot be used in the following cases:
j
When super slow recording is enabled
j
When background recording is enabled
j
When interval recording is enabled
0
For information about recording functions that cannot be used simultaneously, refer to page 196.
Relay recording
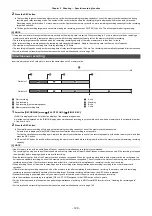
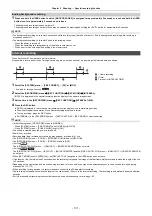
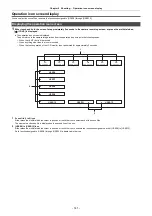
When inserting memory cards into the 2 card slots, recording can continue on the second memory card if the remaining recording capacity of the other
memory card is exhausted.
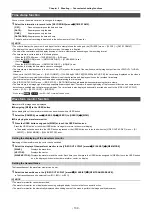
1
Select the [RECORDING] menu
→
[2 SLOTS FUNC.]
→
[RELAY REC].
[RELAY] is displayed in the 2 slot function display of the camera image screen.
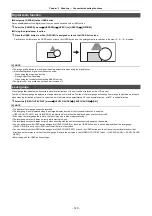
A slanted line is displayed on the [RELAY] display when the relay recording is not possible, such as when a memory card is not inserted in either of
the 2 card slots.
A
Operation to start recording
B
Operation to stop recording
C
(Time)
D
Pre-recording time
E
Actual recording time
Pre-recording time
[FILE FORMAT]
[REC FORMAT]
Approx. 3 seconds
[P2]
*
All
Approx. 5 seconds
[MOV], [MP4]
UHD recording format
Approx. 10 seconds
[MOV], [MP4]
FHD recording format
[AVCHD]
All
Card slot 1
Card slot 2
A
Start recording
B
Pause
1
During recording
2
Automatically switch the recording
target card slot
3
Replace with a different recordable
memory card
CX10
Содержание AG-CX7
Страница 8: ...Chapter 1 Overview Before using the unit read this chapter ...
Страница 16: ...Chapter 2 Description of Parts This chapter describes the names functions and operations of parts on the unit ...
Страница 155: ...Chapter 7 Output and Screen Display This chapter describes the screen displayed on the output video and LCD monitor ...
Страница 166: ...Chapter 8 Connecting to External Devices This chapter describes the external devices that can be connected to the unit ...
Страница 172: ...Chapter 9 Network Connection This chapter describes how to use the unit by connecting to a network ...
Страница 188: ...Chapter 10 Notes Maintenance of the unit or frequently asked questions are described ...
Страница 199: ...Chapter 11 Specification This chapter describes the specifications of this product ...
Страница 208: ... Panasonic Corporation 2020 Panasonic Corporation Web site http www panasonic com ...

