background image

10

System Setup

1. VIDEO SETUP

A)TV Shape setup

TV SHAPE

16:9 (wide screen): choose this setting if your DVD player

is connected to a wide screen TV, if you choose this setting

and you don’t have a widescreen TV, the images on the

screen may appear distorted due to vertical compression.

4:3 LB (letter box): choose this setting if your DVD player

is connected to a normal ratio TV, connector you'll see

the movies in the original aspect ratio, you'll see the entire

frame of the movie might appear with back bars at the top

and bottom of the screen.

4:3 PS (pan & scan): choose this setting if your DVD player

is connected to a normal ratio TV, you can fill the movie to

entire screen your TV, this might mean that parts of the

picture (the left and right edges) won't be seen.

B)TV system setup

TV SYSTEM

According to the colour system of the TV, you can choose the

TV system

AUTO: choose this setting if your DVD player is connected

to a multi-system TV

NTSC: choose this setting if your DVD player is connected

to a NTSC TV

PAL: choose this setting if your DVD player is connected

to a PAL TV  

C) Video out setup

VIDEO OUT

S-Video: choose this setting if your DVD player is connected

to a TV with S-VIDEO video cables.

INTERLACE-YUV: choose this setting if your DVD player is

connected to a TV with Y, Cb, Cr video cables,

P-SCAN: choose this setting if your DVD player is connected

to a progressive scan TV with Y,Cb, Cr, video cables.

2. LANGUAGE SETUP 

A) OSD menu language setup

Highlight the OSD LANGUAGE option, and press

buttons to choose the OSD language you prefer, press

ENTER to confirm, and it will display OSD in that

language.   

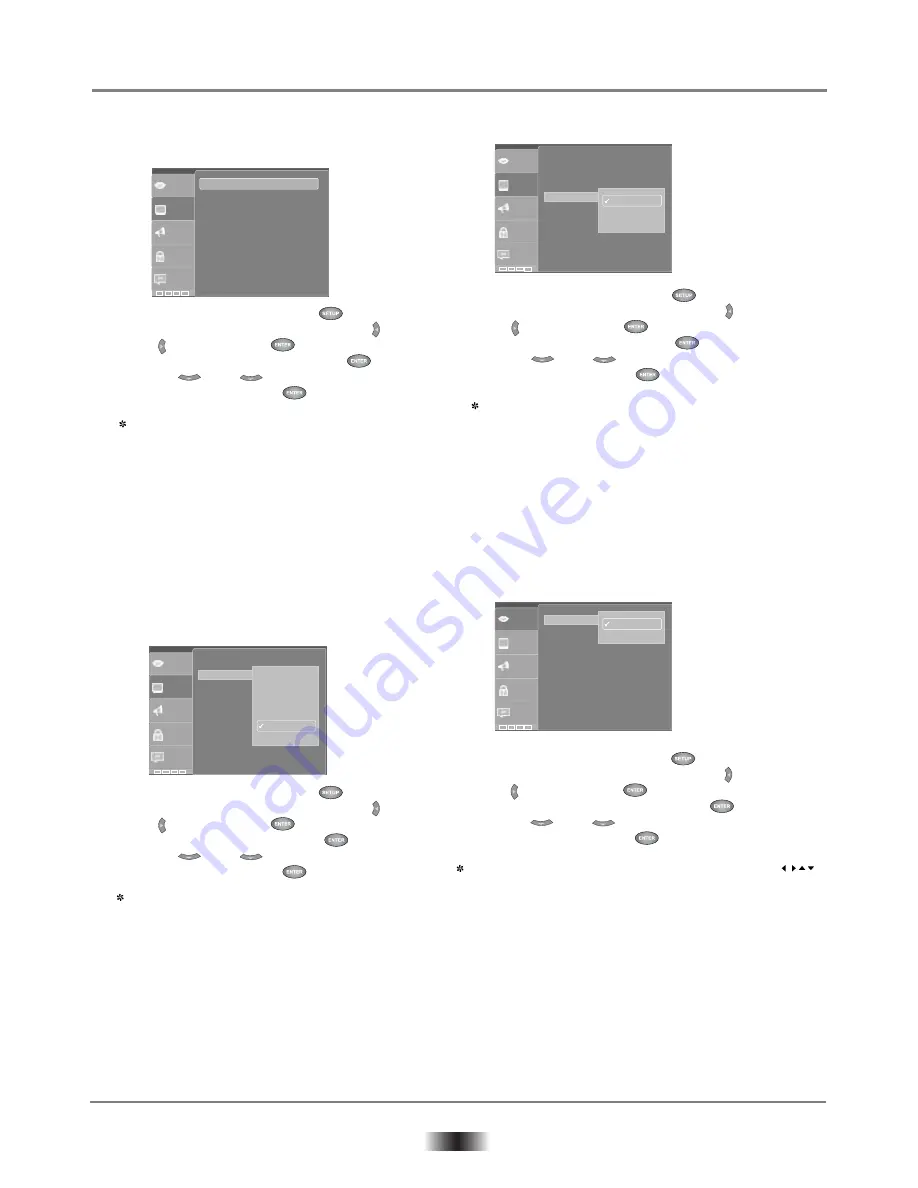
1) Open main menu by pressing <        >

2) Select the 

<VIDEO>

 menu by pressing <   >

    or <    > and pressing <        >

3) Open 

<OSD LANGUAGE>

 row with <        >

4) Press <       > or <       > to select desired

    setting and confirm with <       >.

1) Open main menu by pressing <        >

2) Select the 

<VIDEO>

 menu by pressing <   >

    or <    > and pressing <        >

3) Open 

<VIDEO OUT>

 row with <        >

4) Press <       > or <       > to select desired

    setting and confirm with <       >.


1) Open main menu by pressing <        >

2) Select the 

<VIDEO>

 menu by pressing <   >

    or <    > and pressing <        >

3) Open 

<TV SYSTEM>

 row with <        >

4) Press <       > or <       > to select desired

    setting and confirm with <       >.

1) Open main menu by pressing <        >

2) Select the 

<VIDEO>

 menu by pressing <   >

    or <    > and pressing <        >

3) Open 

<ASPECT RATIO>

 row with <        >

4) Press <       > or <       > to select desired

    setting and confirm with <       >.

:English
:English
:ASCII
:English
:English

Video

Audio

Rating

Misc

Language

English
French

OSD Language
Subtitle
MP4 Subtitle
Audio
DVD Menu

Video

Audio

Rating

:4:3
:Auto fit
:PAL
:S-VIDEO
:Standard

Misc

Language

S-VIDEO
YUV
P-Scan

Aspect Ratio
Video Mode
TV System
Video Out
Smart Picture

Video

Audio

Rating

:4:3
:Auto fit
:PAL
:S-VIDEO
:Standard

Misc

Language

Fill
Original
Height Fit
Width Fit
Auto Fit
Pan Scan

Aspect Ratio
Video Mode
TV System
Video Out
Smart Picture

Video

Audio

Rating

Misc

Language

:4:3
:Auto fit
:PAL
:S-VIDEO
:Standard

Aspect Ratio
Video Mode
TV System
Video Out
Smart Picture

Содержание DVD2040

Страница 1: ...ATERLOO NSW 2017 AUSTRALIA TEL 02 9313 7111 FAX 02 9313 7555 www palsonic com au PALSONIC CUSTOMER SERVICE TELEPHONE AUSTRALIA 1300 657 888 DVD2040 USER S MANUAL Please read this manual before connection and use DVD CD MP3 PLAYER ...

Страница 2: ...the apparatus 11 Only use attachments accessories specified by the manufacturer 12 Use only with the cart stand tripod bracket or table specified by the manufacturer or sold with the apparatus when a cart is used use caution when moving the cart apparatus combination to avoid injury from tip over 13 Unplug this apparatus during lightning storms or when unused for long periods of time 14 Warning To...

Страница 3: ...o constitute a risk of electric shock to persons The exclamation point within an equilateral triangle is intended to alert use to the presence of important operating and maintenance servicing instructions in the literature accompanying the appliance The marking of products using lasers will be shown at the rear panel of the unit it means the unit has been classified as Class 1 and is utilizing las...

Страница 4: ... Language 12 Subtitles 13 Changing the Camera Angle 14 Changing the TV System 15 Mute the audio output 16 Zoom In the video image 17 Changing the Soundtrack 18 Using the return playing 19 Volume Control 20 Playing MP3 JPEG discs System Setup 1 VIDEO SETUP A TV shape setup B TV system setup C Video setup 2 LANGUAGE SETUP A OSD menu language setup B Subtitle language setup C Audio language setup D D...

Страница 5: ...n large obstacles between the remote control and the main unit 2 System connection When making connection between this unit and other components be sure all connection with power off Audio Video cables are connected according to different colour identification and they should be fitted firmly Yellow to video terminal White to audio terminal Red to audio terminal Scheme of connection TV with progre...

Страница 6: ... play title play sequence play etc 1 Turn On the TV and your DVD Player Press the POWER button on the DVD player or the remote control and Read appears on the TV screen Press MENU button TV screen displays the DVD Root Menu when a DVD disc is loaded When a SVCD or VCD2 0 disc Is loaded the menu will be displayed only when the PBC is on At this moment press PBC button once to display current PBC st...

Страница 7: ... you can input desired title number directly As a SVCD or VCD disc during sequence playback press Numeric buttons to select tracks During program playback and PBC is on you can only Press PREV NEXT to button select As for MP3 JEPG disc press Numeric buttons to select different tracks on current track list Notes To select tracks from 1 10 press corre sponding numeric buttons 1 9 10 To select track ...

Страница 8: ... in a title Firstly press GOTO button on the re mote control to bring up the search menu and enter the edit state Secondly press buttons to highlight the title chapter track nu mber or the time option Thirdly use numeric buttons to enter the title chapter track you want to play or the time you want to go to in that title At last press ENTER button to start playback Notes This feature does not work...

Страница 9: ... to display current TV system NIP 15 Mute the audio output Press MUTE button to mute audio output MUTE 16 Zoom in the video image Press ZOOM button to activate the function and choose the required zoom factor 01 02 03 OFF ZOOM Use the buttons to pan across the screen when the zoom factor is 2 3 4 17 Changing the Soundtrack Press l R bulton to display current soundtrack R L 18 Use the return playin...

Страница 10: ...parately The highlight in directory region is shown as the picture above in this state there appears a transparent rectangle in files witch region In file switch region you can press the buttons to switch the highlight then press ENTER the M P G button is illustrated in the above picture for example if a disc with MP3 and JPEG files but without any NES files is loaded the colour of the teller M an...

Страница 11: ...ing if your DVD player is connected to a progressive scan TV with Y Cb Cr video cables 2 LANGUAGE SETUP A OSD menu language setup Highlight the OSD LANGUAGE option and press buttons to choose the OSD language you prefer press ENTER to confirm and it will display OSD in that language 1 Open main menu by pressing 2 Select the VIDEO menu by pressing or and pressing 3 Open OSD LANGUAGE row with 4 Pres...

Страница 12: ...r s digital output jacks are designed for a connection to a Dolby Digital or MPEG receiver or decoder SPDIF PCM Choose this setting if your DVD player is connected to a 2 channel digital stereo amplifier when playing a disc recorded with Dolby Digital and MPEG audio formats audio singals will be modulated into 2 channel PCM signal and it will be output from the Coaxial Output jack or Optical Outpu...

Страница 13: ...ound registers in a sound track SET PASSWORD The password is 8888 and you can set the ratings limit or change the password by entering 8888 number this is your password don t forget it and pressing ENTER In order for the Rating feature to work the password mode must be turned on if you want to set the rating limit you will need to enter the default password B Rating setup Use the buttons to move a...

Страница 14: ...resume all the setup options to default settings 1 Open main menu by pressing 2 Select the MISC menu by pressing or and pressing 3 Open USE DEFAULT SETTINGS row with 4 Press to select desired setting Video Audio Rating Misc Language Use Default Settings Off Screen Saver ...

Страница 15: ...er DV signal If no disc is inserted please insert the disc Insert a playable disc of a correct type check if regional code matches the DVD player Ensure that the disc label is facing up Clean the disc Check if the disc is defective by trying another disc Check to see if the disc is defective badly scratched or warped not flat Clean the disc if there are finger prints or dirt with a soft cloth wipi...

Страница 16: ...Coaxial 2 1 channel output 120 240V 50 60Hz 25W Play mode Disc mode VIDEO CHARACTERISTICS Resolution Video S N ratio Audio characteristic Frequency response Audio S N Ratio Dynamic range Distortion D A converter Output characteristic Video output S Video output Audio output Digital audio output AC 3 Power voltage Power comsumption Specifications are subject to change without notice 0 0V 1 0V ...

Страница 17: ...PALSONIC 1 JOYNTON AVENUE WATERLOO NSW 2017 AUSTRALIA TEL 02 9313 7111 FAX 02 9313 7555 www palsonic com au PALSONIC CUSTOMER SERVICE TELEPHONE AUSTRALIA 1300 657 888 ...

Отзывы: