background image

PowerPak Power Distribution Unit 

21


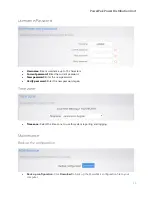
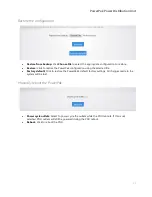
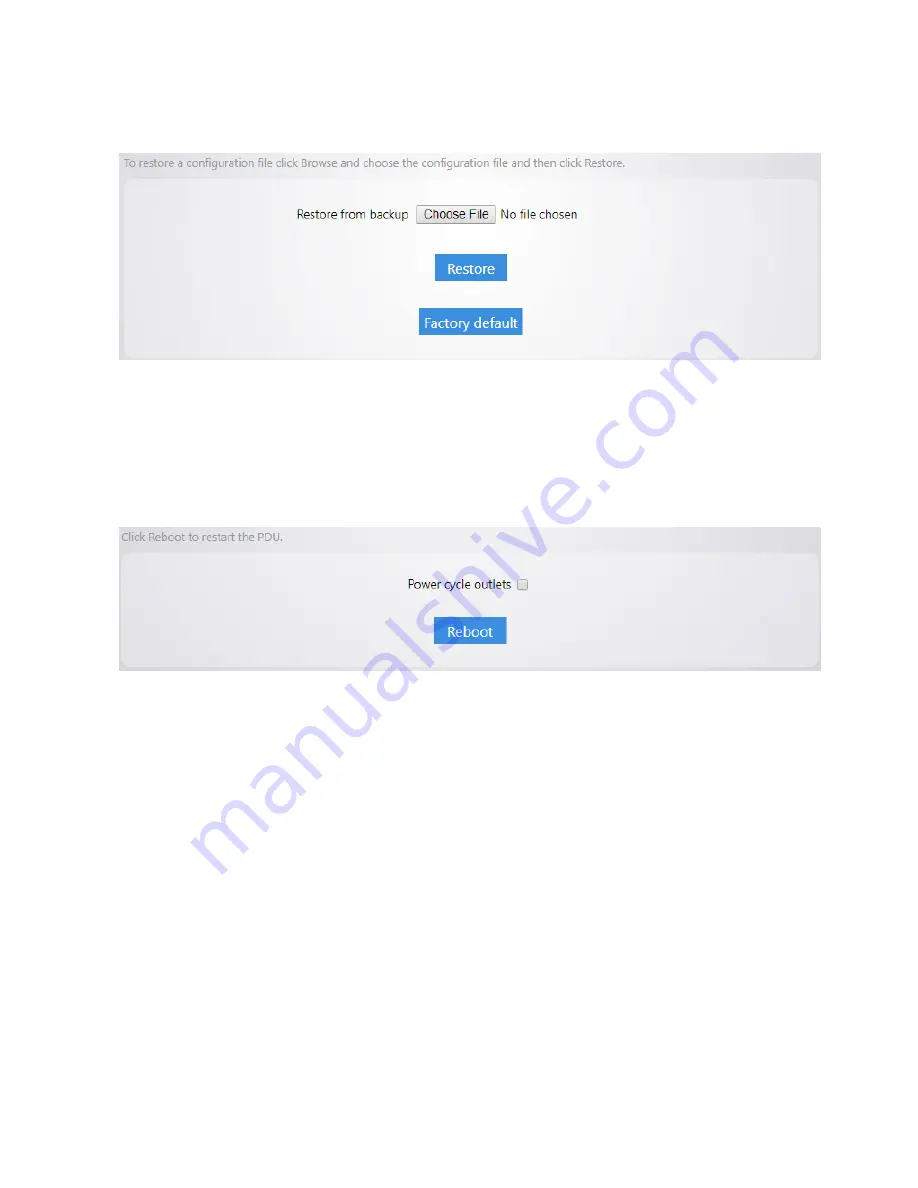
Restore the configuration 


Restore from backup: 

Click 

Choose File

 to select the appropriate configuration to restore. 


Restore: 

Click to restore the PowerPak configuration using the selected file. 


Factory default: 

Click to restore the PowerPak’s default factory settings. All changes made to the 

system will be lost. 


Manually reboot the PowerPak 


Power cycle outlets: 

Select to power cycle the outlets while the PDU reboots. If this is 

not


selected, PDU outlets will still be powered during the PDU reboot. 


Reboot: 

Click to reboot the PDU. 
Содержание PowerPak 9

Страница 1: ...PowerPak Power Distribution Unit User Guide ...

Страница 2: ...nstallation 8 Warnings 9 Using the hardware controls 9 PowerPak startup 10 Menu options 13 Status 13 Dashboard 14 System Log 14 Network 15 LAN 15 Outlet 15 Configuration 16 Auto Ping 16 Default host settings 16 Scheduling 17 Analysis 17 Table view 17 Graph view 18 Global alerts 18 Outlet alerts 19 Alert Notification settings 19 System 19 Username Password 20 Time zone 20 ...

Страница 3: ...aintenance 20 Back up the configuration 20 Restore the configuration 21 Manually reboot the PowerPak 21 Firmware 22 Diagnostics 22 Display 23 Add the PowerPak to a BakPak account 23 Troubleshooting 26 Specifications 27 Package contents 27 ...

Страница 4: ...provides a tunnel to the PDU through the Internet and monitors all your network devices See Add the PowerPak to a BakPak Cloud account on page 23 for more information on setting up the BakPak integration Key features Configurable power up and shutdown Configure the PowerPak to power on off connected devices in any order for device dependent hardware and to protect sensitive equipment against power...

Страница 5: ...12A 50 60 Hz 1440W total Front panel A Power switch B Surge protection indicator light C Power outlet 1 8 F indicator light D OLED display E Circular selector switch F Power outlet F Back panel A Power inlet B Circuit breaker C Power outlet 1 8 D Ground lug E Console port F RJ11 port to connect the temperature sensor G SD card slot H Ethernet port for a network connection ...

Страница 6: ...00 240VAC 10A 50 60 Hz 2400W total Front panel A Power switch B Surge protection indicator light C Power outlet 1 8 indicator light D OLED display E Circular selector switch Back panel A Power inlet B Circuit breaker C Power outlet 1 8 D Ground E Console port F RJ11 port to connect the temperature sensor G SD card slot H Ethernet port for Internet connection ...

Страница 7: ... enabled Measurements Display the voltage current or power consumption for the entire PDU or individual outlets Outlet Control Turn the selected outlet on off Settings Display the IP address MAC address or serial number of the PDU Turn off the OLED display or adjust the contrast Dim the LEDs or turn them on off Display the date and time Messages When a user defined alert condition occurs a message...

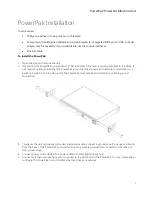
Страница 8: ...s If not rack mounting ensure that the PowerPak is mounted near power and network connections i e a backbone switch or a firewall router The PowerPak must also be connected to a reliable ground connection 3 To ensure the unit is properly grounded and remains safe connect a ground wire 12 gauge minimum from the back of the PowerPak s ground terminal to a reliable ground such as metal on the rack or...

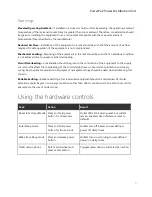
Страница 9: ...ircuit and the effect that overloading of the circuits might have on overcurrent protection and supply wiring Appropriate consideration of equipment nameplate ratings should be used when addressing this concern Reliable Earthing Reliable earthing of rack mounted equipment should be maintained Particular attention should be given to supply connections other than direct connections to the branch cir...

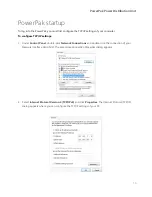
Страница 10: ...TCP IP settings 1 Under Control Panel double click Network Connections and double click the connection of your Network Interface Card NIC The Local Area Connection Properties dialog appears 2 Select Internet Protocol Version 4 TCP IPv4 and click Properties The Internet Protocol TCP IP dialog appears where you can configure the TCP IP settings of your PC ...

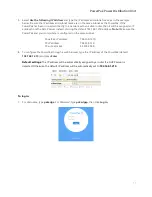
Страница 11: ...ult 192 168 1 210 address Note Make sure the PowerPak and your computer are configured on the same subnet PowerPak IP address 192 168 1 210 PC IP address 192 168 1 10 PC subnet mask 55 255 255 0 4 To configure the PowerPak through a web browser type the IP address of the PowerPak default 192 168 1 210 and press Enter Default settings The IP address will be automatically assigned by a router if a D...

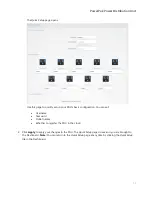
Страница 12: ...onfiguration You can set Username Password Outlet names Whether to register the PDU in the cloud 2 Click Apply to apply your changes to the PDU The Quick Setup page closes and you are brought to the Dashboard Note You can return to the Quick Setup page at any time by clicking the Quick Setup tile in the Dashboard ...

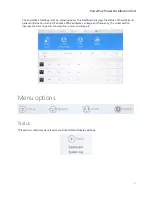
Страница 13: ...shboard displays the status of PowerPak and general information such as IP address MAC addresses voltage and frequency The outlet section displays the current power consumption power on delay etc Menu options Status This section contains system level menus like LAN and Display settings ...

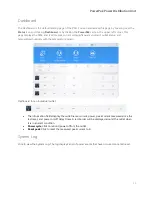
Страница 14: ...tatus and temperature humidity with the temperature sensor Dashboard for an individual outlet The information fields display the outlet name current power peak current measured since the last reset and power on off delay times A red border will be displayed around the outlet when it is in an alert condition Power cycle Click to reboot power off on the outlet Reset peak Click to reset the measured ...

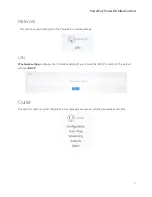
Страница 15: ... settings for the PowerPak s network settings LAN IP network setting configures the IP network setting of your PowerPak DHCP or static IP The default setting is DHCP Outlet This section contains outlet configuration and management menus including schedules and alerts ...

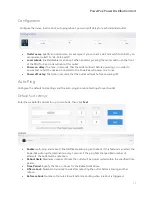
Страница 16: ...seconds that the outlet will wait before powering off Auto Ping Configure the default host settings and the auto ping and reboot settings for each outlet Default host settings Enter the website IP address for up to two hosts then click Test Outlets Enable auto ping and reboot Enable Disable auto ping and reboot If this feature is enabled the PowerPak will ping the destination every 1 second If the...

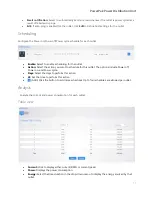
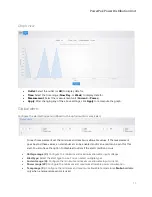
Страница 17: ...or the outlet Action Select the action you want to schedule for this outlet The options include Power off Power on and Power cycle Days Select the days to perform this action At Set the time to perform this action Add Click the button to add more schedules Up to four schedules are allowed per outlet Analysis Analyze the current and power consumption for each outlet Table view Current Click to disp...

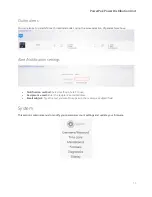
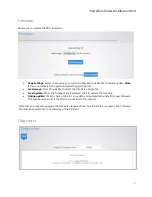
Страница 18: ...ximum allowable values If the measurement goes beyond these values an alarm buzzer can be enabled and or an email can be sent for this alert You also have the option to disable all outlets if the alert condition occurs Voltage range V Configure the minimum and maximum allowable input voltages Alert type Select the alert type to use You can select multiple types Current range A Configure the minimu...

Страница 19: ...of parameters above Alert Notification settings Notification method Select method of alert to use Recipient s email Enter the recipient s email address Email subject Type the text you want to appear in the message s Subject field System This section contains menus to modify your personal account settings and update your firmware ...

Страница 20: ...er the current password New password Enter the new password Verify password Enter the new password again Time zone Time zone Select the time zone to use for system reporting and logging Maintenance Back up the configuration Back up configuration Click Download to back up the PowerPak s configuration file to your computer ...

Страница 21: ... PowerPak configuration using the selected file Factory default Click to restore the PowerPak s default factory settings All changes made to the system will be lost Manually reboot the PowerPak Power cycle outlets Select to power cycle the outlets while the PDU reboots If this is not selected PDU outlets will still be powered during the PDU reboot Reboot Click to reboot the PDU ...

Страница 22: ...ick Choose File to select the firmware update file Local update When the firmware file is selected click to update the firmware Online update Click to check online for an update and automatically install the new firmware This feature works only if the PDU is connected to the internet Note that you may also upgrade the firmware via telnet from the SD Card if it is present The firmware file must be ...

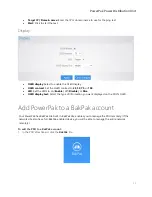
Страница 23: ...LED Set the LEDs to on Enable off Disable or Dim OLED display text Select the type of information you want displayed on the PDU s OLED Add PowerPak to a BakPak account Your PowerPak has BakPak Lite built in BakPak Lite enables you to manage the PDU remotely If the network site also has a full BakPak enabled device you will be able to manage the entire network remotely To add the PDU to a BakPak ac...

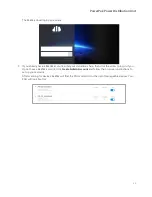
Страница 24: ... enter your credentials here then click the arrow to log in If you do not have a BakPak account click Create Admin Account and follow the on screen instructions to set up your account After scanning for devices BakPak will find the PDU and add it to the list of manageable devices Your PDU will look like this ...

Страница 25: ...chedule per outlet Enable action days time Device information Serial number firmware version location address power draw current voltage frequency temperature humidity Outlet Control Turn off power cycle rename port Auto Ping Reboot Website IP time interval attempts enable reboot limit time periods email notifications Configuration Save configuration restore apply a saved configuration delete Firm...

Страница 26: ...g page Press the PowerPak s power button to make sure it is not in Sleep mode Not receiving email notifications for outlets Email Notification check box from Auto Ping page is not selected If using auto ping navigate to the Auto Ping page and select Email Notification then enter your email credentials on the Alerts page Email check box is not selected from Alerts page If using an Alerts configurat...

Страница 27: ...cuit breaker PowerPak 9 15A PowerPak 8I 12A Dimensions 17 15 x 11 48 x 1 75 W x L x H Console port specs Baud Rate 115200 8 Data bits No parity 1 stop bit no flow control SD Card reader SD card must be formatted to FAT32 Network protocols ICMP IP TCP UDP DHCP Telnet DNS SMTP HTTP Network management BakPak Lite built in Display OLED display surge protection LED outlet LED Operating temperature 32 F...

Страница 28: ...ademarks or trademarks of Control4 Corporation in the United States and or other countries 4Store 4Sight Control4 My Home Mockupancy and BakPak are also registered trademarks or trademarks of Control4 Corporation Other names and brands may be claimed as the property of their respective owners All specifications subject to change without notice 200 00583 B DOC 00266 B 2018 09 05 MS ...

Отзывы: