


4
Installation
1.
Open the box and remove the unit.
2.
If mounting the controller in a standard 19” AV rack, attach the rack-mounting brackets that
come with the C36 to the sides. If not rack-mounting, ensure that the controller is physically
mounted near power and network connections (i.e, backbone switch or firewall/router).
3.
Connect power to the device.
4.
Connect an ethernet cable from your computer to the LAN port on the C36.
5.
You are now ready to configure the controller to an IP address that matches your network.
Configuring the Controller
1.
Connect the controller to power and push the power switch on the rear panel. The PWR LED will
light up and the fans will start.
2.
Connect a PC or laptop to the LAN port on the C36 rear panel.
3.
Configure the PC with a static IP address of
192.168.1.10
and subnet mask of
255.255.255.0
and
then open any browser (Mozilla Firefox is prefered).
4.
In the browser, enter the controller’s default IP address of
192.168.1.236
into the Address Bar
and press <
ENTER
>.
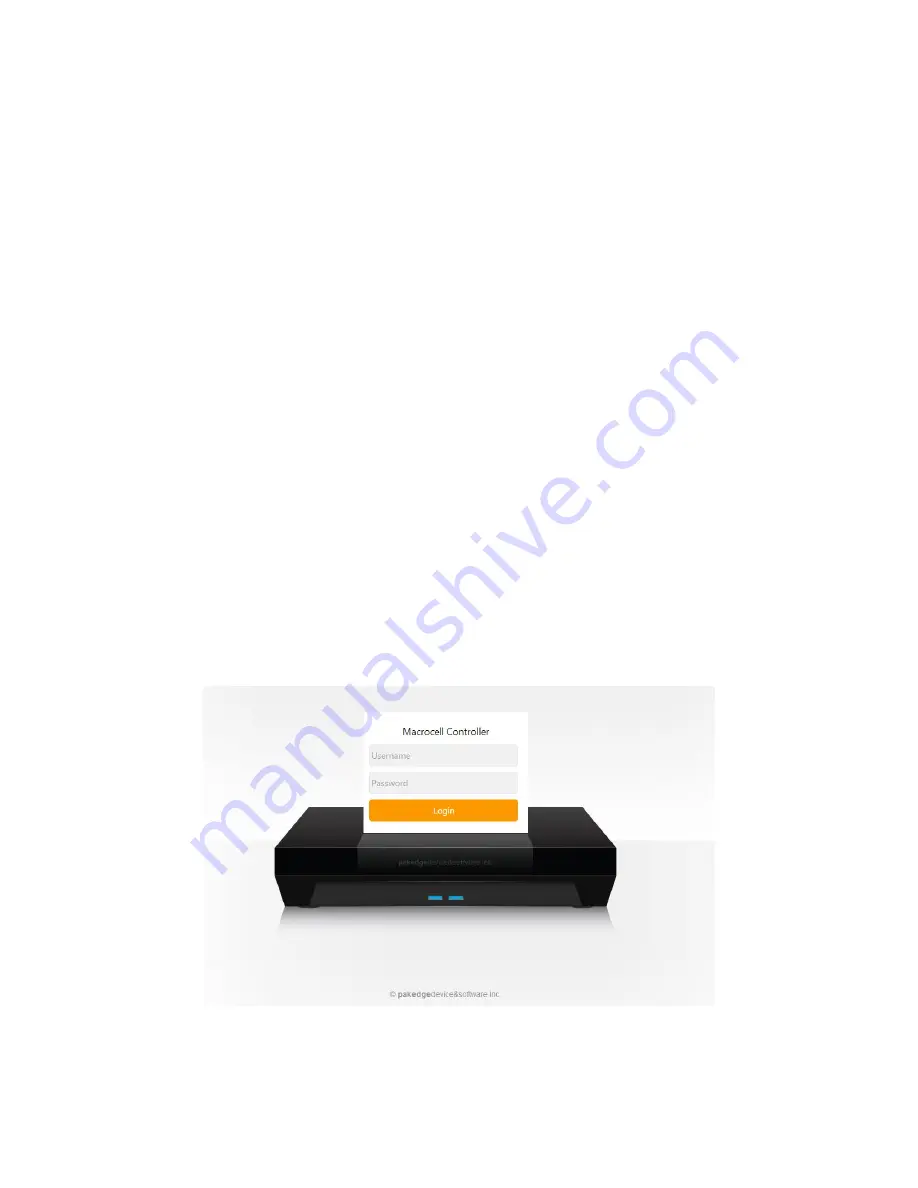
5.
A web page will appear prompting you for a username and password (
Figure 1
). Enter
pakedge
for the username and
pakedgec
for the password. Then click “
Login
” to log into the web
administration portal.
6.
Once you have logged into the controller, you will see the Dashboard (
Figure 2
).
Figure 1: Login Web Interface


