EasyNote BU Disassembly Manual
21
8.
Remove the metal brackets from the panel (two screws at each side).
9.
Disconnect the LCD cable from the rear side of the panel.
Inverter Board
1.
Remove the LCD Assembly as described under ‘
LCD Assembly’
.
2.
On the LCD Assembly, remove five rubber stoppers (see Fig. 27).
3.
Remove the five screws that were covered by the rubber stoppers.
4.
Remove the LCD bezel clicked in place. Note that the bezel may be
glued on the top side (at the webcam and microphone). A bit of force
may be needed to pull the bezel loose.
5.
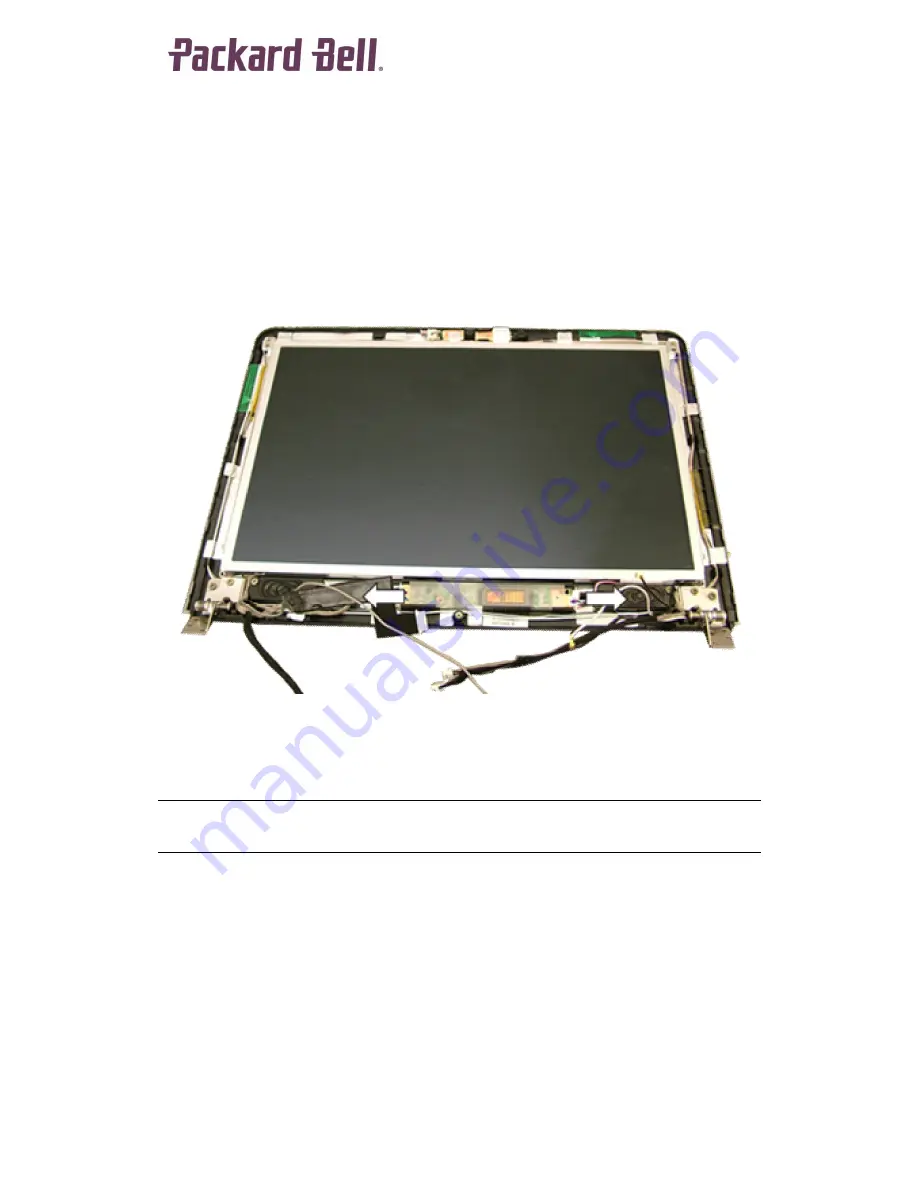
Disconnect both cables from the inverter board.
Fig. 29
The inverter board.
6.
Pull out the inverter board; it is glued in place so some force may be
needed to pull it out.
Note: After extracting the inverter board, ensure that the aluminium protective foil in the LCD
housing is still good. Flatten the foil before putting the inverter board back!
Speakers, Wireless LAN Antennas, Webcam and
Microphone
These parts are all part of the LCD housing assembly and do not require
further disassembly.


