- 7 -
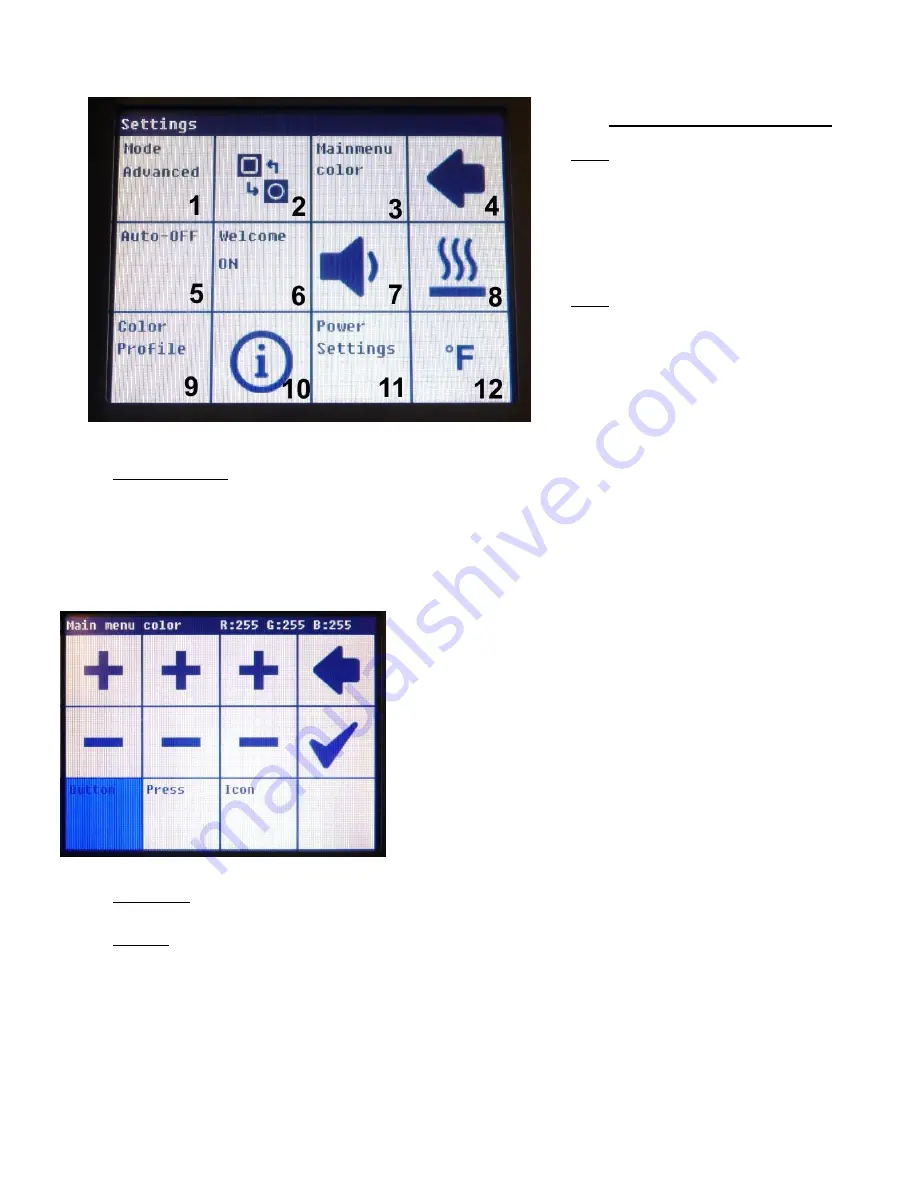
Device Settings continued…
1. Mode -- There are two options; User
and Advanced. Change modes by
tapping this square. See the following
section Heater Settings Menu for
additional information.
2. Swap -- This icon will allow you to
rearrange items on the Main Menu
screen. Tapping this block brings up
the main display, then select the item
you wish to move followed by the
square you want it to move to.
3. Main Menu Color -- The PH 100 touch screen display offers many color variations with lots of adjustability.
This option allows the user total control over individual buttons on the main menu. Touching this button
brings up the Main Menu again, but notice the icon bar is replaced with “Main Menu Color Settings”.
Tapping a button in the Main Menu Color Settings screen brings us to the following screen.
The color is changed using the RGB color model. We can change the color of the button at idle, the color
when it’s pressed, as well as the color of the icon.
Tapping the plus or minus in each column adjusts the amount of
red, green, or blue (in that order) for the chosen item. The empty
square in the lower right corner will display the resulting color.
Tapping the arrow returns to the Device Settings menu without
making any changes.
Tapping the check mark saves the changes and returns to the
settings menu.
4. Back Arrow -- Tapping this icon returns to the Main Menu
5. Auto-Off -- The auto-off screen presents three options. Tap the Shutdown Timer button to turn the Auto-Off
function on or off. How long the unit will remain on by default is 2 hours. This can quickly be increased to
preset times of 4 or 8 hours. The timer can be set to a custom value anywhere between 1 to 24 hours in 1
hour increments by tapping the NumPad option.


