OMZ-1000-HF (HFT)
Operation and Maintenance Instructions ...Continued
SETTING OF MACHINE
(Refer to ozone application/usage instructions for more detailed instructions.)
1.
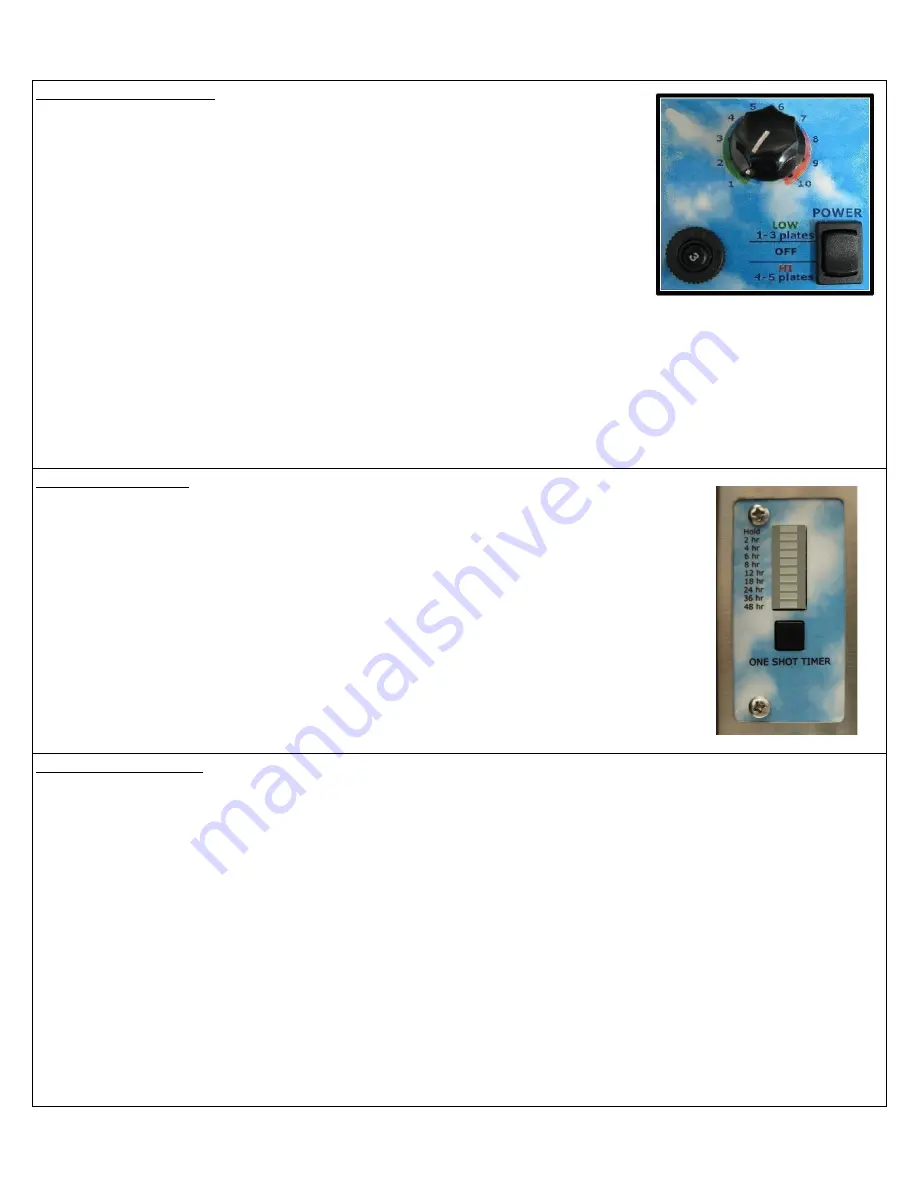
This series has controls that feature a Low/Off/Hi switch to power the unit and
fan, and a continuously adjustable output level control to adjust the amount of
ozone being produced. Ozone production begins when the power switch is
turned on, please ensure the level control is set to low (#1 on the dial).
**Please note that Hi is NOT to be used if less than
4 plates are installed!**
2a.
(Setting Ozone Level (occupied areas)) The right level is when all the generated
ozone is being used up to accomplish its job. However, this is difficult to obtain
because it becomes a balancing act. Initially the unit should be used for a shock
treatment to get rid of the problem odor as quickly as possible. After a shock treatment, set the unit at a very
low setting, after several hours if there is a heavy smell of ozone, then there is more ozone present than is
required to do the job. A good indication that the generator is set right is when you come home after being away
for 6-8 hours and smell just a hint of the fresh sweet smell of ozone. Simply turn the output level control down.
This is a case where more is not considered better. The levels of ozone required to deodorize most environments
are from 0.03 ppm to 0.1 ppm.
2b.
(Setting Ozone Level (shock treatments)) For most shock treatment applications, the setting should be set to the
highest setting. If the area being treated is small, the setting can be reduced to a lower level.
TIMER OPERATION
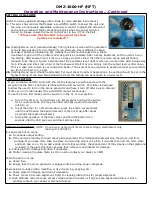
- If you purchased an OMZ-1000-HFT, the control features are all the same with the
exception of the timer. The timer is inline with the Hi/Low switch. This timer is designed
to allow the user to turn on the ozone generator and have it turn off after a given amount
of time or run it continuously (the word HOLD means continuous).
- To use the timer, first make sure the switch is in the Hi, or Low position.
a. To turn the timer on to constantly run, simply press and hold the button
for a couple seconds, the top green LED will light up and the machine
will turn on.
b. To set the timer for a timed operation, press the button several times
until the LED beside the desired amount of time is lit up, after about
2 seconds the machine will start.
c. To stop the operation of the timer press and hold the button for 3
seconds until the LED goes out and the machine stops.
TROUBLE SHOOTING
( NOTE: Do not use a home multi meter to test voltage, multimeters only
read up to 1000 VAC)
1.
Fan works but no ozone.
a.
Try various output setting.
b.
If the unit was recently serviced check plate alignment. One misaligned plate will stop the whole unit from
working. If you have more than one plate try removing all but one plate, if it works then add one more plate
and test, and so on. If you add a plate and it stops working, check alignment of the screens on that plate and
re-install, if the plate still does not work then remove it and inspect for damage.
c.
Check plate for damage and clean if necessary.
d.
If after cleaning the plate there is still no ozone contact your dealer or CAMI.
2.
No fan and no ozone
a.
Check fuse.
b.
Ensure that the ozone generator is plugged into a working power receptacle.
3.
Generator sounds erratic, crackling, or like it is arcing, popping, etc..
a.
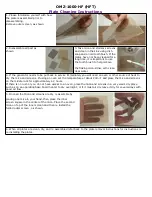
Check plate for damage and clean if necessary.
b.
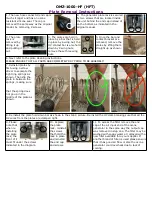
Check center HV screen alignment. Refer to cleaning instructions for proper alignment.
c.
High altitudes can also cause excess voltage output. Contact us if screens are aligned and there is still a
problem contact, your dealer or Ozone Solutions.


