


SETUP & PREPARATION
2. ASSEMBLY
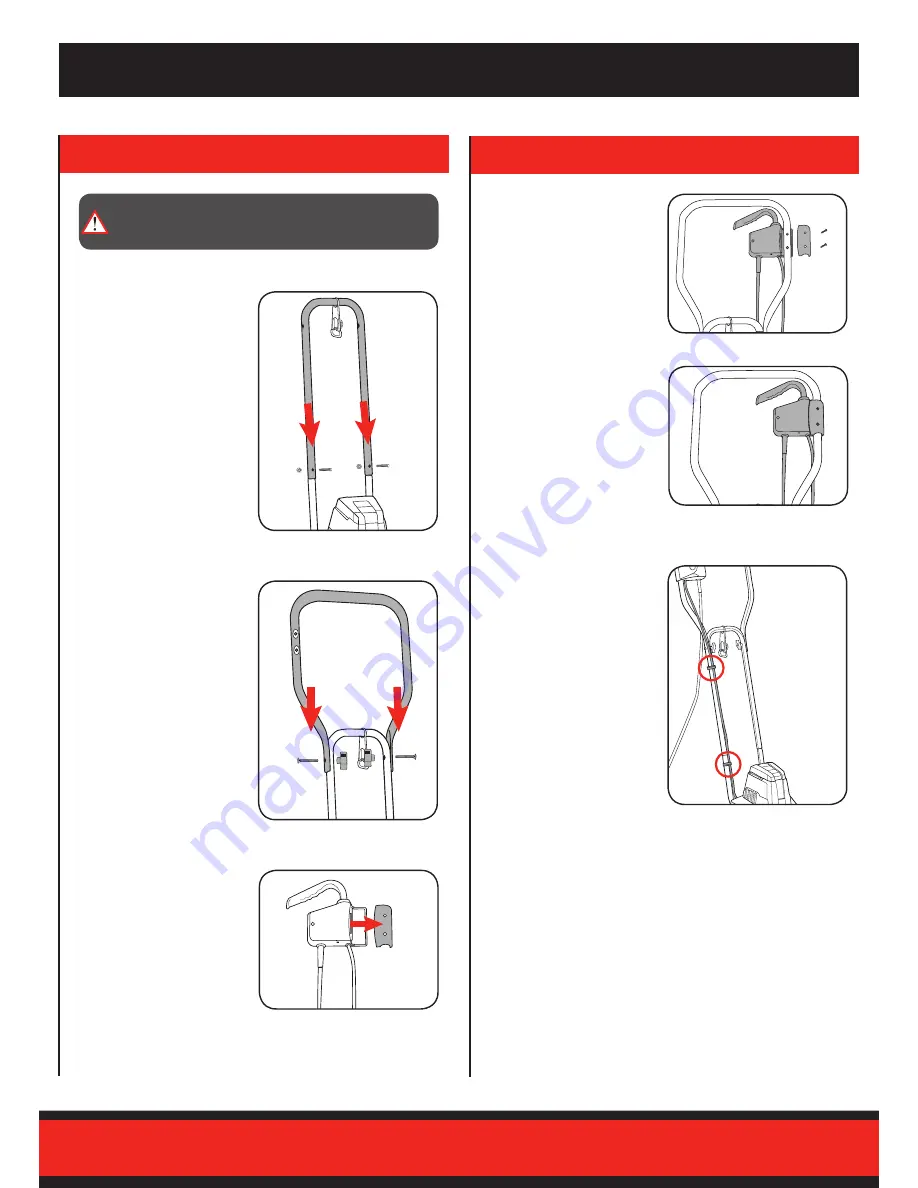
1. Slide the upper handle
over the upper ends of the
lower handle. Fit the bolts
through the upper handle
and then through the hole
in the lower handle.
2. Secure in place by
screwing the supplied
securing knobs over the
protruding ends of the
bolts.
1. First, slide the extension
cord restraint onto the
lower handle.
2. Insert the lower handle
to lower handle brackets
and fix in place with the
supplied bolts and nuts.
Fitting the Lower Handle
Fitting the Upper Handle
WARNING!:
ENSURE ENSURE THE TOOL IS
DISCONNECTED FROM THE POWER SUPPLY BEFORE
ASSEMBLY
1. Remove the two screws
and the side cover from the
safety switch.
Fitting the Safety Switch
2. Fit the safety switch to the
upper handle as shown.
3. Refit the side cover and
secure with the screws
removed in step 1.
Securing the Power Cord
1. Secure the power cord from
the switch housing to the
handle using the two cord
clips as shown.
NOTE:
Ensure the cord follows
the handle smoothly from the
switch to the body of the tiller.


