background image

3

4

Digging the Hole

Step 1

It’s best to mark out a hole around 4 inches wider than the diameter of your trampoline. This will make it easier 

for you to put the frame in and find the right level. It’s very difficult to dig an exact round hole and this gives you 

some tolerance. At the end of the install you back-fill around the outside of the hole with soil you have saved 

and re-turf.

Step 2

The next step is to start digging the main hole for your trampoline frame and retaining wall.This needs to be 

25cm deep, which is the right frame height. The vented pads sit on top of the frame so they will be just above 

the grass level.

Step 3 

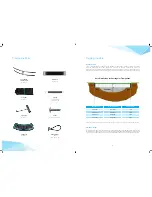
The next stage is to dig the inner hole so that the trampoline will be safe for jumping. Dig this out in a bowl shape 

to a depth of 75cm (8ft & 10ft trampolines), or 90cm (12ft & 14ft trampolines). The inner hole is 50cm narrower in 

diameter than the trampoline size. This will leave a 25cm ledge all around on which the trampoline sits.

Step 4

If you have well-drained or sandy soil, then you will not need to consider any further drainage. For less porous 

soil or clay, we suggest you put in a soak-away at the bottom of the inner hole, or connect it to your storm 

water pipe where possible.

Step 5

We suggest you line the hole with a weed matting to prevent weeds growing. The weed matting needs to be 

permeable to allow water to soak through. The matting can be anchored on the ledge under the bottom frame.

The In-ground Trampoline Kit has been designed for ease of install with DIY in mind. If however you have 

any doubts, then please contact us or one of our recommended garden landscaper/contractors to assist  

and advise you. We also have more information available at 

www.oztrampolines.com.au

 in the support section.

Building the Trampoline & Retaining Wall

Installation Time

You will need two people to assemble the trampoline and wall. You should allow approximately 30 minutes for 

this stage.

You will need:


•   Cross-head screwdriver or electric drill (for attaching the retaining wall panels). 


•   Safety goggles and gloves (for attaching the springs).

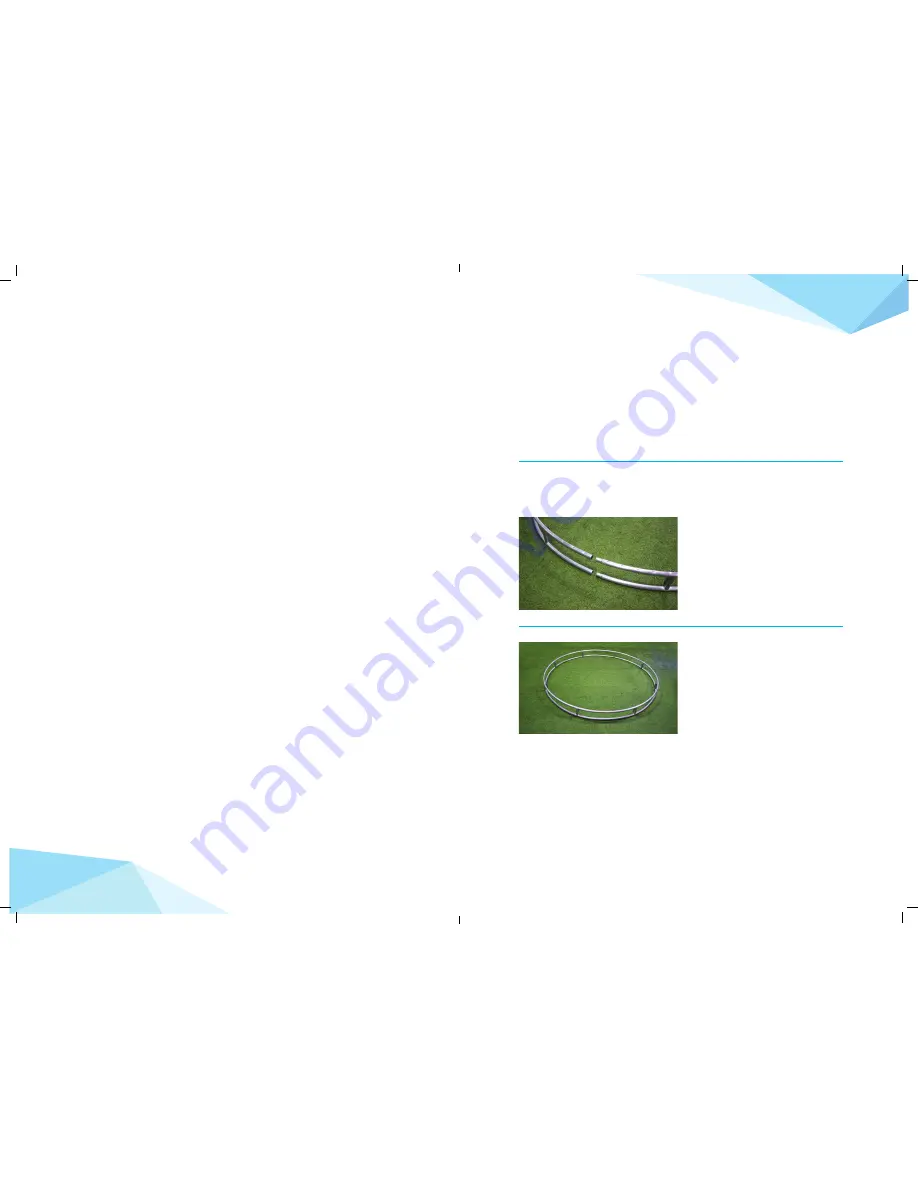
Frame Assembly

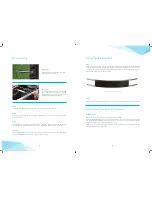
Step 1

Lay the Top & Bottom frame sections into a circle 

with the spring slots facing upwards.

Step 2

Push all sections together ensuring they’re all 

connected together correctly.

Содержание Round In-Ground Trampoline

Страница 1: ......

Страница 2: ...ng parts Also ensure parts are safe and securely attached 3 Supervise children and inexperienced jumpers at all times taking extra care with younger children 4 Bare feet are the best and safest way to jump on a trampoline mat as they provide grip and avoid slipping 5 Jumping in the middle of the trampoline is the best and safest place to bounce 6 Always use safety padding on the frame to avoid inj...

Страница 3: ...gging then allow a full day for 2 4 people to dig the hole assemble the trampoline and do the finishing landscaping Every hole construction will vary in respect of size of trampoline soil conditions and drainage requirements Equipment needed For the smaller size trampolines it s a relatively easy task to hand dig the hole For the larger sizes it s quicker and easier to hire a mini digger and opera...

Страница 4: ...eed to consider any further drainage For less porous soil or clay we suggest you put in a soak away at the bottom of the inner hole or connect it to your storm water pipe where possible Step 5 We suggest you line the hole with a weed matting to prevent weeds growing The weed matting needs to be permeable to allow water to soak through The matting can be anchored on the ledge under the bottom frame...

Страница 5: ...etch a spring Step 2 Go round the entire frame attaching the remaining panels in the same way until your retaining wall is complete Placing the Trampoline into the Hole Installation Time With two people you should allow approximately 60 minutes for this stage When you have finished digging your hole lift the frame complete with wall mat and springs into the hole and onto the ledge you ve created C...

Страница 6: ... the wall panel and frame From underneath insert the toggle into the loop and rotate to secure Repeat for all ties Handy Hint To create a gap between the wall and frame you may need to insert your flat head screwdriver and rotate to create a gap Step 3 To finish installing your pads remove a single spring underneath where each pad section joins the next one Then insert the spring through the loop ...

Страница 7: ...y with the enclosure now half assembled and upright insert the remaining poles into the sleeves in positions 3 4 7 and 8 and then into the enclosure sockets The bottom of the net runs along the vented pads and is not tied off in anyway Half Enclosure Assembly Step 1 Take the Enclosure Net complete with foam inserts and lay flat on the trampoline mat Step 2 Insert all enclosure poles into the sleev...

Страница 8: ......

Страница 9: ... 21 Leather St Breakwater VIC 3219 Hours Monday Friday 9am 5pm or by appointment Free Delivery Australia Wide Easy Returns Long Warranties Largest Range of Parts in Oz High Quality Built to Last Easy Claim Warranty Service Friendly Advice 7 Days a Week Round Oval and Inground Trampolines Trampolines and Replacement Parts Lay by Available ...

Отзывы: