6
OPERATION
POWER ON/OFF
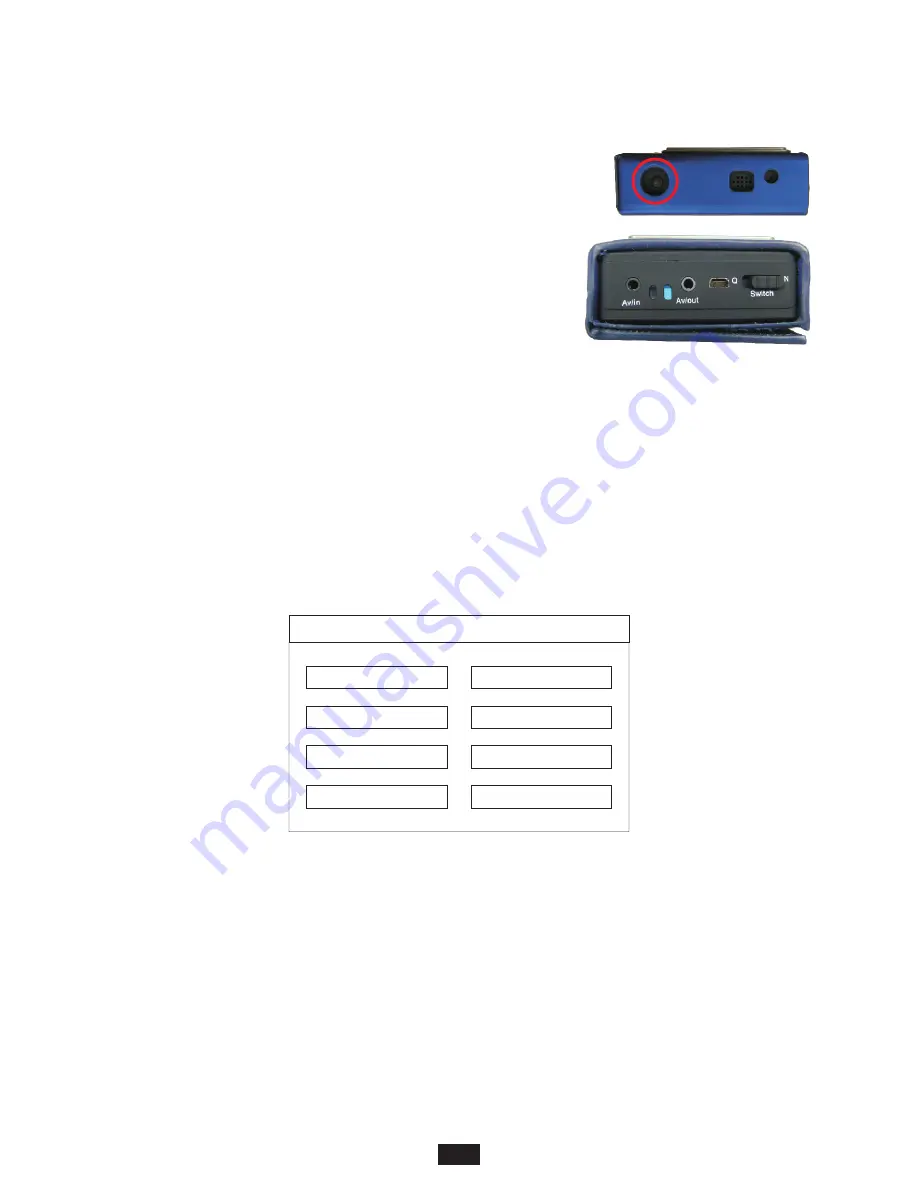
Press and hold the POWER button to power ON and OFF. The unit will vibrate
when powering on and off.
When powering ON, the unit will vibrate continuously if the probe is not
properly connected.
While the unit is powered on, the blue power indicator LED will be lit.
Upon initial startup, a video test screen will briefly appear, then the display
will show the image coming from the probe.
INITIAL SYSTEM SETUP
Before using the videoscope for the first time, it is recommended to configure the user preferences found in the
System Settings menu.
1) Press ESC.
2) Use arrow keys to highlight the “gear” icon.
3) Press OK.
From the System Setting menu, use the arrow keys to navigate through the menu options.
Storage Select
This unit is only equipped with an internally installed SD card.
Storage Info
Views the statistics for internal SD card.
Format
Allows the user to format the internal SD card.
System Time Setting
Sets the time/date stamp in the device. The time/date stamp appears on the LCD
display when inspecting fiber endfaces.
Display Setting
Sets the output mode of the videoscope.
Brightness
Sets the brightness level of the LCD display.
Language
Sets the language option.
Default
Resets the videoscope to factory default settings.
System Setting
Storage Select
Storage Info
Format
System Time Setting
Default
Language
Brightness
Display Setting


