background image

4

OPERATION

DEFAULT

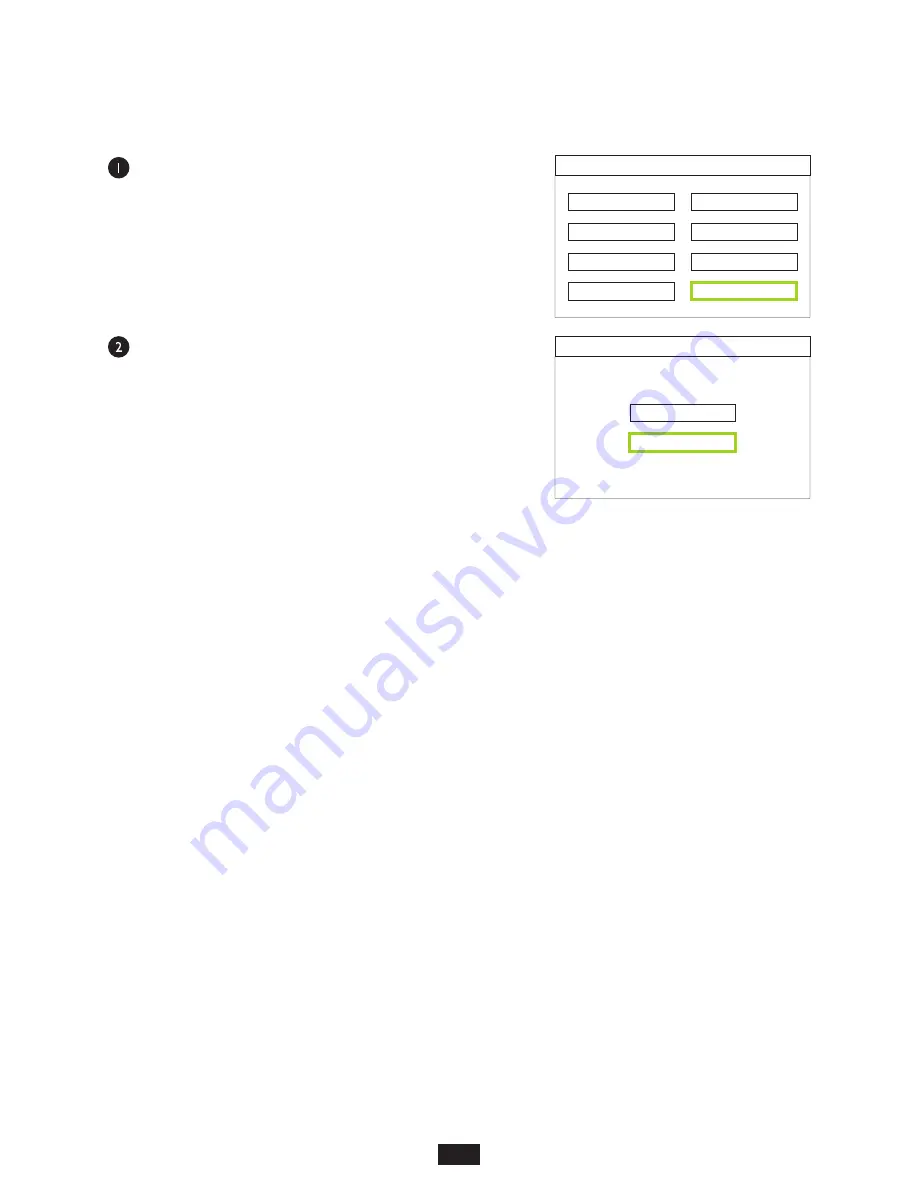
Use the arrow keys to highlight the 

Default

 menu option, 

then press OK.

This menu option allows the user to set the user preferences 
to factory defaults.

To  exit  without  re-setting  factory  defaults,  press  ESC,  or 
select 

No

 and press OK. 

To re-set the videoscope to factory settings, highlight 

Yes


and press OK.

The user will be returned to the 

System Setting

 menu.

System Setting

Storage Select

Storage Info

Format

System Time Setting

Default

Language

Brightness

Display Setting

Factory Default Set

Yes

No

Default option.

14

Содержание VS-400-H

Страница 1: ...atories OPERATIONS GUIDE 400x USB Video Inspection Scope Model Number VS 400 H OWL INC COM Revision 2 00 Optical Wavelength Laboratories OWL N9623 West US Hwy 12 Whitewater WI 53190 Phone 262 473 0643 Internet OWL INC COM OWL ...

Страница 2: ...l 3 Description 4 Viewer 5 SECTION 2 OPERATION Power ON OFF 6 Initial System Setup 6 Storage Select 7 Storage Info 8 Format 9 SystemTime Setting 10 Display Output Setting 11 Brightness 12 Language 13 Default 14 Viewing Fiber Endfaces 15 Saving Endface Images 16 Retrieving Endface Images 17 Deleting Endface Images 17 Charging the Battery 18 SECTION 3 CONNECTING THE VIDEOSCOPE TO PC LAPTOP Downloadi...

Страница 3: ...ls Fiberoptictestersvaryfromothertypesoftestequipmentduetoissuessuchas 1 standards basedtesting 2 properfiberoptictestprocedures FOTPs 3 zeroing orreferencingofpowerlevels 4 determiningthecorrectlinkbudgettopassorfailby Completeunderstandingofeachoftheseissuesiscriticalforperformingproperfiberoptictests Throughout this manual you will find various symbols that assist with understanding the procedu...

Страница 4: ...h IR filters and other eye safety precautions viewing endfaces and ports through a direct view scope can be harmful to the eyes due to high intensity optical radiation directly entering the eye Video microscopes completely isolate the eye from potentially dangerous incominglight whichinsteadfallsuponasmallvideocamera Large viewing area Images on a video screen are much larger than when viewed thro...

Страница 5: ...eorecordbutton 3 Leftarrowbutton 4 Rightarrowbutton 5 Back returnbutton 6 Confirmbutton 7 Microphone 8 Speaker 9 Power imagecapturebutton 10 AV Probeinput 11 ChargingindicatorLED 12 PowerindicatorLED 13 AV Probeoutput 14 USBconnector 15 Lock ...

Страница 6: ...ngsmenu 1 PressESC 2 Usearrowkeystohighlightthe gear icon 3 PressOK FromtheSystemSettingmenu usethearrowkeystonavigatethroughthemenuoptions StorageSelect ThisunitisonlyequippedwithaninternallyinstalledSDcard StorageInfo ViewsthestatisticsforinternalSDcard Format AllowstheusertoformattheinternalSDcard SystemTimeSetting Sets the time date stamp in the device The time date stamp appears on the LCD di...

Страница 7: ...tion thenpressOK Because the unit only includes an internally installed SC card only SDcard willappearinthecenterofthedisplay PressESCtoreturntotheSystemSettingmenu System Setting Storage Select Storage Info Format System Time Setting Default Language Brightness Display Setting SD card ...

Страница 8: ...tics of the internal SD card will be shown including totalmemory memoryinuse andmemoryremaining PressESCtoreturntotheSystemSettingmenu System Setting Storage Select Storage Info Format System Time Setting Default Language Brightness Display Setting SD Card Info Total Space In Use Space Free 1899 M 0 M 1899 M ...

Страница 9: ...ed with formatting the SD card highlight Yes and press OK Once formatting is complete the user will be returnedtotheSystemSettingselectionscreen CAUTION FormattingwilleraseallofthedatastoredontheSDcard PressESCtoreturntotheSystemSettingmenuwithoutselectinganoption System Setting Storage Select Storage Info Format System Time Setting Default Language Brightness Display Setting Format SD Card Yes No...

Страница 10: ...ngfiberendfaces PressOKtoadvancetothenextvalue Usethearrowkeystochangethehighlightedvalue NOTE thetimeisdisplayedasa24 hourclock The user will return to the System Setting menu after pressingOKonthelastvalue System Setting Storage Select Storage Info Format System Time Setting Default Language Brightness Display Setting System Time Setting 2016 07 07 16 51 OPERATION ...

Страница 11: ...nal monitor select theappropriateTVOutputoption Use the supplied composite video cable to connect the videoscopetotheexternalmonitor PressOKtoaccepttheDisplayOutputSettingvalueandreturntotheSystemSettingmenu System Setting Storage Select Storage Info Format System Time Setting Default Language Brightness Display Setting Display Output Setting LCD Output OPERATION TV_NTSC Output TV_PAL Output Defau...

Страница 12: ...ow keys to increase or decrease the LCD brightness When finished setting the Brightness press OK to save the brightness level and return to the System Settingmenu System Setting Storage Select Storage Info Format System Time Setting Default Language Brightness Display Setting Brightness OPERATION ...

Страница 13: ...mendedtoleavethisoptionsettoEnglish When finished setting the Language Setting press OK to save and return to the System Setting menu System Setting Storage Select Storage Info Format System Time Setting Default Language Brightness Display Setting Language Setting OPERATION English Default option ...

Страница 14: ...ydefaults To exit without re setting factory defaults press ESC or selectNoandpressOK To re set the videoscope to factory settings highlight Yes andpressOK TheuserwillbereturnedtotheSystemSettingmenu System Setting Storage Select Storage Info Format System Time Setting Default Language Brightness Display Setting Factory Default Set Yes No Default option 14 ...

Страница 15: ...ludes the current time and date in the upper right hand corner battery status in the lower left hand corner and video recording time and memorystatusinthelowerright handcorner Connect the probe to the connector or port to be inspected Initiallytheimagemaybeoutoffocus Using the focus adjustment wheel on the probe focus the imageontheLCDdisplay If any obstructions are found on the image especially o...

Страница 16: ... RECORD icon will appear While the current video record time counts up the memory status will decrease accordingtothesizeofthevideorecordfile PressESCbuttontoendthevideorecording SAVINGSTILLIMAGEFILES Pressthepowerbuttonbrieflytosaveastillimageoftheendface A camera icon will briefly appear in the center of the LCD display confirmingtheimagehasbeensavedtomemory 4 16 2 08 48 35 016 07 07 00 00 05 73...

Страница 17: ...essOK SelectVIDEOorPHOTO 4 17 Playback VIDEO PHOTO Video Playback MPEG0001 AVI A B C D E Play OK Select Exit ESC Photo PICT0001 JPG PICT0002 JPG PICT0003 JPG C D E Play OK Select Exit ESC Withthearrowkeys selectthefiletopreview PressOKtoviewthefile thenpressESCwhenfinishedviewingthefile Todeleteafile presstheVideoRecordbutton thenselectYEStodelete PressESCtwicetoreturntothemainmenuscreen ...

Страница 18: ...until the battery pack is fullyseated Thebatterychargerplugsdirectlyintoawalloutlet REMOVINGTHEBATTERYPACKFROMTHESCOPE Poweroffthemainscopeunit thendisconnecttheprobe Slidethemainunitoutfromtheprotectivesleeve Slide off the battery cover from the back of the unit Insert the battery pack contacts first then press the other sidedownuntilthebatterypackisfullyseated Replacethebatterycoverandslidetheun...

Страница 19: ...pliedUSBcable The VS 400 H will connect as USB storage device similar to a USB flash drive and will be assigned a drive letter BrowsetothisdrivelettertoviewthefilesstoredontheVS 400 H Threesub directorieswillappear oneeachforstoredaudio image andvideofiles ThesefilesmaybecopiedfromtheVS 400 HtothePC laptopbyusingtheCopy Pastefunction ...

Отзывы: