Repair
313221M
43
Electric Motor
Test Motor
If motor is not locked up by pumps, it can be tested
using a 9 V battery. Open recirculating valves, discon-
nect J4 or J11 from control board, see F
IG
. 12, page 39.
Touch jumpers from battery to motor connections. Motor
should turn slowly and smoothly.
Removal
2.
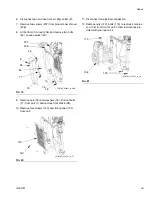
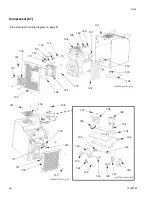
Remove four screws (207) and shroud (206). See
F
IG
. 14.
3.
Remove drive housing/pump assemblies, page 41.
4.
Disconnect motor cables as follows:
a.
Find control board at back of control module,
see F
IG
. 12, page 39.
b.
Unplug motor power connector from J11 (120 V
units).
c.
Unplug motor temp switch harness from con-
nector J7.
d.
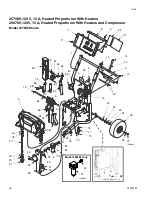
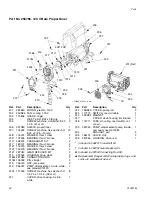
Unplug cable (37) from fan (202). See F
IG
. 22
on page 46.
e.
Thread motor power switch harness out bottom
of control module and cable channel, to free
motor.
5.
Remove screws holding motor to bracket. Lift motor
off unit.
Installation
1.
If replacing motor, install fan assembly and fan
mount threaded bushing on new motor.
2.
Place motor and fan on unit. Thread motor switch
harness into control module.
3.
Fasten motor with screws underneath. Do not
tighten yet.
4.
Plug 3-pin connector J7 to board.
5.
Plug Motor Power switch harness to connector J11
(120 V units).
6.
Install drive housing/pump assemblies, page 41.
Reconnect inlet assemblies to pumps.
7.
Tighten motor mounting screws.
8.
Return to service.
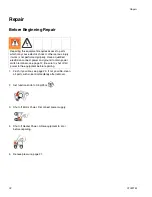
1.
See Before Beginning Repair, page 32. Relieve
pressure, page 21.
NOTICE
Motor is heavy. Two people may be required to lift.
Содержание 313221M
Страница 59: ...Technical Data 313221M 59...

