

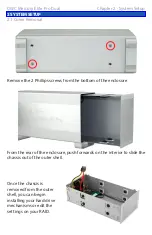
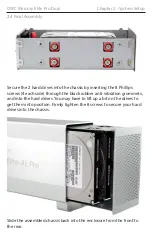


Place the enclosure on it’s side and insert 4 Phillips screws into the holes
in the bottom of the enclosure to complete assembly of your new OWC
Mercury Elite Pro Dual Bay.
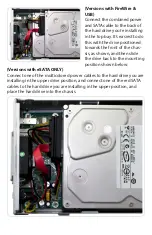
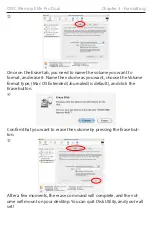
Time to power up your new OWC Mercury Elite Pro Dual Bay!
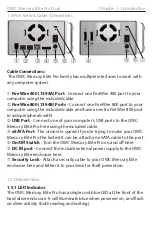
Turn the drive so you can see the rear ports. Connect the power cable to
the back of the drive, and whichever drive interface cable (FireWire, USB,
eSATA) you plan on using to connect to your computer. Plug the power
brick into the AC power cable (not shown), and power the unit on. You
should hear the drives spin up, and click a couple of times. After about
15 seconds, the drives will be ready to use.
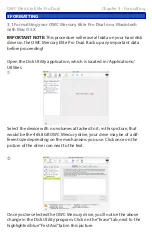
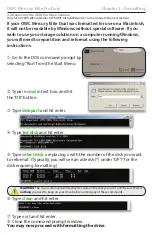
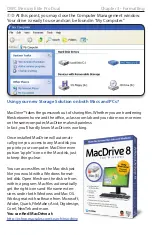
You now need to initialize your drive. If you’re using a Macintosh, the
next pages walk you through that procedure.
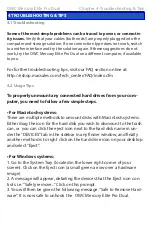
If you are using Windows 98/ME/2000/XP/Vista:
You will need to initialize the hard drive before it will show up in “My
Computer”.
For instructions on how to initialize the hard drive please use the link
below. Click on the link that corresponds to the version of Windows you
are using:
http://eshop.macsales.com/tech_center/formatting.cfm
OWC Mercury Elite Pro Dual
Chapter 2 - System Setup


