background image

9

8

INSTRUCTION

INSTRUCTION

6 Operation
6.1 Before initial use

NOTE

Before starting your new cooler for the first time, you should clean it inside and outside with a damp cloth for 

hygienic reasons (please also refer to the “cleaning and maintenance” on page 19).

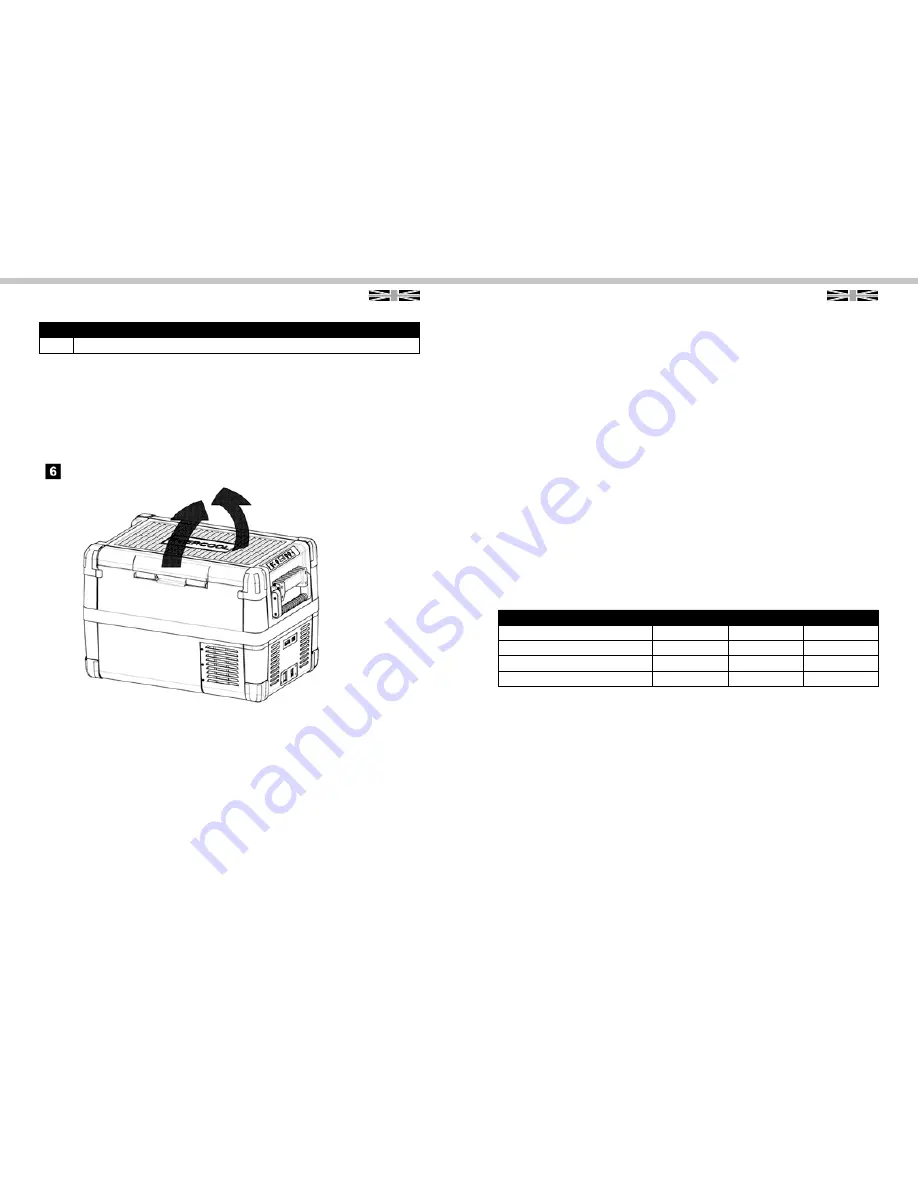
The lid can be removable, or can be opened from either side in an instant, 2 ways opening – left or right

Selecting the temperature units

 Temperature display units can be switched between Celsius and Fahrenheit as follows:

•   Switch on the cooler.

•   Press the “SET” button (fig. 

4, page 9) twice.

•   Use the “UP+ (fig. 

6, page 9)” or “DOWN – (fig 

7, page 9)“ buttons to select Celsius or Fahrenheit.

•  The selected temperature units then appear in the display for a few seconds. The display flashes several 

times before it returns to the current temperature.

6.2 Energy saving tips

•   Choose a well ventilated installation location which is protected against direct sunlight

•   Allow warm food to cool down first before placing it in the device to keep cool.

•   Do not open the cooling device more often than necessary.

•   Do not leave the cooler unit open for longer than necessary.

•   Defrost the cooler once a layer of ice forms.

•   Avoid unnecessary low temperatures.

6.3 Connecting the cooler

Connecting to a battery (Vehicle or boat)

 The cooler can be operated with 12 V or 24 V 

Notice! Danger of damage!

Disconnect the cooler and other consumer units from the battery before you connect the battery to a quick 

charging device.

Overvoltage can damage the electronics of the device.

For safety reasons the cooler is equipped with an electronic system to prevent the polarity reversal. This 

protects the cooler against short-circuiting when connecting to a battery.

•  Plug the 12/24 V connection cable into the device DC voltage socket (fig. 

 2, page 7) and also into a 12 V 

or 24 V cigarette lighter socket.

6.4 Using the battery monitor

The device is equipped with a multi-level battery monitor that protects your vehicle battery against excessive 

discharging when the device is connected to the on-board 12/24 V supply.

If the cooler is operated when the vehicle ignition is switched off, the cooler switches off automatically as 

soon as the supply voltage falls below a set level. The cooler will switch back on once the battery has been 

recharged to the restart voltage level.

NOTICE! Danger of damage!

When switched off by the battery monitor, the battery will no longer be full charged. Avoid starting 

repeatedly or operating current consumers without longer charging phases. Ensure that the battery is 

recharged!

In “HIGH” mode, the battery monitor responds faster than at the levels “LOW” and “MED” (see the following 

table).

The battery monitor mode can be selected as follows:

Switch on the cooler.

•  Press the “SET” button (fig. 

 4, page 9) three times

•  Use the “UP+ (fig. 

 6, page 9)” or “DOWN – (fig. 

 7, page 9 )” buttons to select the battery monitor mode.

•  Digital display will be as follows:

•  Lo (LOW), Md(MED), Hi(HIGH)

 The selected mode then appears in the display for a few seconds. The display flashes several times before 

it returns to the current temperature.

NOTE

When the cooler is supplied by the starter battery.Select the battery monitor mode “HIGH”. If the cooler is 

connected to a supply battery, the battery monitor mode “LOW” will suffice.

Battery monitor mode

LOW

MED

HIGH

Switch-off voltage at 12V

10.1 V

11.4V

11.8V

Restart voltage at 12 V

11.1V

12.2V

12.6V

Switch-off voltage at 24V

21.5V

24.1V

24.6V

Restart voltage at 24V

23.0V

25.3V

26.2V

Item

Description

1

Emergency switch

Содержание Deel Cool

Страница 1: ...UK INSTRUCTIONMANUAL DE BEDIENUNGSANLEITUNG DEEPCOOL 35L INNOVATIVEFAMILY CAMPING ...

Страница 2: ...ure 10 6 7 Using the emergency switch where fitted 10 6 8 Switching off the freezer 11 6 9 Defrosting the freezer 11 6 10 Replacing the plug fuse 12 24V 11 6 11 Replacing the light PCB 12 7 Cleaning and maintenance 12 8 Troubleshooting 13 9 Technical data 14 1 EXPLANATION OF SYMBOLS DANGER Safety instruction Failure to observe this instruction will cause fatal or serious injury WARNING Safety inst...

Страница 3: ...or switch it off when you turn off the engine Otherwise you may discharge the battery 2 2 Operating the device safely DANGER Do not touch exposed cables with your bare hands This especially applies when operating the device with an AC mains power supply CAUTION Before starting the device ensure that the power supply line and the plug are day NOTICE Do not use electrical devices inside the cooler u...

Страница 4: ...fig4 Emergency switch when fitted fig5 Item Description Explanation 1 ON OFF Switches the cooler on or off when the button is pressed for between one and two seconds 2 POWER Status indication LED lights up green Compressor is on LED lights up orange Compressor is off 3 ERROR Number of flashes Error Type LED flashes red 5 Thermal cut out of controller 4 Minimum motor speed error 3 Motor start error...

Страница 5: ...rt circuiting when connecting to a battery Plug the 12 24 V connection cable into the device DC voltage socket fig 2 page 7 and also into a 12 V or 24 V cigarette lighter socket 6 4Using the battery monitor The device is equipped with a multi level battery monitor that protects your vehicle battery against excessive discharging when the device is connected to the on board 12 24 V supply If the coo...

Страница 6: ...t latches in place audibly 6 6Setting the temperature Press the SET button fig 4 page 9 once Use the UP fig 6 page 9 and DOWN fig 7 page 9 buttons to select the cooling temperature The cooling temperature appears in the display for a few seconds The display flashes several times thenthe current temperature is displayed again 6 7Using the emergency switch where fitted The emergency switch fig 1 pag...

Страница 7: ...device does not cool plug is inserted POWER LED is lit Defective compressor This can only be repaired by an authorized customer services unit The device does not cool plug is inserted POWER LED flashed orange display is switched off Battery voltage is too low Test the battery and charge it as needed When operating from the 12 24 V socket cigarette lighter The ignition is on and the device is not w...

Страница 8: ...Vor dem ersten Gebrauch 20 6 2 Tipps zum Energiesparen 21 6 3 Anschließen der Kühlbox 21 6 4 Verwenden der Batterieüberwachung 21 6 5 Verwenden der Kühlbox 22 6 6 Einstellen der Temperatur 23 6 7 Verwenden des Notschalters falls vorhanden 23 6 8 Ausschalten der Kühlbox 23 6 9 Abtauen der Kühlbox 23 6 10 Austauschen der Sicherung im Stecker 12 24 V 23 6 11 Austauschen der Lichtleiterplatt 24 7 Rein...

Страница 9: ...us der Steckdose Buchse Wenn die Kühlbox an die Gleichstrombuchse angeschlossen ist Trennen Sie die Kühlbox und andere stromverbrauchende Geräte von der Batterie bevor Sie ein Schnellladegerät anschließen Wenn die Kühlbox an die Gleichstrombuchse angeschlossen ist Ziehen Sie das Stromkabel der Kühlbox heraus oder schalten Sie sie ab wenn Sie den Motor ausschalten Andernfalls kann sich die Batterie...

Страница 10: ...eratureinstellung mithilfe von zwei Tasten in Schritten von 1 C 2 F Einklappbare Tragegriffe Notschalter nicht bei allen Modellen Herausnehmbarer Drahtkorb 5 2 Bedienelemente und Displaykomponenten Deckelverschluss Abb 2 Bedienfeld Abb 3 Anschlussbuchse Abb 4 Position Bezeichnung Erläuterung 1 EIN AUS Drücken Sie diese Taste ein bis zwei Sekunden lang um die Kühlung ein oder auszuschalten 2 POWER ...

Страница 11: ...stromverbrauchende Geräte von der Batterie bevor Sie ein Schnellladegerät an die Batterie anschließen Eine Überspannung kann die Elektronik des Geräts beschädigen Aus Sicherheitsgründen ist die Kühlbox mit einem elektronischen Verpolungsschutz ausgestattet Dieser schützt die Kühlbox vor einem Kurzschluss wenn sie an eine Batterie angeschlossen wird Stecken Sie das Gleichstromkabel 12 24 V in die G...

Страница 12: ... Fach entfernt von der Mitte wird die Temperatur von der angezeigten abweichen Die Kühlung beginnt im Inneren der Kühlbox HINWEIS Beim Betrieb über eine Batterie schaltet sich das Display automatisch aus wenn die Batteriespannung niedrig ist Die LED blinkt dann orange Arretieren des Deckels Schließen Sie den Deckel Drücken Sie den Verschluss Abb Pos 1 Seite 9 herunter bis er hörbar einrastet 6 6Ei...

Страница 13: ...ung kann nur von einem autorisierten Kundendienstmitarbeiter behoben werden Das Gerät kühlt nicht Stecker ist eingesteckt POWER LED blinkt orange Display ist aus Die Batteriespannung ist zu niedrig Prüfen Sie die Batterie und laden Sie sie bei Bedarf auf Beim Betrieb über die 12 24 Volt Buchse Zigarettenanzünder Die Zündung des Fahrzeugs ist eingeschaltet aber das Gerät funktioniert nicht und die ...

Страница 14: ...C Kategorie 1 Fassungsvermögen 28 l 35 l Klimaklasse N T Umgebungstemperatur 16 bis 43 C Geräuschemission 43 dB A Abmessungen B x H x T in mm 557 x 374 x 367 557 x 374 x 407 Gewicht 12 0 kg 14 0 kg HINWEIS Die tatsächliche Kapazität ist 33 L Bei einer Umgebungstemperatur über 32 C 90 F kann die Mindesttemperatur nicht erreicht werden Der Kältekreis enthält R 1234yf 9 Technische Daten ...

Страница 15: ...Outwell is a reg trademark of Oase Outdoors ApS Kornvej 9 DK 7323 Give 10 2017 Oase Outdoors ApS Made in China 28 ...

Отзывы: