7
6
3. Connect the Camera to a Network (3G Model Only)
The 3G model has a signal “Searching” process when you switch the power switch to
SETUP
.
If it comes up with a signal bar and no other pop-ups, it means the network is auto-matched and no manual setup
is needed. Go to the 3G Menu tab and complete the “
Send To
” section by entering phones/emails that you want
the camera to send images to. You will be able to receive photos upon motion triggers.
If it comes with a pop-up “SIM Auto Match failed…”, please go to “
SIM Auto Match
” under “
3G
”, select “
Manual
”,
and fill in local operator APN details in “
Manual Setup
”, the camera will connect to their network to send photos.
Note: This camera can send photos to 2 phones and 2 emails. It’s set to send photos to phones via MMS, and to
emails via SMTP (data). If you would prefer other options of sending, you can set this up in the 3G menu (this is
covered in more detail later in this manual).
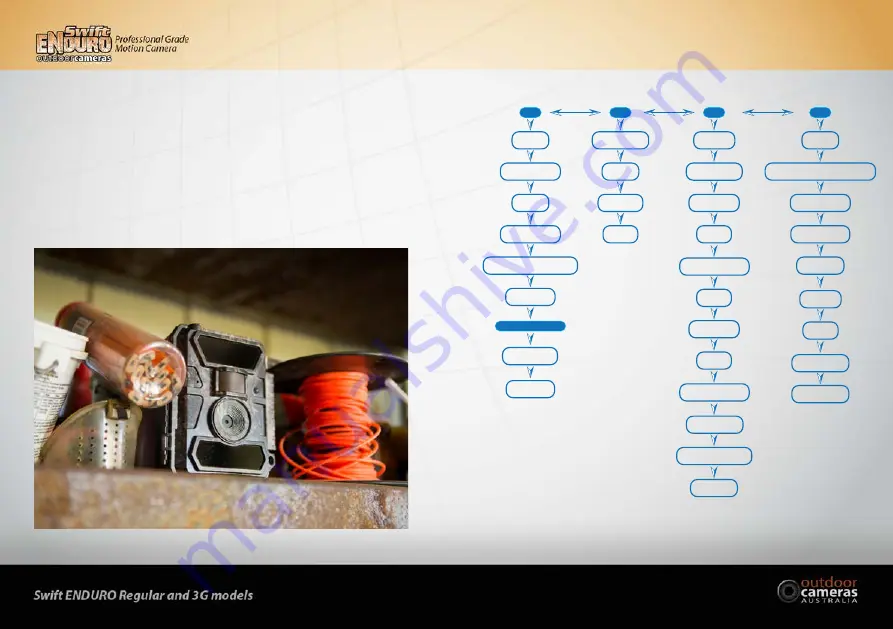
1.4 Camera Settings (Default Settings in Red Letters)
Cam
Cam ID
OFF
/ON
Cam Mode
Photo
/Pic + Video
PIC + Video/ Video ON
Video Length
05
~60 Secs
IR LEDs
All
/Part
Image Size
5MP
/8MP/12MP
Night Mode
Balanced
/Min. Blur/Max Range
Multi-shot
1P
/2/3/4/5P
Video Size
1080P/
720P
/D1
Other
Language
English
...
Date/Time
Month : Date : Year : Hour : Min : Sec
Time Stamp
OFF/
ON
Battery Type
Alkaline/NI-MH
Frequency
50Hz
/60Hz
SD Cycle
OFF
/ON
Reset
Yes
/No
Password
OFF
/ON (6 digits)
About
Ver: /IMEI: /MCU:
PIR
Sensitivity
High
/Middle/Low
Delay
OFF
/ON
Time Lapse
OFF
/ON
Timer
OFF
/ON
3G
3G Switch
ON
/OFF
SIM Auto Match
Auto
/Manual
Manual Setup
MMS/3G
MMS
ON
/OFF
SMTP
Default
/Manual/OFF
FTP
ON
/OFF
SMTP/FTP Pic Size
640*480
/1920*1440
Max Num/Day
Unlimited
/1~99
SMS Ctrl
By Trigger
/All the Time
Daily Report
OFF
/ON
Send To
Phone/Email
SIM PIN
ON


