HMI Software cont...
9.
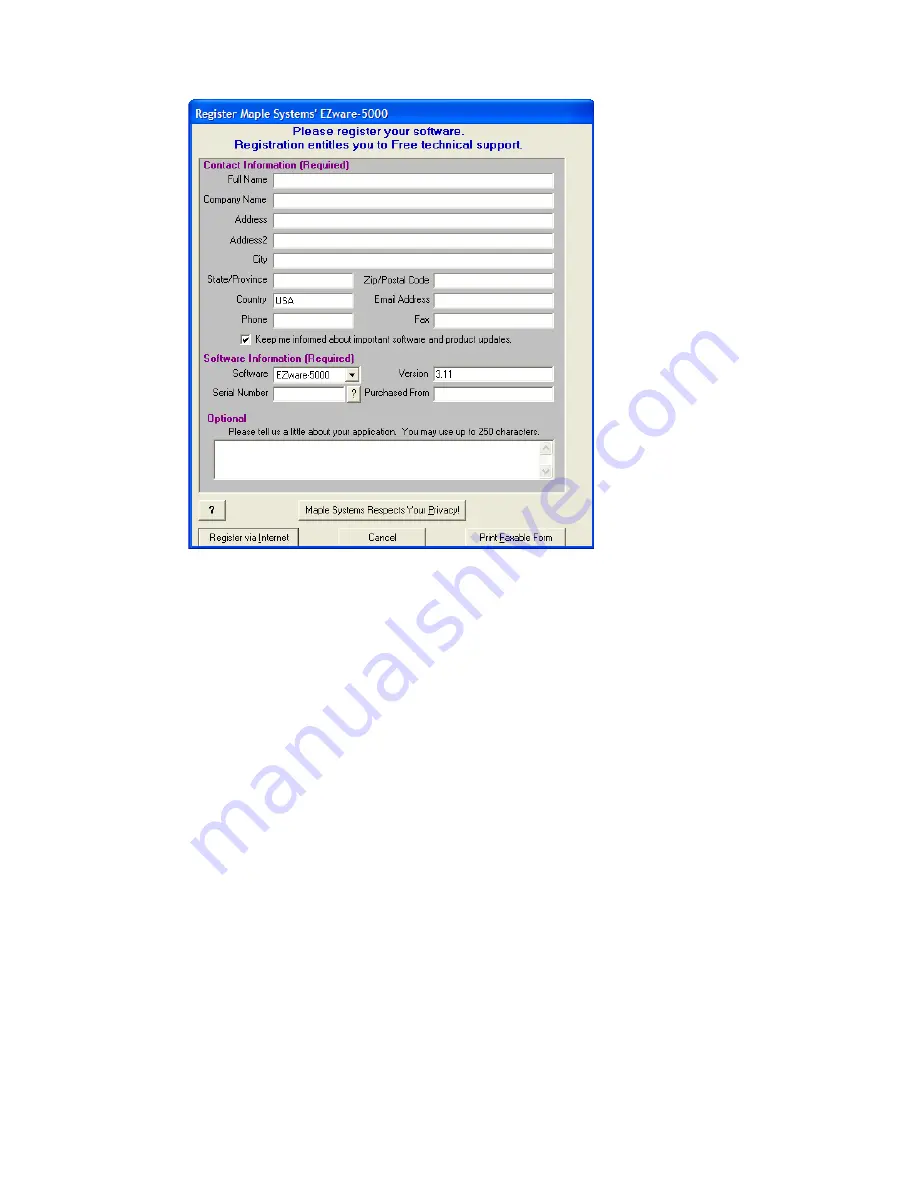
After the installation is complete, the following window will appear:
10.
Fill in the appropriate fields. The serial number can be found on the back of the plastic case that contained the CD.
If a viable Internet connection is available, press the “Register via Internet” button now. If a viable Internet
connection is not available, press “Print Faxable Form” and follow the subsequent instructions.
92
Содержание GEN2 OI-7032
Страница 8: ...Internal Diagram 8...
Страница 9: ...Terminal Board 9...
Страница 10: ...Touchscreen Front Touchscreen Back 10...
Страница 11: ...AC Delta Power Supply 11...
Страница 12: ...Internal Diagram As Wired from the Factory 12...
Страница 13: ...Internal Diagram Completely Wired 13...
Страница 29: ...Connecting Sensor 2 1 Locate the Sensor 2 Terminal Block on the Terminal Board 29...
Страница 31: ...Connecting Sensor 3 1 Locate the Sensor 3 Terminal Block on the Terminal Board 31...
Страница 33: ...Connecting Sensor 4 1 Locate the Sensor 4 Terminal Block on the Terminal Board 33...
Страница 37: ...Connecting Relay 2 1 Locate the Relay 2 Terminal Block on the Terminal Board 37...
Страница 39: ...Connecting Relay 3 1 Locate the Relay 3 Terminal Block on the Terminal Board 39...
Страница 41: ...Connecting Relay 4 1 Locate the Relay 4 Terminal Block on the Terminal Board 41...
Страница 63: ...Duplicate Settings cont 3 Press Yes to confirm or No to decline the Duplicate Settings operation 63...
Страница 84: ...Fault Status cont Channel On Without Wired Sensor Connected Fault F1 Check Sensor Cable 84...
Страница 85: ...Fault Status cont F4 Check Sensor Board 85...
Страница 88: ...APPENDIX A Software Installation 88...
Страница 91: ...HMI Software cont 7 Press Next again 8 Press Next again to begin installation 91...
Страница 93: ...APPENDIX B Reading USB Drive 93...
Страница 98: ...APPENDIX C 4 20mA Loop Current Introduction 98...
Страница 103: ...Otis Instruments Inc Corporate Office 2200 E Villa Maria Dr Bryan TX 77802 979 776 7700 www otisinstruments com 103...


