


5
203,7
Units in mm
178,8
30
38
37
42,9
12
42,9
Installation manual
IM0973670 A 02
2. Configuration
To create a Wi-Fi
®
connection, there must always be a
WISR router in the system. In a 2 camera system, one
WISR router is connected with the tablet. For the 4 camera
system a second WISR router set communicates with the
other WISR router within a work zone. Figure 1 shows two
systems using one or two WISRs.
To connect two cameras with the WISR, an extension cable
must be used; This cable must be ordered separately, check
with Orlaco.
Cable Uni Ethernet
1m; Art. No. 0321000
9m; Art. No. 0321060
2m; Art. No. 0321010
11m; Art. No. 0321070
3m; Art. No. 0321020
16m; Art. No. 0321080
5m; Art. No. 0321030
21m; Art. No. 0321090
7,5m; Art. No. 0321040 40m; Art. No. 0321100
8m; Art. No. 0321050
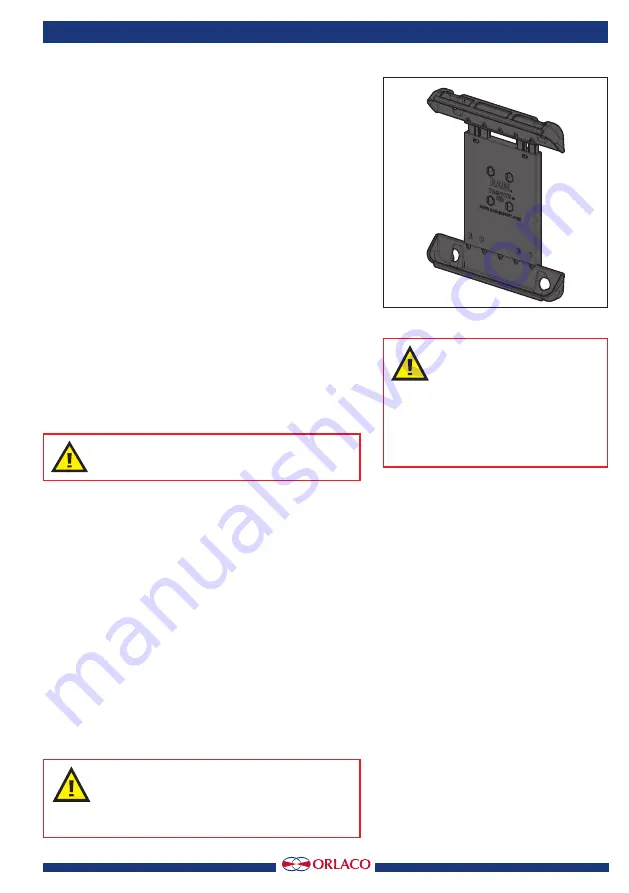
Optionally, a holder for the tablet is available. See figure 2.
Tablet holder 8.5” to 11.125”. Article No. 2015880.
See Data sheet: DS0963137.
IMPORTANT:
Tablet charging adapter is not included
3. Operation
The WISR works together with the Android app ‘Photon-
View’. WISR firmware can be updated via Wi-Fi
®
with the
tablet (Android Photon View app) with a Wi-Fi
®
connection.
(Check with Orlaco to receive the software).
The Wi-Fi
®
antenna has an omnidirectional orientation.
Typically the system will cover 20m. The maximum range is
30m, measured under optimal conditions in the open field.
Local interference metal objects and weather conditions
can cause the maximum range to decrease.
4. Assembly / Installation
4.1 Options
The WISR system can be mounted in various ways.
Depending on the use, there are various mounting options
for the WISR system.
IMPORTANT
Avoid mounting the WISR with connectors
faced up. Preferably mounting the WISR
with connectors facing down.
Figure 2
IMPORTANT
The best reception of the
signal on the tablet can
be obtained by placing the tablet
and the WISR so that there is as
little as possible metal between
them.


