14
15
Naming conventions are most
important for StarShoot G3
Monochrome users who may be using
LRGB or narrowband filters. Change
your file name to indicate what filter
you are imaging through. For example,
Dummbell_Luminance, or Dummbell_
Red, etc.
Dark Frames
Dark frames are images taken with
no light coming into the camera. A
dark frame is typically taken with the
telescope’s objective capped. The
only data in the image is the inherent
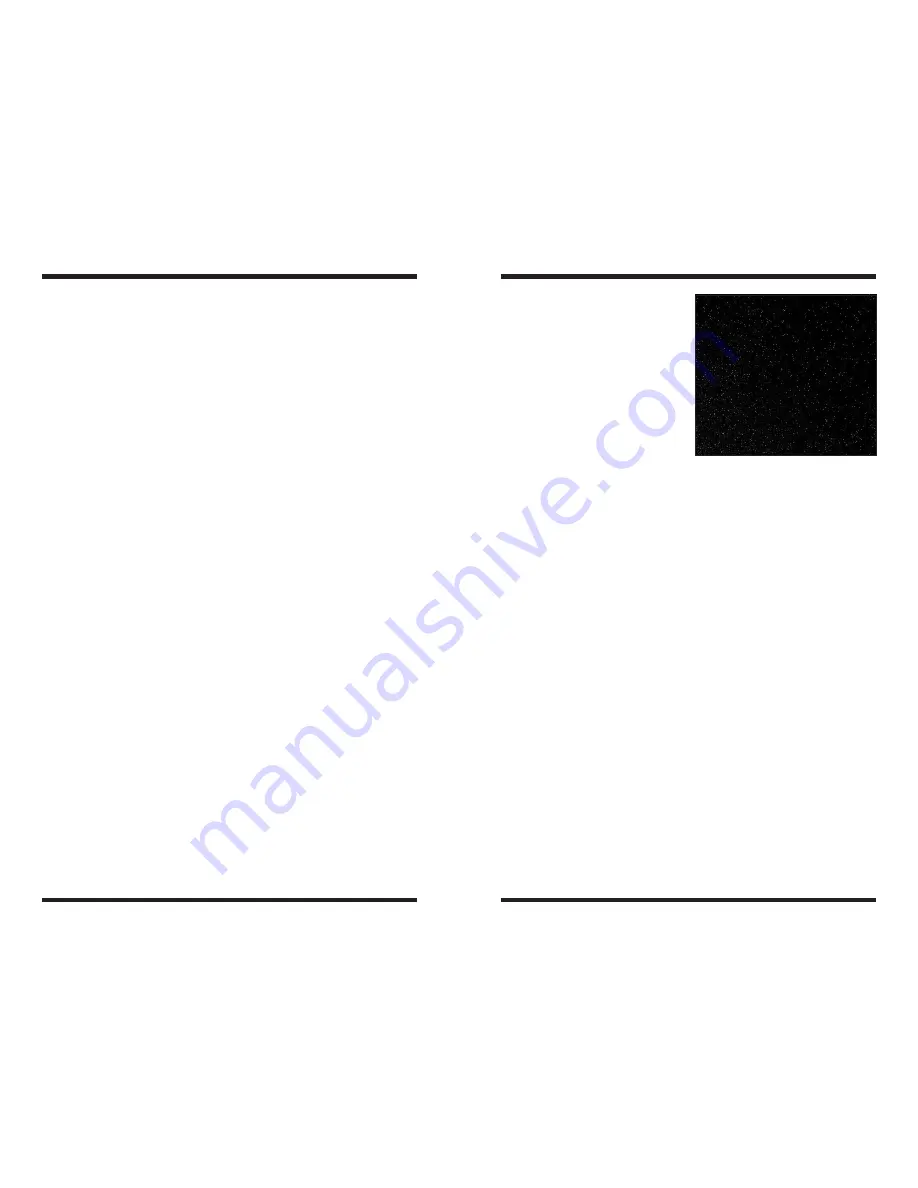
camera oise (Figure 14). The noise
contains the dark current, read noise
(noise introduced during camera
readout and download) and hot pixels
(bright dots in the image). All of this
noise exists in your raw astro-image too, which distracts from the detail you want
to see. To eliminate most of the camera noise, you can take several dark frames,
average them, then subtract them from your astro-images, also called, “light”
images.
Note: Make sure the CCD temperature is the same as was when took your light
frames.
To take dark frames for subtraction from “light” images:
1. Set the
Exposure Type to Dark in the Capture tab. Or if you are taking
a sequence of images, set the
Type in the Sequence window to Dark,
this will also assign a “D” suffix to your saved file name so you can easily
identify your darks later.
Note to StarShoot G3 Color users: You must take Raw Light frames in
monochrome BEFORE converting to color in order to utilize dark frames.
2. Use the same exposure time as the light images you have or will take. If
your light image is 60 seconds, the dark frame must also be 60 seconds.
3. Click
Start or Run Sequence if you are taking several darks. Camera
Studio will remind you to cover your telescope. Remember to always cover
your telescope before taking a dark – and be sure to uncover it again when
taking light frames.
Flat Fields
A flat field is an image taken with uniform featureless light entering the
telescope, such as a blue sky in the early morning or after sunset. Flat fields
solve a number of issues in your astro-images. However, for the beginner astro-
4.3. Imaging Deep Sky Objects
Capturing impressive images of deep sky objects, such as galaxies, nebulae,
and star clusters, require relatively long exposures. You will take several
individual images and stack them together to form one high-quality resultant
image.
Very accurate polar alignment is essential for deep sky imaging. Stars will streak
across the field of view without precise polar alignment and tracking. Longer
exposures of 60 seconds or more also require autoguiding with a separate
camera. The Orion StarShoot AutoGuider (available separately from Orion) can
be operated with the G3 in PHD Guiding.
To start:
1. Acquire and center the deep sky object into the field of view of your
eyepiece. If you are using a mount with an accurate computerized go-to
system, you can keep the camera installed in your telescope’s focuser
without using the eyepiece.
2. Remove the eyepiece and replace it with the G3 camera.
3. Focus the camera as outlined in Section 4.1. If necessary, move the
telescope to a nearby star to determine the best focus.
For best results we recommend selecting
Raw in the pull down menu next to the
Color label in the Capture tab (Figure 6). For StarShoot G3 Monochrome users,
no special selection is needed, all images will be raw.
4. In the
Capture tab, set the Exposure value to around 10-20 seconds and
click
Start. After the image downloads check to see if the deep sky object
is centered well in your camera. Adjust the camera orientation if needed,
keeping in mind that you may have to refocus the camera after making
the adjustment. Reposition the telescope if needed to center the deep sky
object.
5. Click
Sequence and set the Directory save path, and File Name for your
images as well as your exposure details (Figure 8). For most deep sky
imaging, set:
Run: Always check on
Type: Light 1x1
Exposure: Greater than 30 seconds (to your choosing)
Binning: 1x1,
Repeat: multiple exposures, we recommend more than 5.
6. Click the
Run Sequence and the G3 will immediately begin the sequence
of exposures. A naming convention is assigned to your
File Name. If you
called your image Dumbbell and you are capturing 10 images, the sequence
will save them in your specified directory as Dumbbell1L1.fit, Dumbbell2L1.
fit, Dumbbell3L1.fit and so on.
Figure 14.
A dark frame contains the
thermal and background noise, as well as
any read noise. The same noise appears
in your “light” images. Dark frames isolate
the noise so it can later be subtracted from
your “light” images.


