12
9. Go to the
Capture tab, set the
Exposure to 1 second and click
Single. You should see the out
of focus star in the image. If you
do not see anything, you need to
increase the exposure time.
10. Draw a small box around the
unfocused star with your mouse
(hold-click and drag the mouse
cursor around the star to draw
the box,
Figure 11). Check the
Subframe box.
11. In the
Capture tab, click Loop.
The camera will only download
the area you previously selected,
which makes each image
download significantly faster than
the whole frame. The exposures
will display continuously. Adjust
the focuser as needed to get the
sharpest looking star.
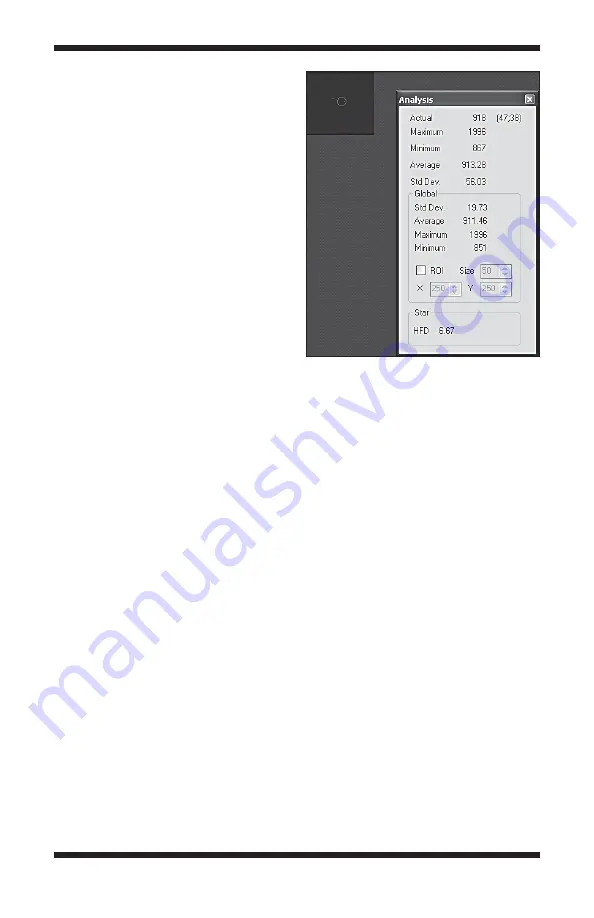
12. Once the star looks sharp, hover the mouse cursor over the star and pay
attention to the
HFD value. Make additional adjustments to the focuser if
needed to achieve the smallest
HFD possible.
Be sure to uncheck the
Subframe box once you are done focusing.
Note: If the G4 is grossly out of focus, no object will appear in the image, not
even a blur. Increase the exposure time if needed and patiently move through
the focus range of your telescope until you see the centered star come into
view.
4.2. Using the Thermoelectric Cooler (TEC)
The StarShoot G4’s cooling system was designed to reduce the noise in your
astro-images. All digital cameras, whether CCD or CMOS have inherent noise.
Taking longer exposures at night on a target that is very faint will have little
signal, so the noise will be more apparent.
Cooling the CCD camera suppresses the most prominent noise, the thermal
noise. You will see bright pixels in most of the images you capture. These
bright pixels, and a lot of the noise you see will be reduced by activating the
thermoelectric cooler (TEC).
Just as importantly, the noise stays fairly consistent at the same temperature. You
should take your dark frames (see “Dark Frames” in Section 4.3) at the same
temperature as your light frames, which will remove most of the noise effectively.
Figure 11.
Create a subframe around the
star you want to focus on.


