GETTING STARTED
INSTALLING THE BATTERIES
1.
Loosen the screw on rear and slide open the battery compartment lid.
2.
Install two CR2032 lithium batteries (supplied) with the positive (+) side facing out.
3.
Close the lid of the battery compartment.
To take out the lithium batteries
If the batteries do not come out, push the side of the battery with a sharp object.
REPLACING THE BATTERY
“
” appears on the display when the batteries become weak. Replace the batteries with new ones.
When replacing, be sure to take out both old batteries first, and then insert the new ones.
Battery life
Lithium battery CR2032 : approx. 1 month
When recording for 2 minutes and playing back for 3 minutes every day (with VOL control at low)
Notes:
•
The battery life may vary depending on the operation of the unit.
•
The recorded messages will remain even if you replace batteries.
Notes on lithium battery
•
Keep the lithium battery out of reach of children. Should the battery be swallowed,
immediately consult a doctor.
•
Wipe the battery with a dry cloth to assure good contact.
•
Be sure to install the battery in the correct polarity position.
•
Do not hold the battery with metallic tweezers, as doing so may cause a short- circuit.
•
Do not break up the battery or throw it into a fire, which might cause it to explode.
Carefully dispose of the used battery.
CAUTION
Danger of explosion if battery is incorrectly replaced. Replace only with the same or equivalent
type recommended. Discard used batteries according to manufacturer’s instructions.
Note:
When the unit is not be used for a long period of time remove the batteries to avoid damage
from battery leakage and corrosion.
BASIC OPERATIONS
RECORDING MESSAGES
You can record up to 99 messages. You can record up to 10 minutes
in normal recording mode and 17 minutes in LP recording mode
including Special Message.
Since a newly recorded message is automatically added behind
the last recorded message, you can start recording quickly without
searching for the end of the last recording.
Each recorded message has an index number, and a newly recorded
message will have the last index number.
Normal Recording Mode
1.
Press REC once and speak into the built-in microphone.
“REC” appears while recording.You do not need to
keep pressing REC while recording.
2.
Press REC again to stop recording. The display shows the current message number and
total number of messages.
Changing to LP Recording Mode
1.
Press “DELETE/MODE” for 1.5 second
2.
Then Press “SPECIAL/SELECT” to select “LP” “SP”
3.
Press “DELETE/MODE” again to confirm change.
(Repeat 1 to 3 for changing back to SP mode)
When you have recorded up to 99 messages or the maximum recording time, ‘‘FULL” appears
in the display. If you want to record more messages, first erase some old messages. (Refer to
‘‘Deleting Messages” for details.)
To listen to the current recording
Press REC to stop recording and then press the jog lever.
Remaining memory indication
As the capacity of the remaining memory decreases, the segments of the indication will go off
one by one.
When you record for about two minutes in SP, one segment will go off. When the memory is
full, all segments go off.
PLAYING BACK MESSAGES
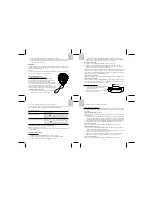
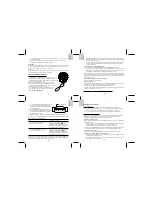
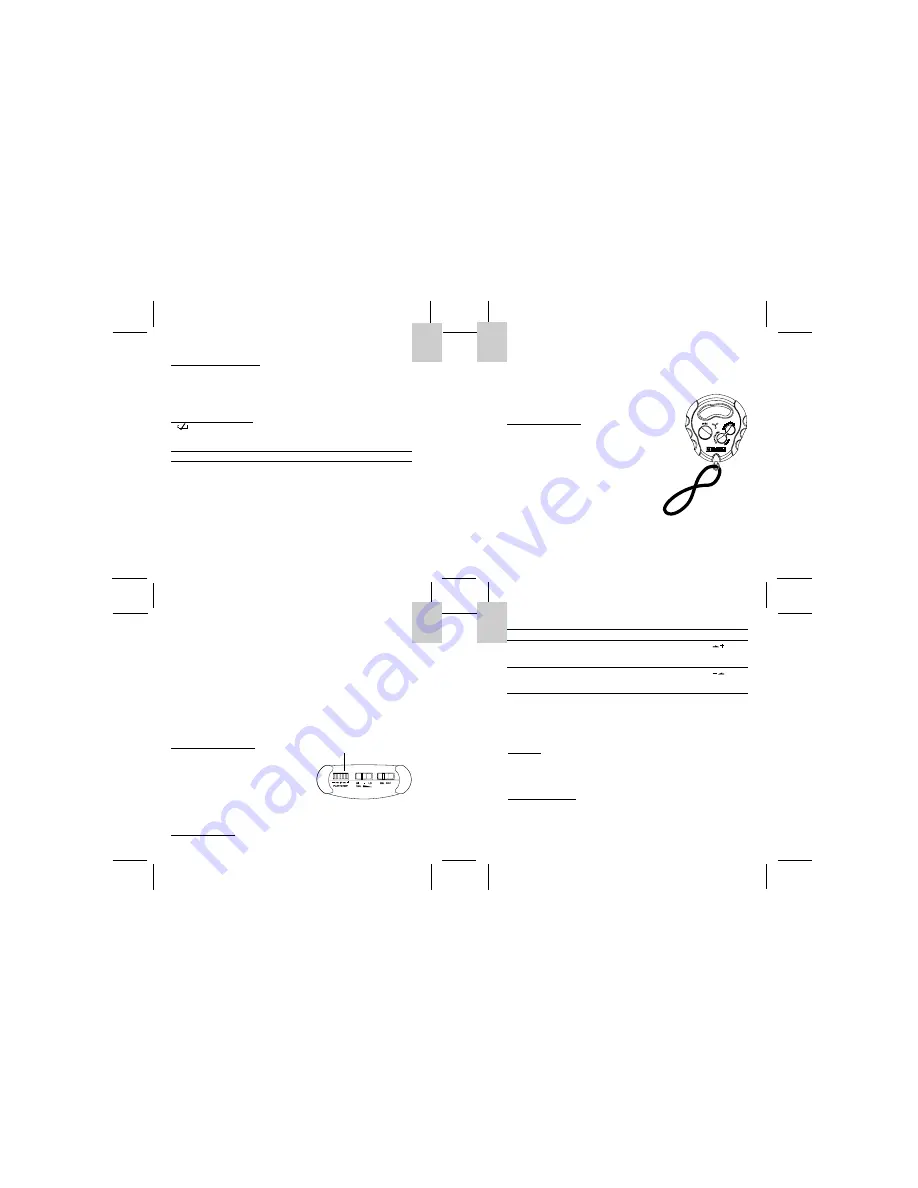
1.
Move the jog lever sideways to display the
desired message number. (To change the
number rapidly, keep holding the lever.)
2.
Press the jog lever downwards. The selected
message is played back.
3.
Select the High/Low volume by sliding
the volume switch.
After playing back one message, the unit stops at the beginning of the next message.
When the last message has been played back, the unit stops at the beginning of the last message.
OTHER OPERATIONS
2
3
4
To
Do this
Skip to the next message
Move the jog lever sideways once to the “
”
position. To skip message continuously, move the jog lever
sideways and hold it there (during stop mode only).
Skip to the previous
Move the jog lever sideways once to the “
”
message
position. To skip message continuously, move the jog lever
sideways and hold it there (during stop mode only).
To stop playback partway through a message (Playback Pause function)
Press the jog lever downwards.
When you press the jog lever next time, the message will continue from the point where you
stopped previously.
OTHER FUNCTIONS
KEY TONE
1.
Press and Hold the “DELETE/MODE” for 1.5 second.
2.
Press “SPECIAL/SELECT” to select “BEEP”.
3.
Press “DELETE/MODE” once more for confirmation.
4.
Repeat the 1 to 3 for cancel the key tone.
DELETING MESSAGES
You can delete the recorded messages one by one or all messages at a time. Note that once a
recording has been deleted, you cannot retrieve it. To delete the Special Message please refer
to the corresponding section.
Deleting messages one by one
When a message is erased, the remaining messages will advance and be renumbered so that
1
English
English
English
English
Jog lever


