


4
中文(繁)
時鐘
時鐘接收
機體連接至電源後,時鐘將自動開始掃描無線電遙控時
間訊號。
欲搜尋訊號接收︰按
RCC
。
接收訊號需時
2-10
分鐘。若無線電訊號微弱,就可能會
用到
24
小時來取得有效的訊號。
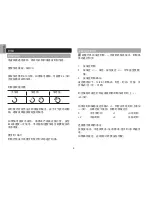
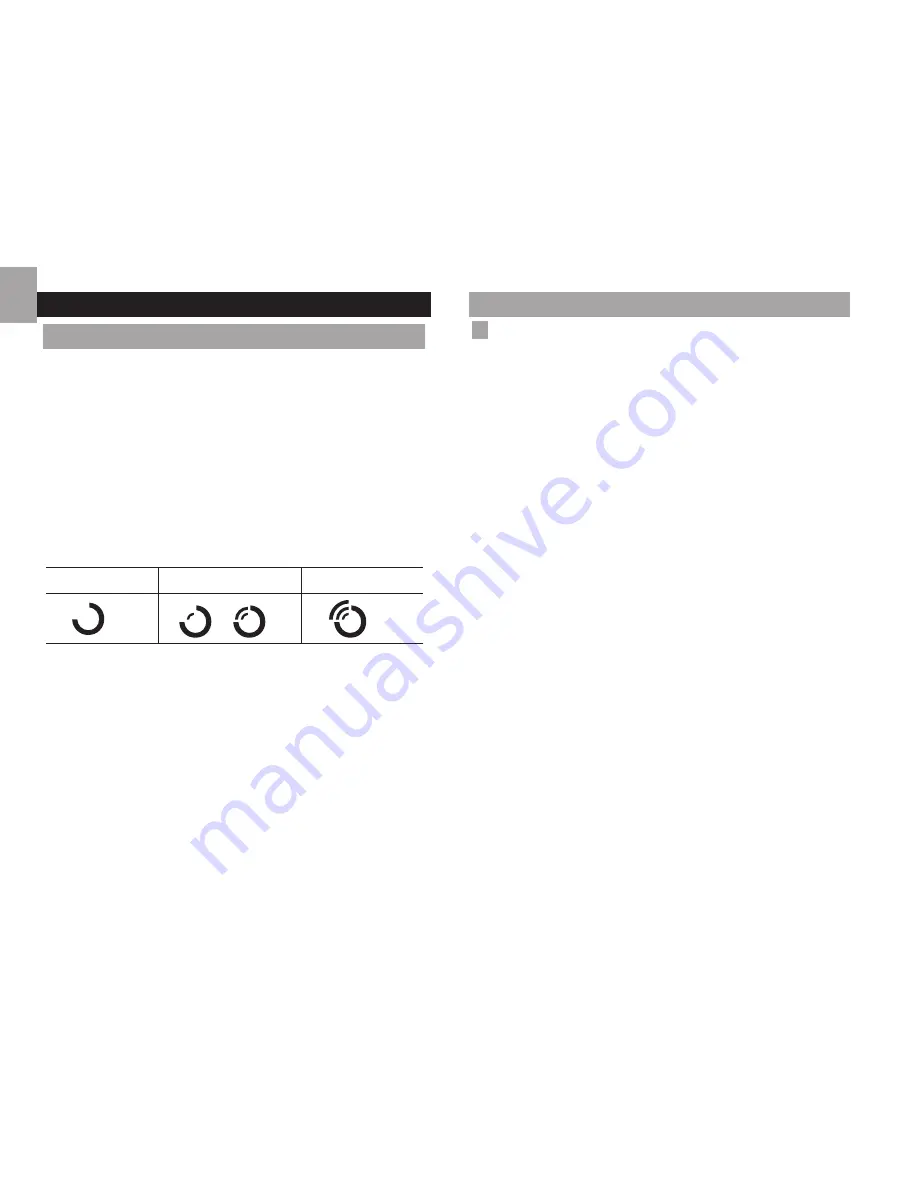
時鐘接收指示器︰
無訊號
訊號微弱
訊號強
有時候您可能無法立即接收訊號。由於大氣干擾的關
係,通常夜晚能接收較強訊號。
若訊號接收不成功,將機體放在窗戶旁,按住RCC再搜
尋訊號一次。手動強行搜尋訊號將耗費較多電源。
夏令時(
DST
)
時鐘已預設為可在夏令時實行時自動進行切換。
手動設定時鐘
註 即使已手動設定時鐘,一旦收到無線電訊號,時鐘將
開始自動同步訊號。
1. 按設定時鐘。
2. 按設定 +/-,以更改設定。按住設定 +/-,快速變
更數值。
3. 按設定時鐘以確認。
設定的順序如下:
12/24
小時格式、時區、時間、年份、
萬年曆格式(月/日)、日期。
時區偏移可設定時鐘,範圍是接收到的時鐘訊號時間的
+/-
23
小時。
若閣下在時間偏移設定中輸入
+1
,就會在閣下居住的當
地時間上加一小時。 若閣下身處美國,時鐘設定是︰
0
太平洋時間
+1
山區時間
+2
中部時間
+3
東部時間
選擇語言以顯示每週當日︰
重複按語言,以選擇英語/法語/德語/意大利語/西班牙
語。
欲儲存設定,在
5
秒內不要按任何按鍵。
Содержание EasyPlus EC101
Страница 1: ...EasyPlus Talk o Clock Model EC101 USER MANUAL...
Страница 66: ...1 FM EC101 2 2 2 3 3 3 3 4 4 4 5 5 5 6 6 6 6 6 Oregon Scientific 7...
Страница 67: ...2 1 2 3 4 5 6 7 8 1 2 3 4 5 6 7 8 180 9 10 11 1 2 3 4 5 6 7 8 1 2 3 4 5 6 7 8 9 10 11 12...
Страница 68: ...3 12 RCC 1 2 1 2 12 3 4 5 6 7 1 2 1 2 1 2 1 2 3 4 5 6 7...
Страница 69: ...4 RCC 2 10 24 RCC DST 1 2 3 12 24 23 1 0 1 2 3 5...
Страница 70: ...5 1 2 5 8 24 1 2 180...
Страница 71: ...6 x x 200 x 105 x 65 7 9 x 4 1 x 2 6 514 18 1 AC DC 6V 2 UM 4 AAA 1 5 V Oregon Scientific...
Страница 80: ...1 FM EC101 2 2 2 3 3 3 3 4 4 4 5 5 5 6 6 6 6 6 Oregon Scientific 7...
Страница 81: ...2 1 2 3 4 5 6 7 8 1 2 3 4 5 6 7 8 180 9 10 11 12 RCC 1 2 3 4 5 6 7 8 1 2 3 4 5 6 7 8 9 10 11 12...
Страница 82: ...3 1 2 1 2 12 3 4 5 6 7 1 2 1 2 1 2 1 2 3 4 5 6 7...
Страница 83: ...4 RCC 2 10 24 RCC DST 1 2 3 12 24 23 1 0 1 2 3 5...
Страница 84: ...5 1 2 5 8 24 1 2 180...
Страница 85: ...6 x x 200 x 105 x 65 7 9 x 4 1 x 2 6 514 18 1 AC DC 6V 2 UM 4 AAA 1 5 V Oregon Scientific...
Страница 87: ...2011 Oregon Scientific All rights reserved...


