


2 – 25
Installing Oracle7 Server for Windows NT
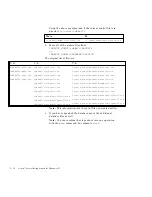
size (for example, the following SQL statement adds an 8MB file to the
SYSTEM tablespace:
alter tablespace SYSTEM add datafile ’<directory for the
file>\<filename>’ size 8M;
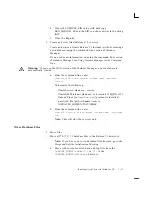
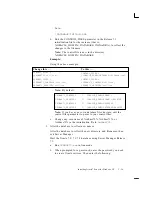
1.
List files for the instance
For each instance you want to migrate, make a list of the control,
data, and log files for the instance.
To get a list of these files for the instance:
a.
Run Server Manager in line mode.
b. Enter the following at the Server Manager prompt:
SVRMGR> connect system/<account password for the instance>
SVRMGR> spool migrate.log;
SVRMGR> select member from v$logfile ;
SVRMGR> select name from v$datafile ;
SVRMGR> select value from v$parameter
where name = ’control_files’;
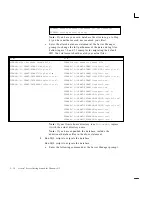
2.
Shut down your Oracle7 database
At the
SVRMGR
prompt, enter the following:
SVRMGR> connect internal
SVRMGR> shutdown
SVRMGR> exit
3.
Shut down and delete Oracle services
Shutdown and delete Oracle services belonging to the earlier
database version using
orasrv.exe
(for Version 7.0),
oradim71.exe
(for Version 7.1),
oradim72.exe
(for Version 7.2).
Example:
oradim71 –delete –srvc <Oracle Service Name>
Note:
This stops and deletes the service.
4.
Backup the 7.0/7.1/7.2 database
For more information on backing up your database, see your
database documentation.
5.
De–install the 7.0/7.1/7.2 server, RSFs and Utilities
Содержание Oracle7 Server 7.3
Страница 14: ...xiv Oracle7 Server Getting Started for Windows NT ...
Страница 58: ...2 32 Oracle7 Server Getting Started for Windows NT ...
Страница 96: ...4 12 Oracle7 Server Getting Started for Windows NT ...
Страница 108: ...5 12 Oracle7 Server Getting Started for Windows NT ...
Страница 122: ...A 14 Oracle7 Server Getting Started for Windows NT ...
Страница 128: ...B 6 Oracle7 Server Getting Started for Windows NT ...
Страница 134: ...C 6 Oracle7 Server Getting Started for Windows NT ...
Страница 176: ...E 32 Oracle7 Server Getting Started for Windows NT ...
Страница 202: ......


