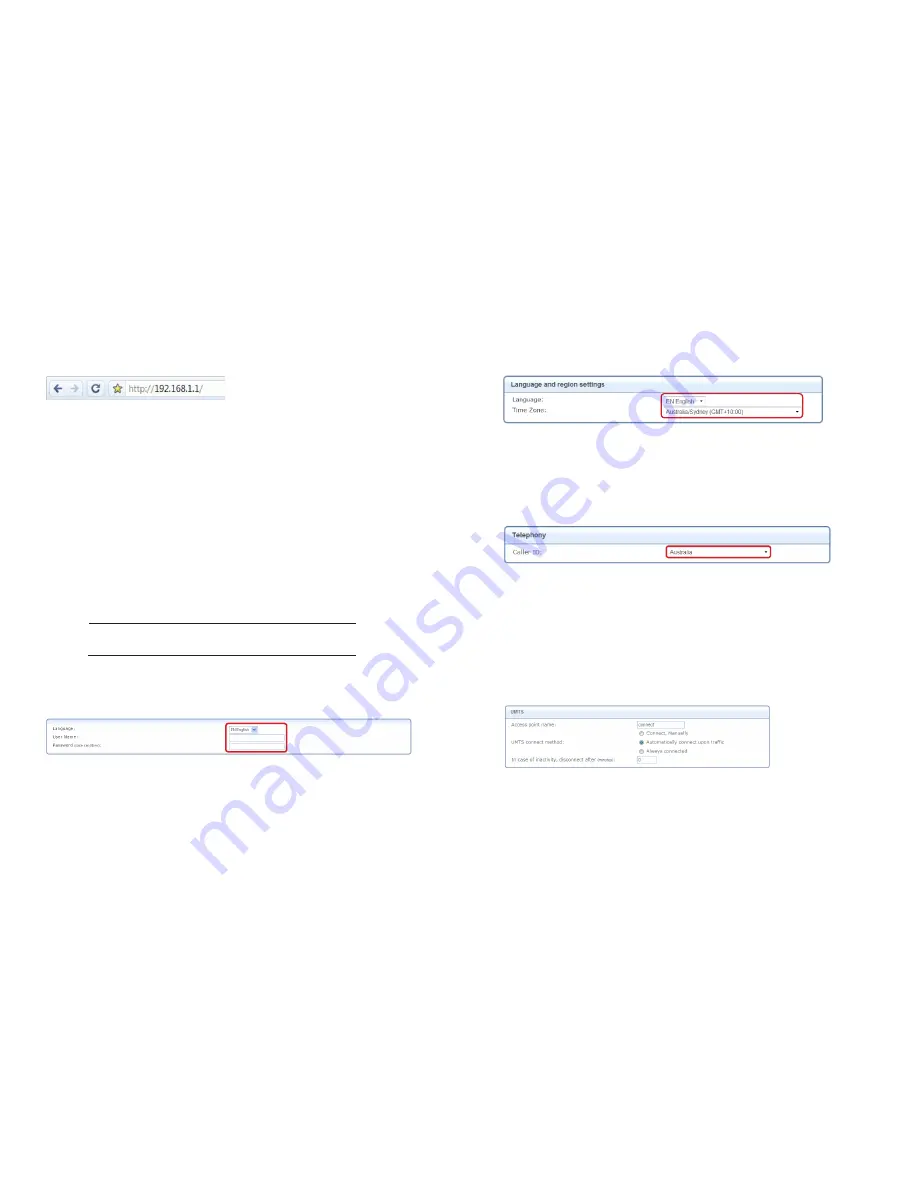
4. Log into the GlobeSurfer
®
III:
Open your web browser and go to
http://192.168.1.1
tip:
Save the link (URL) to this page as a favourite in your Browser. Then you can easily access
the GlobeSurfer
®
III Management Console in future.
5. Welcome to GlobeSurfer
®
III Installation Wizard:
Click
“Next”
on the welcome page
6. Login Setup:
Now choose and confirm a username and a password. This will allow you access to the
management console at a later stage.
tip:
Record your User Name and Password here for future reference:
USeR NAMe:
PASSWORD:
Click
“Next”
when you’re done.
NOtE:
If you forget your username or password, you can reset the GlobeSurfer
®
III by pushing
in the “reset” button with a paper clip, however all GlobeSurfer
®
III settings will also be reset.
You’ll find the reset button on the bottom of the unit near the SIM card slot.
7. Language:
Confirm that the language and time zone are correct and click
“Next”.
8. Telephony:
Confirm that “Australia” is selected as the Caller ID and click
“Next”
.
9. UMTS (Access Point Name)
You need to ensure the correct APN (access point name) is configured for your Optus
mobile broadband service.
Optus Mobile Broadband (My Biz Wireless plans) – enter access point name
connect


