4
such as slides will use the bottom illuminator (transmitted light)
at all powers of magnification.
Filter Wheel
The 5mp features a manual six position color filter wheel
(Figure 6)
. Choose from five colored filters (or clear). The fil-
ters can aid to increase contrast and detail of various speci-
mens.
Objective Lenses
The microscope features three manually selectable objective
lenses of 4X, 10X and 40X
(Figure 7)
. Different magnifica-
tions can be accomplished by selecting between one of the
three objective lenses. Select the desired objective lens by
rotating the objective head until the lens is directly above the
specimen and the lens clicks into place.
Magnification is determined by multiplying the objective lens by
the eyepiece magnification. So for example, the 10x objective
coupled with the WF10x eyepiece yields 100x total magnifica-
tion. When using the LCD screen, the CMOS chips acts like
a 6x eyepiece, so the magnification range with the LCD is 24x
– 240x, and coupled with the digital 4x zoom, can achieve a
maximum of 960x: (40x * 6x) * 4x digital zoom.
Initially select the lowest 4x objective lens. This lowest magni-
fication setting will produce the widest field of view and display
the brightest image. Viewing with the lowest magnification will
aid in the positioning of the specimen prior to viewing at higher
magnifications and also help to ensure that the objective lens-
es are not positioned too near the slide to prevent accidental
breaking of slide if the objectives come into contact with slide
when focusing. Care must be taken when both handling glass
slides and the position of the objective lenses relative to the
slide when focusing or changing objective lenses.
Camera
The microscope features a 5mp camera that can be used to
capture high resolution images or movies to the SD-Card.
Pressing the UP and DOWN buttons while watching a specimen
will adjust the digital zoom factor. The slider starts at W on the
left (for wide field or no digital zoom applied), and progresses
to the right to T (telephoto, or full 4x digital zoom). Experiment
with the top and bottom illuminators, brightness dial, color filter
wheel and the camera exposure in order to fully control the illu-
mination of specimen.
Viewing Images and Movies
Any picture or video you’ve taken can be viewed on the LCD
screen. Pressing the Mode button will cycle through Camera,
Video, and SD card mode. When SD card mode is active, the
series of images/video present on the SD card will be shown on
the screen. Use the navigation buttons to select image files to
view. Press the OK button to view in Full Screen mode. Select
the MENU button to bring up a drop down menu where you
can protect the files by selecting “Lock” or “Unlock”. Using the
right button will bring you to a menu where you can delete files.
When viewing a video in the SD card mode, pressing the Snap
button will start and stop the video playback.
The AV jack, located below the bottom edge of the LCD screen,
next to the USB and SD card slot, can be used to transmit imag-
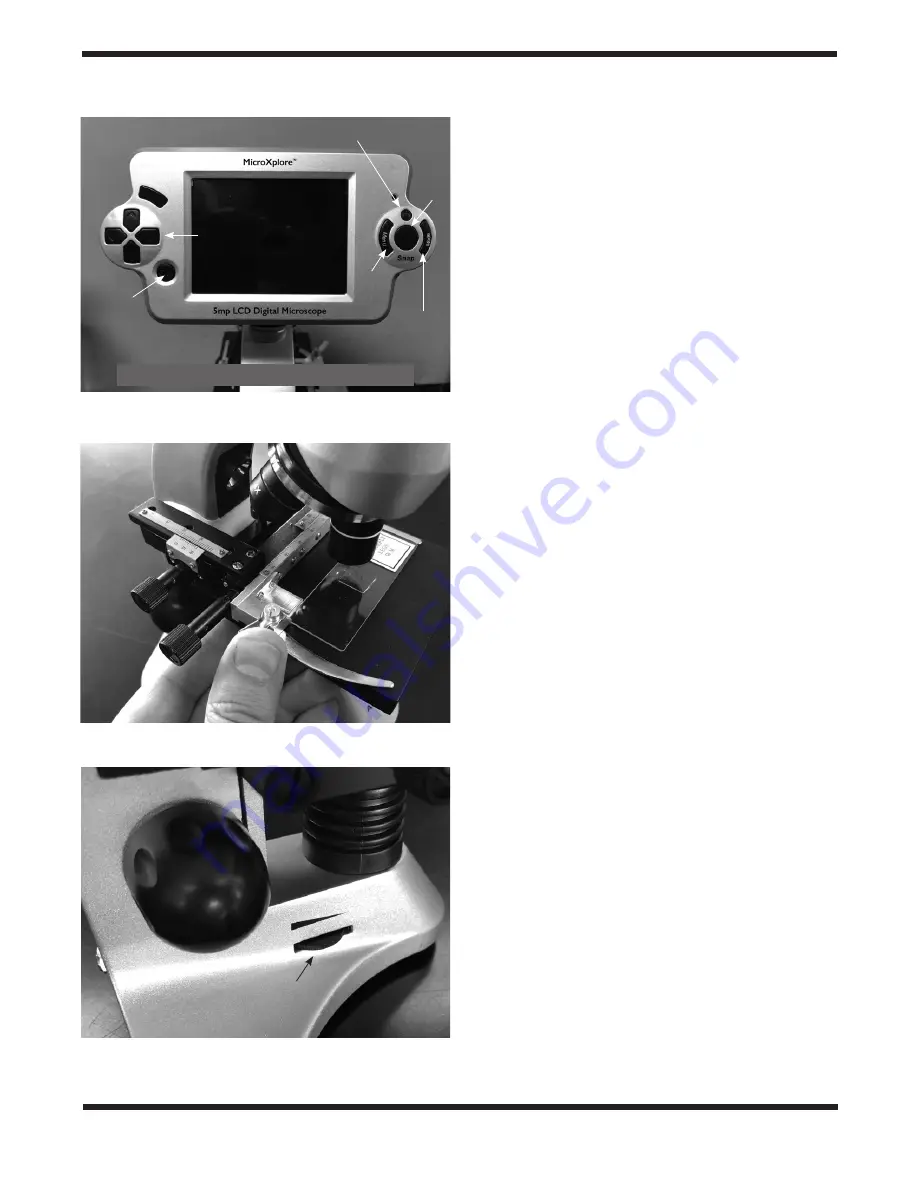
Figure 4.
X/Y Mechanical Stage with slide being inserted
Figure 5.
Focus knob, illumination wheel, and bottom illuminator
shown
Illumination wheel, 2nd
wheel on opposite side.
Figure 3.
The LCD screen, with power and navigation buttons
shown
Power On/Off
Navigation
arrows
SD card, USB, AV out (located on bottom edge of LCD head)
Snap
Mode
Menu
Ok/accept
button
Содержание MicroXplore 51856
Страница 7: ...7 This page left blank intentionally...


