66
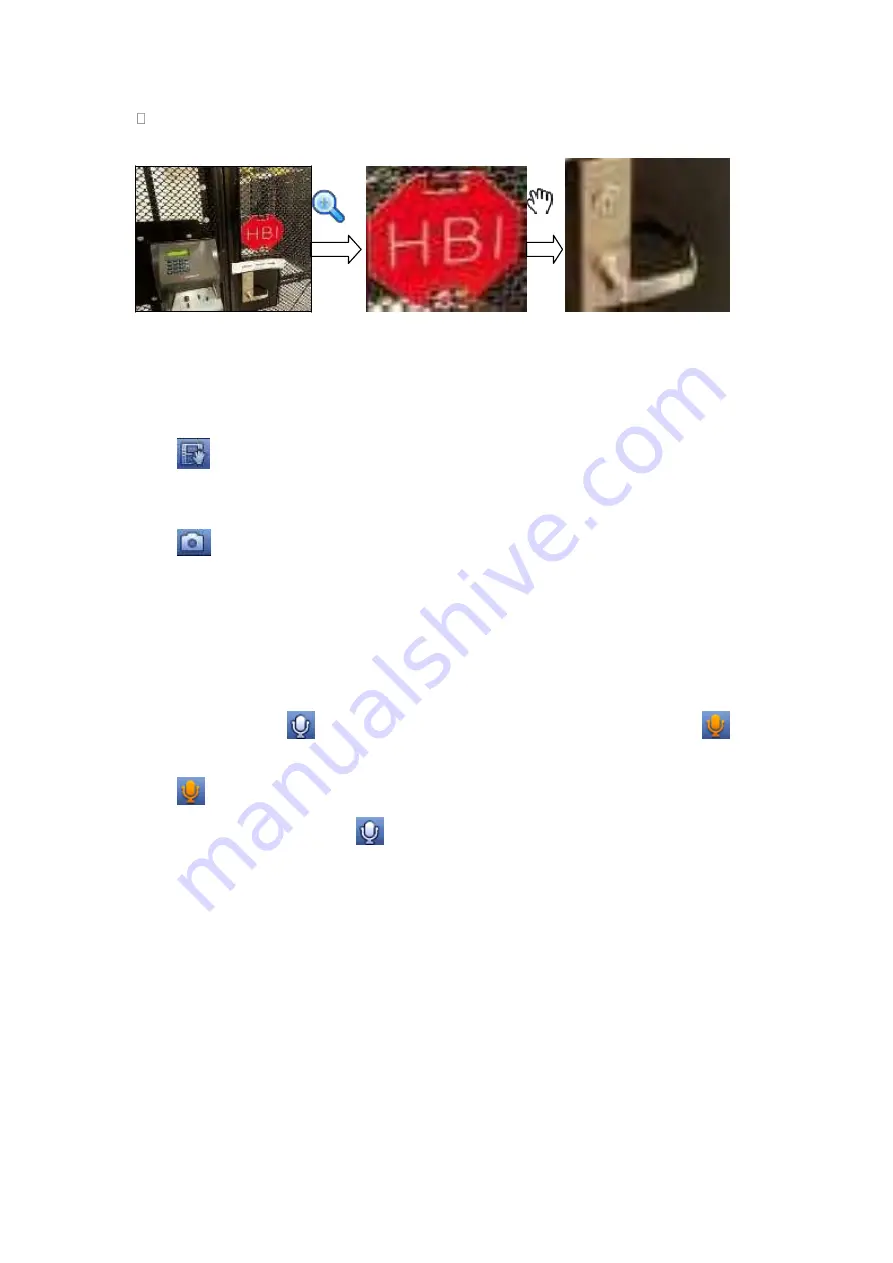
Put the middle button at the center of the zone you want to zoom in, and move the
mouse, you can view an interface shown as in Figure 4-17.
Figure 4-17
Right click mouse to cancel zoom and go back to the original interface.
3) Manual record function
It is to backup the video of current channel to the USB device. System can not backup
the video of multiple-channel at the same time.
Click
, system begins recording. Click it again, system stops recoridng. You can
find the record file on the flash disk.
4) Manual Snapshot
Click
to snapshot 1-5 times. The snapshot file is saved on the USB device or HDD.
You can go to the Search interface (chapter 4.9.1) to view.
5) Mute (For analog channel only)
Click to mute. Click again to enable audio function when preview.
Please note this function is for one-window mode only.
6) Bidirectional talk (For digital channel only)
If the connected front-end device supports bidirectional talk function, you can click this
button. Click button
to start bidirectional talk function the icon now is shown as
.
Now the rest bidirectional talk buttons of digital channel becomes null too.
Click
again, you can cancel bidirectional talk and the bidirectional talk butto ns of
other digital channels become
.
7) Remote device (For digital channel only)
Shortcut menu. Click it to go to the remote device interface to add/delete remote
device or view its corresponding information. Please refer to chapter 4.11.1.1 for
detailed information.
4.5
Right-Click Menu
On the preview interface, right click mouse, you can view menu interface shown as in
Tips
Содержание HDVR161080-Q4
Страница 1: ......
Страница 123: ...308 Figure 4 73 Figure 4 74 ...
Страница 132: ...317 restore original status Figure 4 85 Figure 4 86 4 11 1 3 6 Upgrade Important ...
Страница 156: ...341 Figure 4 109 Figure 4 110 ...
Страница 157: ...342 Figure 4 111 Figure 4 112 ...
Страница 171: ...356 Figure 4 129 Click draw button to draw the zone See Figure 4 130 Figure 4 130 Name Input customized rule name ...
Страница 178: ...363 Figure 4 136 Figure 4 137 ...
Страница 179: ...364 Figure 4 138 Figure 4 139 ...
Страница 182: ...367 Figure 4 142 Figure 4 143 ...
Страница 183: ...368 Figure 4 144 Figure 4 145 ...
Страница 191: ...376 Figure 4 157 Figure 4 158 ...
Страница 209: ...394 Figure 4 180 For digital channel the interface is shown as below See Figure 4 181 Figure 4 181 4 11 5 6 ATM POS ...
Страница 223: ...408 Figure 4 198 ...
Страница 261: ...446 Figure 5 58 Figure 5 59 ...
Страница 275: ...460 Figure 5 75 Figure 5 76 ...
Страница 280: ...465 Figure 5 83 Figure 5 84 Please refer to the following sheet for detailed information ...
Страница 283: ...468 Figure 5 86 Figure 5 87 Figure 5 88 Please refer to the following sheet for detailed information ...
Страница 326: ...511 448K 196M 512K 225M 640K 281M 768K 337M 896K 393M 1024K 450M 1280K 562M 1536K 675M 1792K 787M 2048K 900M ...


