User
’s Manual
Version 1.0
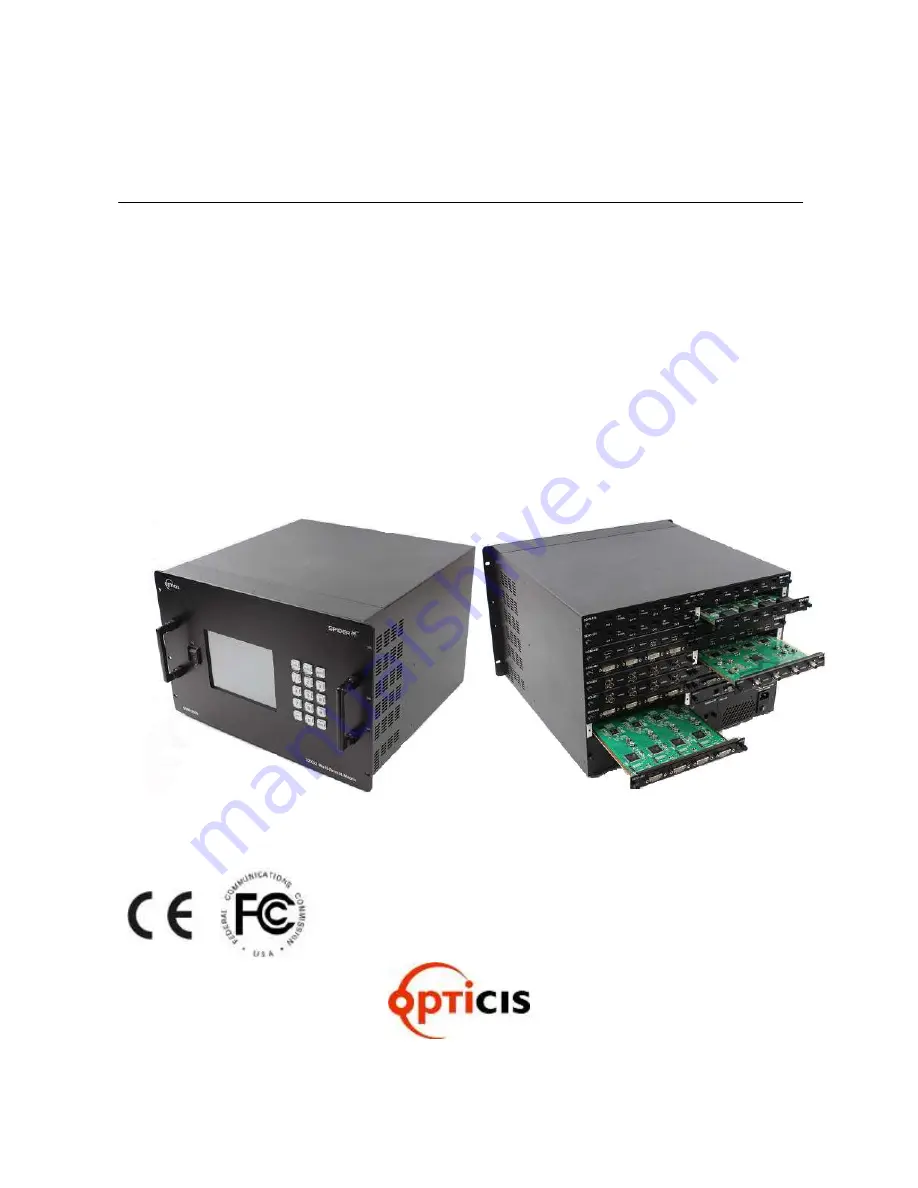
OMM-2500
Multi-format Modular matrix
32x32 DVI / HDMI / SDI Matrix
Doc No. : OM-D140805 / Rev1.0
Страница 1: ...User s Manual Version 1 0 OMM 2500 Multi format Modular matrix 32x32 DVI HDMI SDI Matrix Doc No OM D140805 Rev1 0...
Страница 2: ...LAN RS232 16 3 3 3 Multi Viewer 17 3 3 4 Video Generator 18 3 3 5 Monitoring Port 19 3 3 6 EDID Management 20 3 3 7 HDCP on off 24 3 3 8 Preset 25 3 3 9 Control Lock 28 Chapter 4 PC program operation...
Страница 3: ...2 15 Firmware Version Request 42 Chapter 7 Firmware update 43 Chapter 8 Trouble shooting 46 Chapter 9 Specification 47 9 1 General Specification 47 9 2 Power Specification 48 9 3 SDI video input and o...
Страница 4: ...high resolution graphics can be routed to DVI and HDMI output digital display Note SDI is not a licensed HDCP interface and if the content received from HDMI is protected by HDCP there should be no o...
Страница 5: ...ular matrix chassis 1 EA Input output cards Option SDVI 4EI 4 ports electrical Single link DVI input card SDVI 4EO 4 ports electrical Single link DVI output card DDVI 2EI 2 ports electrical Dual link...
Страница 6: ...o 2 Users 1 4 Physical description The OMM 2500 modular matrix chassis is mountable on a 19 standard rack Key buttons LCD display and power switch are placed on the front panel as shown in Figure 1 1...
Страница 7: ...erver But if the PC is connected directly to the OMM 2500 the network server will not able to assign the IP address In this case network information of PC should be set manually The default IP address...
Страница 8: ...ode read EDID from the selected Resolution List by user and copies it in allocated input Figure 1 2 Concept of EDID setting and working in OMM 2500 modular matrix As depicted in Figure 1 2 once EDID i...
Страница 9: ...nd right click to open property Select Internet Protocol Version 4 TCP IPv4 Enter IP Subnet mask Gateway and DNS server address compatible with the current network setting of OMM 2500 Click OK to term...
Страница 10: ...tion Description window and click OK In Connect To window ignore the Country Area Code and Phone Number fields but select available COM port of PC to be connected to OMM 2500 then click OK In COM Prop...
Страница 11: ...er can recognize the resolution of input signal ex CH21 800x600 and input output connection status If LED is OFF input and output signals are not connected and it will be disable as grey color Descrip...
Страница 12: ...le or multiple output channel s among 32 output buttons to be connected with display 4 Outputs can be initialized by clicking designated output button again 5 Touch Apply button to save the configurat...
Страница 13: ...input channel again to check the connection between the selected input and connected all output 3 2 2 All Unlink It unlinks connected input and output channel s 1 Touch All Unlink button 2 Touch an i...
Страница 14: ...basic configuration of OMM 2500 Touch configuration icon to see all features Channel Name LAN RS232 Multi Viewer It is activated when QDVI O is in output bay Video Generator Monitoring Port EDID Manag...
Страница 15: ...utput Channel bar right next to Channel Name Touch a channel bar to enter channel name Then the keypad window will be popped up Touch Shift key to select a letter or number and 0 button to make a spac...
Страница 16: ...process The default setting is 115200 2 Network It modifies IP Address Subnet mask Gateway Mac Address and Port to be used for your network Touch one 1 of them to modify the network setting LED shows...
Страница 17: ...er card QDVI O can choose 4 inputs among 32 inputs of OMM 2500 and configure and output these input signals with 7 different layouts Select the SLOT No by touching icon It shows location where the QDV...
Страница 18: ...18 3 3 4 Video Generator It changes resolution and pattern of video generator Select resolution or pattern and OSD by touching the icons Touch Apply icon to complete the process...
Страница 19: ...o Monitor Output port for monitoring uses Connect a display to the Monitoring Output port and any video sources to the DVI input ports on the real panel Touch an input channel to select desired input...
Страница 20: ...ID from the factory By selecting it default EDID will be designated for allocated input channels Check the Default icon by touch Touch single or multiple input channel icons to select desired inputs T...
Страница 21: ...Apply icon to complete the process Start the Auto detect EDID writing process Report shows the progress status For example if user select nine 9 and ten 10 input channel icons Report shows AutoMix ED...
Страница 22: ...hannel icons to select desired inputs Touch the Apply icon to complete the process Start Output EDID writing process Report shows the progress status For example if user select one 1 output channel an...
Страница 23: ...List is as below SVGA 800x600 XGA 1024x768 720P 1280x720 WXGA 1366x768 SXGAp 1400x1050 WXGAp 1440x900 UXGA 1600x1200 WSXGAP 1680x1050 1080P 1920x1080 WUXGA 1920x1200 2K 2048x1080 Touch single or multi...
Страница 24: ...set HDCP on off in this menu Select Deselect single or multiple Input Channel icons by touching Touch the Apply icon to complete the process Note Only the Electrical single link DVI Dual link DVI and...
Страница 25: ...25 3 3 8 Preset It saves and loads the current routings to up to ten 10 specified preset number 1 Preset Save mode Touch the Save icon Touch the icon to select desired Preset Save number...
Страница 26: ...r next letter For example if user want to enter AB touch A 0 and B keys in order Touch ENTER key to save the name Touch an input channel icon to select desired input Touch single or multiple output ch...
Страница 27: ...mber Touch the Load icon next to the icon such as and it shows current input output connection in the Preset Load number Touch the Apply icon to complete the process Note Saved input output connection...
Страница 28: ...ey RS 232 TCP IP and UDP Select the Lock or Unlock by touching the icon Touch the Apply icon to complete the process 2 Reset It resets OMM 2500 by system reboot and default setting It maintains the la...
Страница 29: ...program file download and Installation Visit our website www opticis com Click PRODUCTS bar at the top of the page Click Multi format Matrix Router and OMM 2500 step by step Click and download the PC...
Страница 30: ...0 is default In case of Ethernet enter IP address of OMM 2500 and port number 3000 is default port number of OMM 2500 Click Open button to finish the setting If the connection is properly made current...
Страница 31: ...control OMM 2500 please confirm that Network setting of OMM 2500 and Ethernet connection of the PC Refer to Chap 2 and Chap 3 Launch the web browser and enter the IP address of current OMM 2500 into...
Страница 32: ...cription LINK Input and Output connection IN Input signal status request OUT Output signal status request INNAME Input Channel Name Request and setting OUTNAME Output Channel Name Request and setting...
Страница 33: ...tatus of OMM 2500 Command Description and reply LINK 01 10 Makes input 1 connected to output 10 Reply LINK 01 10 LINK 1 03 04 7 Makes input 1 connected to output 3 and 4 to 7 Reply LINK 01 03 04 07 LI...
Страница 34: ...ent network setting Command Description and reply NETGW 192 168 1 1 Sets Gateway address each data ranges from 000 to 255 Reply NETGW 192 168 001 001 NETIP 192 168 1 118 Sets IP address each data rang...
Страница 35: ...Vertical Color Bar 2 1024x768 60Hz Vertical Color Bar scroll Interval 0 5sec 3 1280x960 60Hz Vertical Color Bar scroll Interval 1 0sec 4 1280x1024 60Hz Horizontal Color Bar 5 1600x1200 60Hz Horizontal...
Страница 36: ...ttern Reply VID 04_03_01 it means data 4 resolution and data 3 pattern and OSD On Table 6 7 Video generator command examples 6 2 6 Monitor output port setting It makes input to connected to monitor ou...
Страница 37: ...OUT3_5 Output copy mode Copies EDID information of output 3 display and stores it in input port 5 Reply EDID 03OUT EDID RES03_32 Resolution EDID Mode Save Resolution list 3 to input 32 Reply EDID 32RE...
Страница 38: ...etting It sets output resolution and layout of QDVI O It requests current status of QDVI O Data Resolution Layout 1 800x600 60Hz 1 st input of QDVI O on a full screen 2 1024x768 60Hz 2 nd input of QDV...
Страница 39: ...DVI O is inserted in 2 nd slot and output resolution is 1600x1200 60Hz with layout 6 Reply QUAD 01_00_00 02_05_06 03_00_00 04_00_00 Table 6 13 Multi viewer card setting command examples 6 2 11Slot sta...
Страница 40: ...1 Fiber DVI input card NO output card Reply SLOT 01_02_19 SLOT 02_02_21 SLOT 03_18_03 SLOT 04_18_00 Table 6 15 Slot status request command example 6 2 12Control lock command It locks and unlocks the...
Страница 41: ...cates no link set for the output PRE LOAD Preset Number Requests to load the saved preset number Reply PRE LOAD Preset Number _ link state Example Send PRE LOAD01 Reply PRE LOAD01_00 01 00 02 00 03 00...
Страница 42: ...ate Reply PWR L_ON R_OFF Left SMPS On Right SMPS Off Table 6 19 Power State Request command examples 6 2 15Firmware Version Request Command Description and reply VER Request Firmware Version Reply VER...
Страница 43: ...in Firmware Use a supplied download cable RS 232 F2 port for Input Firmware Use a supplied download cable RJ11 to RS 232 F3 port for Output Firmware Use a supplied download cable RJ11 to RS 232 1 Plea...
Страница 44: ...a supplied download cable 4 Select CommPort to select communication port of PC for RS 232 communication with OMM 2500 5 To enable CommPort Click when it shown as Serial Port Enable 6 Power On of OMM...
Страница 45: ...Code Runing message will be shown Then the firmware upload is completed 9 To be uploaded other Firmware files repeat steps 2 to 8 if it s necessary 10 Please close a megabox exe program and reboot OMM...
Страница 46: ...t connection configuration you want The display is not capable of handling graphic resolution Check the compatibility of EDID in the EEPROM and attached displays When a single Input is routed to multi...
Страница 47: ...t card 16 x 16 2 ports in one in output card Color Black Switching speed 1 sec If No format searching by Display Touch LCD Pressure type In Output card Spec Size 440 x 440 x 311mm WDH 7U 19 Section Mo...
Страница 48: ...esolution SDI card SDI card 480i 720p 60 576i 720p 23 98 720p 30 720p 24 720p 50 720p 25 720p 59 94 720p 29 97 720p 60 1035i 720p 60 1080i 1080sf 1080p 60 1080p 23 98 1080p 30 1080p 60 1080p 24 1080p...
Страница 49: ...tput cards DDVI 2EO SDVI 4EO SDVI 1FO HDMI 4EO SDI 4EO DDVI 2EI Dual DVI Pass N D N D N D N D Single DVI Pass Pass Pass Pass Pass SDVI 4EI Pass Pass Pass Pass Pass SDVI 1FI Pass Pass Pass Pass Pass HD...
Страница 50: ...d product or part has a ninety 90 day warranty or the reminder of the initial warranty period whichever is longer Opticis shall not be responsible for any software firmware information or memory data...
Страница 51: ...where and how they can take this item for environmentally safe recycling Business users should contact their supplier and check the terms and conditions of the purchase contract This product should no...
Страница 52: ...your reseller For technical service contact Opticis by email techsupp opticis com or visit its website at www opticis com Cleaning Turn off the power Remove all of the electrical and optical fiber fr...
Страница 53: ...ontact techsupp opticis com Opticis Locations HQ 16Fl Kins Tower 8 Seongnam daero 331 beon gil Bundang gu Seongnam si Gyeonggi o 463 844 Rep of KOREA Tel 82 31 719 8033 Fax 82 31 719 8032 Factory 501...