HOBO Pendant MX Temp (MX2201) and Temp/Light (MX2202) Logger Manual
1-508-759-9500 (U.S. and International) 3
www.onsetcomp.com
1-800-LOGGERS (U.S. only)
If the logger does not appear or if it is having trouble
connecting, follow these tips.
•
Make sure the logger is “awake” by pressing the circle
button on the logger. The alarm and status LEDs blink
once when the logger wakes up. This also brings the
logger to the top of the list if you are working with
multiple loggers.
•
If the logger is currently logging at a fast interval (5
seconds or faster) and the temperature is -10°C (14°F) or
below, you may need to press the button twice before it
appears in the list.
•
Make sure the logger is within range of your mobile
device or computer. The range for successful wireless
communication in air is approximately 30.5 m (100 ft)
with full line-of-sight.
•
Change the orientation of your device to ensure the
antenna is pointed toward the logger. Obstacles between
the antenna in the device and the logger may result in
intermittent connections.
•
If your device can connect to the logger intermittently or
loses its connection, move closer to the logger, within
sight if possible. If the logger is in water, the connection
can be unreliable. Remove it from water for a consistent
connection.
•
If the logger appears in the app, but you cannot connect
to it, close the app and then power down your device to
force the previous Bluetooth connection to close.
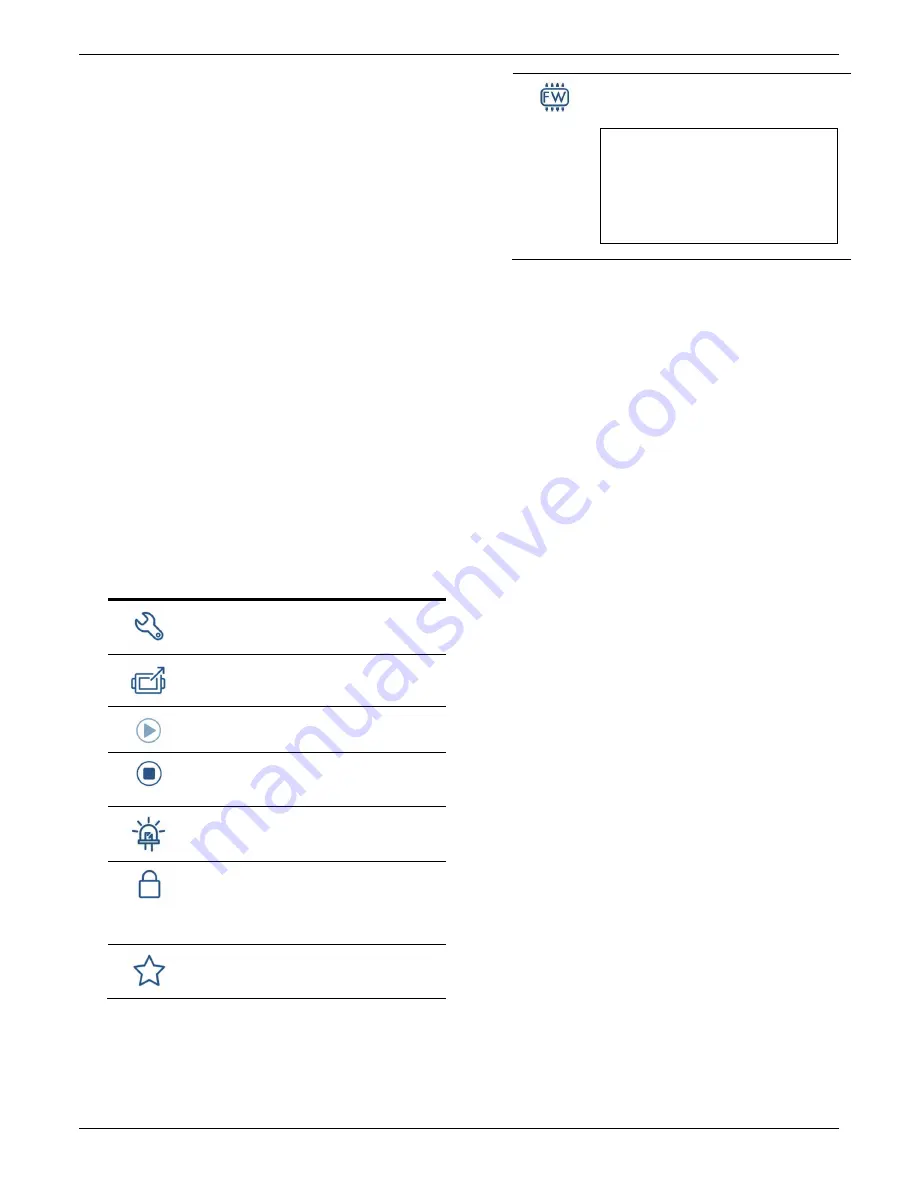
Once the logger is connected, you can:
Tap this:
To do this:
Specify logger settings and save them to the
logger to start logging. See
Configuring the
Logger
.
Download logger data. See
Downloading Data
From the Logger
.
Start logging if the logger was configured to start
On Button Push. See
Configuring the Logger
.
Stop logging data (this overrides any Stop
Logging settings described in
Configuring the
Logger
).
Illuminate the logger LEDs for 5 seconds.
Set a password for the logger that is required
when another mobile device attempts to
connect to it. To reset a password, press the
button on the logger for 10 seconds or tap
Manage Password and tap Reset.
Mark the logger as a favorite. You can then filter
the list of devices to show only loggers marked
as favorites.
Update the firmware on the logger. A logger
readout is completed automatically at the
beginning of the firmware update process.
Important:
Before updating the firmware on
the logger, check the remaining battery level
and make sure it is no less than 30%. Make
sure you have the time to complete the
entire update process, which requires that
the logger remains connected to the device
during the upgrade.
Configuring the Logger
Use the app to set up the logger, including selecting the logging
interval, start and stop logging options, and configuring alarms.
These steps provide an overview of setting up the logger. For
complete details, see the HOBOconnect User’s Guide.
Note:
Specify settings that are important to you. Press Start at
any time to accept the defaults.
1.
Tap Devices and then tap the logger to connect to it. If the
logger was configured with Bluetooth Always On disabled,
firmly press the circle button on the logger to wake it up.
This also brings the logger to the top of the logger list.
2.
Tap Configure & Start to configure the logger.
3.
Tap Name and type a name for the logger (optional). If you
do not enter a name, the app uses logger serial number as
the name.
4.
Tap Group to add the logger to a group (optional).
5.
Tap Logging Interval and choose how frequently the logger
records data when not in burst logging mode (see
Burst
Logging
).
6.
Tap Start Logging and select when logging begins:
•
On Save.
Logging begins immediately after configuration
settings are saved.
•
On Next Interval.
Logging begins at the next even
interval as determined by the selected logging interval
setting.
•
On Button Push.
Logging begins when you press the
button on the logger for 3 seconds.
•
On Date/Time.
Logging begins at a date and time you
specify. Specify the date and time.
7.
Tap Stop Logging and specify when logging ends.
•
Never Stop (Overwrites Old Data).
The logger does
not stop at any predetermined time. The logger
continues recording data indefinitely, with newest data
overwriting the oldest.
•
On Date/Time.
The logger stops logging on a specific
date and time that you specify.
•
After.
Select this if you want to control how long the
logger should continue logging once it starts. Choose
the amount of time you want the logger to log data.
For example, select 30 days if you want the logger to
log data for 30 days after logging begins.
•
Stop When Memory Fills.
The logger continues
recording data until the memory is full.


