Use and Operation
Assembling the Appliance
1. Cean the appliance as described in the section „Cleaning
and Care“.
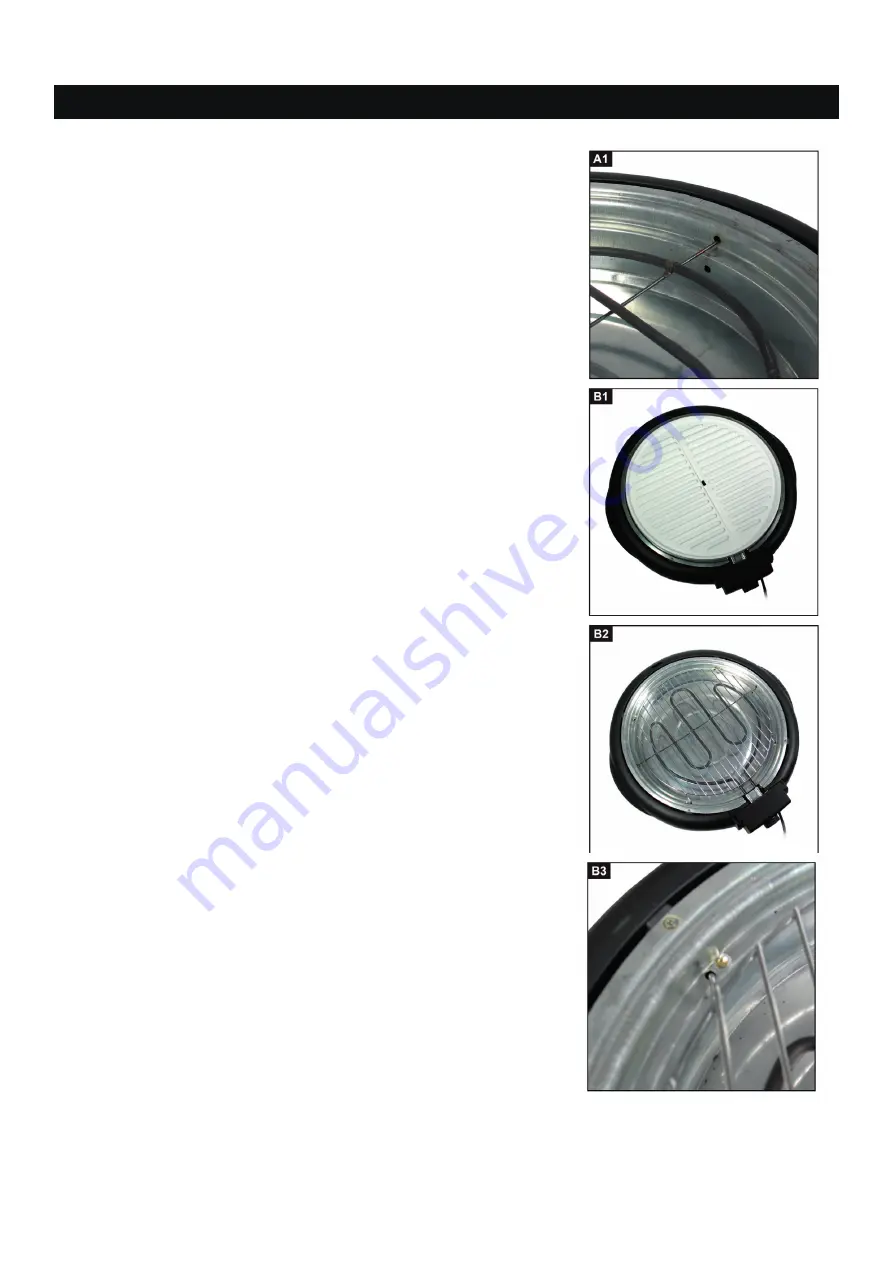
2. Put the heating element into the drip tray (image A1).
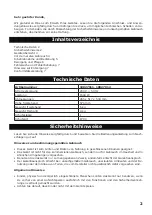
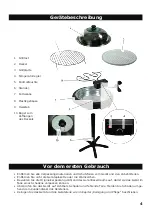
3. Put the grill plate (3) or the grill grate (1) onto the drip tray
(images B1, B2).
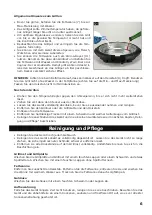
4. The grill plate must be hung into the 4 holes in the der drip
tray (image B3). The underneath of the grill plate fits on to
the heating element.
Use and Temperature Settings
1. Insert the plug into the mains socket. The indicator lamp
(5) lights up.
2. Set the maximum temperature with the thermostat (4).
The appliance heats up. After reaching the set tempera-
ture, the control indicator extinguishes (5).
3. Turn the thermostat antclockwise to decrease the tempe-
rature.
4. Turn the thermostat (4) anticlockwise until it stops.
5. Pull the plug out of the mains socket.
6. The temperature remains high for a while after switching off
the appliance. Allow the appliance to cool down complete-
ly.
7. Clean the appliance as described in the section
Attaching the Cover
A clip (10) is provided for the cover (2). This is simply hooked
on the inside to the handle of the cover (image C1). This ena-
bles the cover to be attached vertically to the appliance so that
i t
can act as a windbreak. If you grill with the cover attached,
you can also attach it when turning over the food in order to
have both hands free. If the clip gets in the way e. g., when
cooking a whole chicken under the cover, pull it out of the
holder.
To hook the clip onto the cover, proceed as follows:
1. First of all, mount the handle of the cover.
2. Lightly pull the clip apart at both ends (image C1).
3. Hook the clip into the holes provided on the inside of the
fixing of the cover.
4. To remove the clip, lightly pull both ends apart (image C1)
and remove it.
11
Содержание 10027911
Страница 1: ...Stand und Tischgrill 10027911 10027912 ...


