6.2
How to Add IP Camera
21
6.3 How to Add V-Cam IP Camera
Step1
Step2
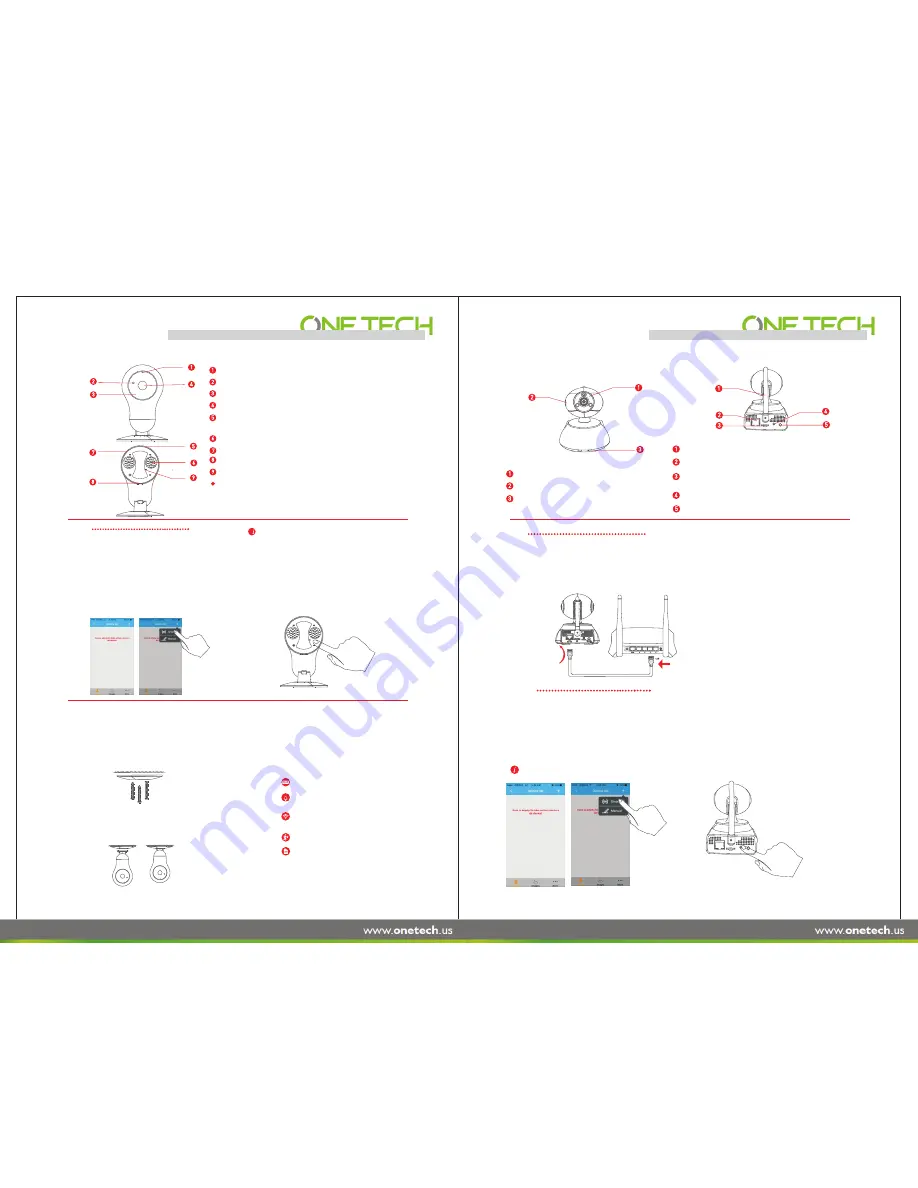
Appearance Introduction
Network Connection
Once applying power to the camera, attach one end of the Ethernet cable to the cameras Ethernet
interface and the other end of the cable to the routers LAN interface, ensuring the HDCP function is
on. A yellow light and a flashing green light means the connection is successful.
Add Device
2. If choosing the Wi-Fi access, press the reset button for 5 to 10 seconds until the
‘
whoosh
’
sound is
heard. This ensures the camera has successfully rebooted itself and will then make a
‘
Di Di Di
’
sound. A
smart Wi-Fi link can be connected automatically following these steps:
Login to the app
– ‘
Camera
’ –
Click
‘+’ –
Click
‘
Smartlink
’ –
the camera will now connect via Wi-Fi.
1.Camera default password is 123.
Appearance Introduction
Camera: photore infrared light + HD lens
Microphone: real-time audio input
Speaker: real-time audio output
WiFi Antenna: to receive the WiFi router signal
LAN Interface: Internet connection
TF Card Interface: Insert TF card, the device can save images
and video recordings
Reset Button: Press for 5 seconds to restore the factory defaults
Power Interface: To connect the power adapter (DC 5V/ 2A)
20
Step1
1. The IP Camera default password is 123
2. If the connection to Wi-Fi hasn’t worked, press
and hold the reset button for 5-10 seconds until the
sound ‘Sou’ is heard, this means the reset has been
successful. The IP camera will restart itself making
a ‘Di Di Di’ sound, it should now connect to the Wi-Fi
via the ‘smartlink’ function.
Add Device
Firstly, connect the camera to the power supply. Then
within the app click ‘Camera’. To register an account,
you will need to input a valid email address, phone
number and User ID. To add the camera, click ‘+’ &
‘smartlink’ and follow the tips on the app.
Functions
IP Camera Installation
1. Base Installation
Chose a clean, even area on the wall and mark where the base is best suited.
Then align the base to your marks and affix the screws.
First, chose a wall which has suitable thickness and is tolerant for screw insertion.
2.Camera Installation
Embed the camera body into the chassis and turn clockwise
until the camera is tightened and a ‘click’ is heard.
Real 720P HD IP camera
Supports audio intercom
Supports smart Wi-Fi, a network cable is
not needed when connecting
Supports a motion detection alarm
TF card will support a maximum of 128G
LED: Network
Photosensitive: Colour/ B&W
Infrared light: hidden high power IR LED
TF Card Interface: Insert TF card, the device can save
images and video recordings
Camera: HD lens (1 million)
Microphone: Real-time audio input
Speaker: Real-time audio output
Power Interface: To connect the power adapter (DC 5V/ 2A)
Reset Button: Press for 5 seconds to restore the factory defaults
WiFi antenna: built-in WiFi antenna


