Preparing the surface for installation
Attach the supplied drilling template to the installation
location. Drill holes appropriately-sized and use wall
plugs and mounting screws. Insert anchors into the
drilled holes. For concealed-cable entry use the supplied
drilling template for pilot hole drilling and drill the
clearance holes for cable access to the waterproof cable
glands.
Remove the dome trim cover
Using Torx tool (provided), remove the four Torx screws
and then carefully remove the plastic dome trim cover and
set it aside, be careful not scratch the dome bubble.
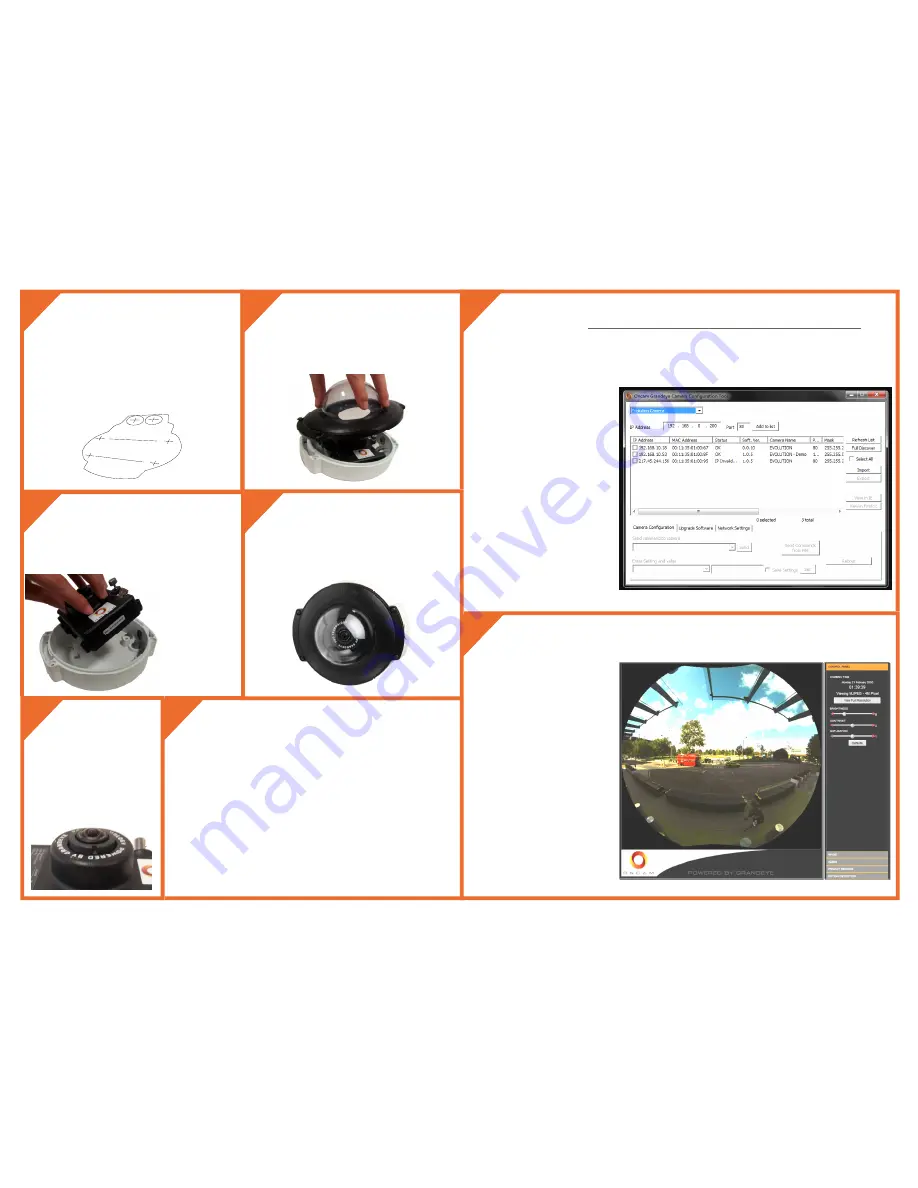
Fix the camera module in the base
Re-assemble and apply power
Carefully seat the dome back on to the base, taking care
not to damage the dome surface, and ensuring that the
dome seal is retained correctly. Refit the dome screws
with the supplied Torx driver. Remove the screen
protection film from the dome.
Focus adjustment
The focus is pre-set at the factory
so no adjustment is necessary.
Configuring network settings
In order to use the camera you will need to know its IP address. There are two
typical installation types. The first type uses a DHCP server or router to
automatically assign unique valid IP addresses to each camera. The alternative is
a manually configured network using static IP addresses. If your network has a
DHCP server, go to Step 11.
Note: There is a more detailed explanation of how to adjust IP settings in the
Evolution Camera Installation and Operation Guide and the Camera Configuration
Tool Guide.
Static IP installation
If no DHCP server is available on the network the camera will adopt its default IP
address of 192.168.0.200. You will need to manually assign each camera with a
new, unique, IP address.
Using the Camera Configuration Tool
The Oncam Grandeye Website, http://www.oncamgrandeye.com/56-oncam-grandeye-configuration-tool.html has the
latest version of the camera configuration tool and User Guide available for download.
This tool quickly finds the IP and MAC addresses of all of the Oncam Grandeye IP cameras connected to the network.
This software tool will also allow you to change network settings, configure the system and perform software updates on
multiple cameras.
To find connected cameras
follow the installation instructions
provided.
Start the application by clicking the icon
found on the desktop or in the Program
List (under Oncam Grandeye). The
software will scan the network and
provide a list of all connected Oncam IP
cameras.
A new scan can be initiated by clicking
the Discover button.
See the ‘Camera Configuration Tool
User Guide’ for full details of the
application features.
Note: Some functions in this tool require
a user name and password to be
entered: this is ‘admin’ for both.
Viewing images for the first time
To view live images from any camera on the network:
1. Enter the IP address of the camera into
the address bar of the browser running on
a PC on the same network. To access the
Web interface, open a browser window
(Internet Explorer or Firefox) and enter the
IP address of the camera. (e.g.
http://192.168.0.200)
2. Enter the User name and Password
((both “admin” by default).
3
4
5
3
6
7
8
9
10
11
Secure the camera base with appropriate fixing screws.
Ensure the cables are pulled through the base correctly.
The camera module can then be fitted on to the base.
The camera module is secured to the base by the thumb
screw.


