45
Inputs to the Timing Chart
Section 4-4
4-4
Inputs to the Timing Chart
This section explains how to apply inputs to the tags that have been added to
the timing chart. The output tags, jump address, and function blocks cannot
be changed.
4-4-1
Basic Input
Use the following procedure to turn the input tags to ON or OFF or to reverse the tag
status.
1,2,3...
1.
Move the cursor to the area where you want to apply an input to the timing
chart. An area can be selected.
2.
Select
ON
,
OFF
, or
Reverse
from the Timing Chart Menu.
4-4-2
Pulse Setting
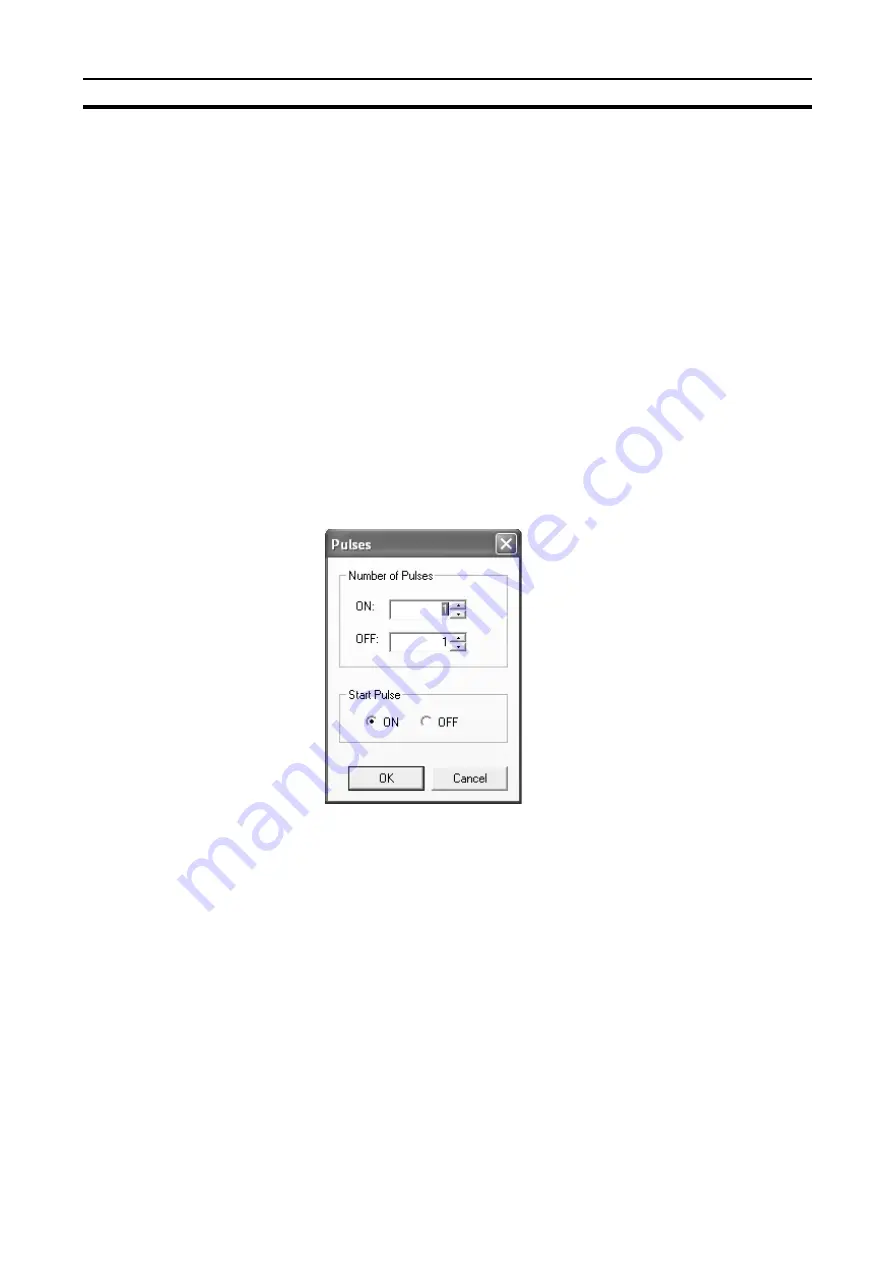
A specified pulse can be assigned using the following procedure.
1,2,3...
1.
Select the area on the timing chart where you want to apply the set pulses.
2.
Select
Timing Chart
-
Make Pulses
. Alternatively, right-click in the select-
ed area and select
Make Pulses
from the pop-up menu.
The following dialog box will be displayed.
3.
Set the number of pulses and the start pulse, and then click the
OK
Button.
The specified pulses will be applied to the selected area.
4-4-3
Copying and Pasting in the Timing Chart
1,2,3...
1.
Select the area on the timing chart to be copied.
2.
Select
Edit
-
Copy
. Alternatively, right-click and select
Copy
from the pop-
up menu.
3.
Move the cursor to where you want to paste and select
Edit
-
Paste
. Alter-
natively, right-click and select
Paste
from the pop-up menu.
Содержание WS02-CFSC1-E
Страница 1: ...OPERATION MANUAL Cat No Z910 E1 02 DeviceNet Safety WS02 CFSC1 E NE1A Logic Simulator...
Страница 2: ...DeviceNet Safety WS02 CFSC1 E NE1A Logic Simulator Operation Manual Revised June 2007...
Страница 3: ...iv...
Страница 9: ...x...
Страница 13: ...xiv...
Страница 55: ...40 Zooming In and Out of the Logic Window Display Section 3 8...
Страница 81: ...66 Shortcut Key List Appendix A...
Страница 85: ...70 Revision History...


