


Chapter 5: Configuration with ACE Software
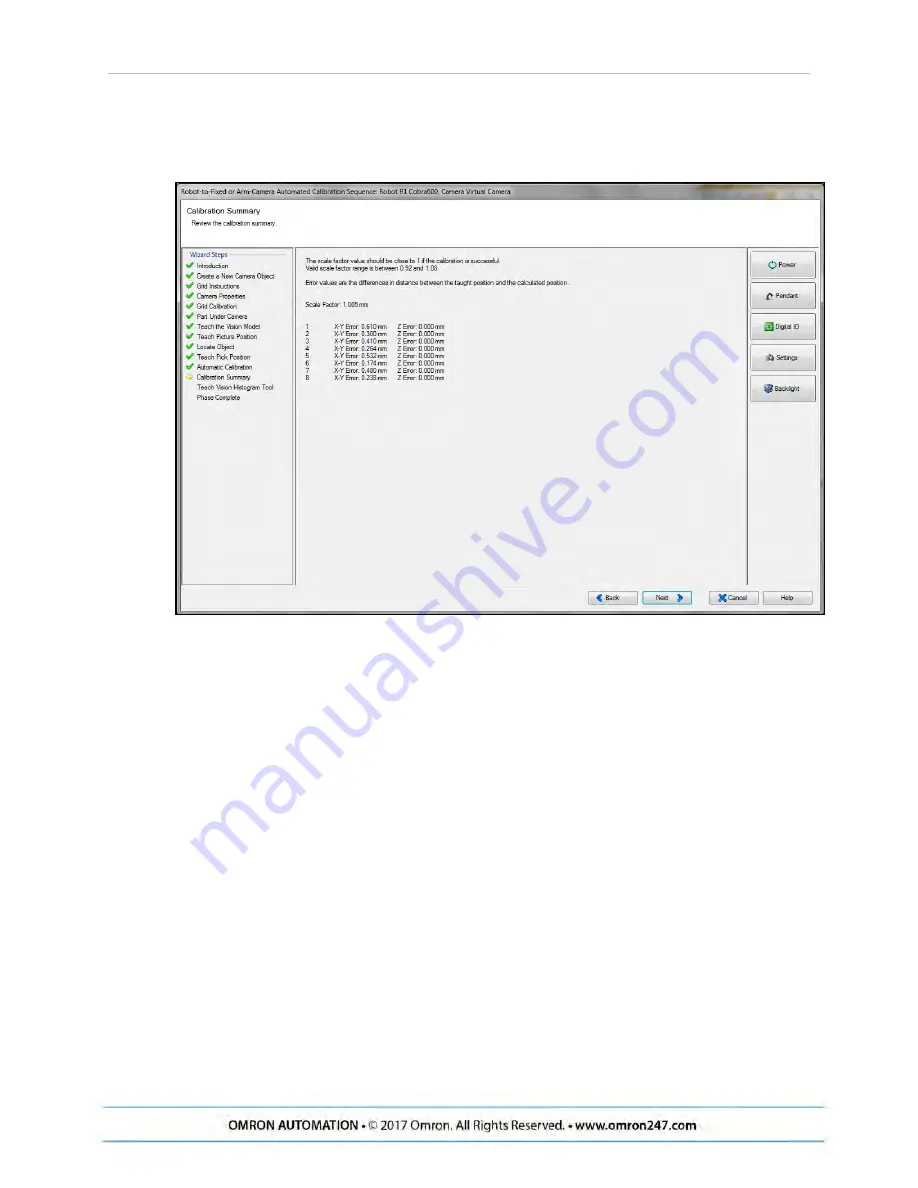
typically the position error will be less than 1 mm. The valid scale factor range is from 0.92 to
1.08 mm.
Figure 5-6. Summary of Automatic Calibration
Teach Vision Histogram Tool
The next step is to set up the histogram tool for the application. You can divide the vision win-
dow into three boxes corresponding to three zones: Dispense Zone, Flip Zone, and Front Zone.
These areas can be adjusted by dragging the edge of the boxes. Refer to figure Front, Flip, and
Dispense Zones on page 43
l
The Dispense zone is used to find out if there are too many parts, and if a feed forward
is needed.
l
The Flip zone is the area where the robot is supposed to pick up the parts.
This is typically set up to cover the center of the pick window, as well as half of the dis-
pense zone and half of the front zone.
l
The Front zone is the front area of the pick window.
Teach Place Position
After the Histogram tool is taught, you will be stepped through teaching the Place location.
After this, the Pick and Place Wizard is completed.
AnyFeeder
Integration
Guide
- Page
3
6
Содержание AnyFeeder Series
Страница 1: ...AnyFeeder Integration Guide AnyFeeder SXM100 140 AnyFeeder SX240 340 R262I E 01...
Страница 16: ......


